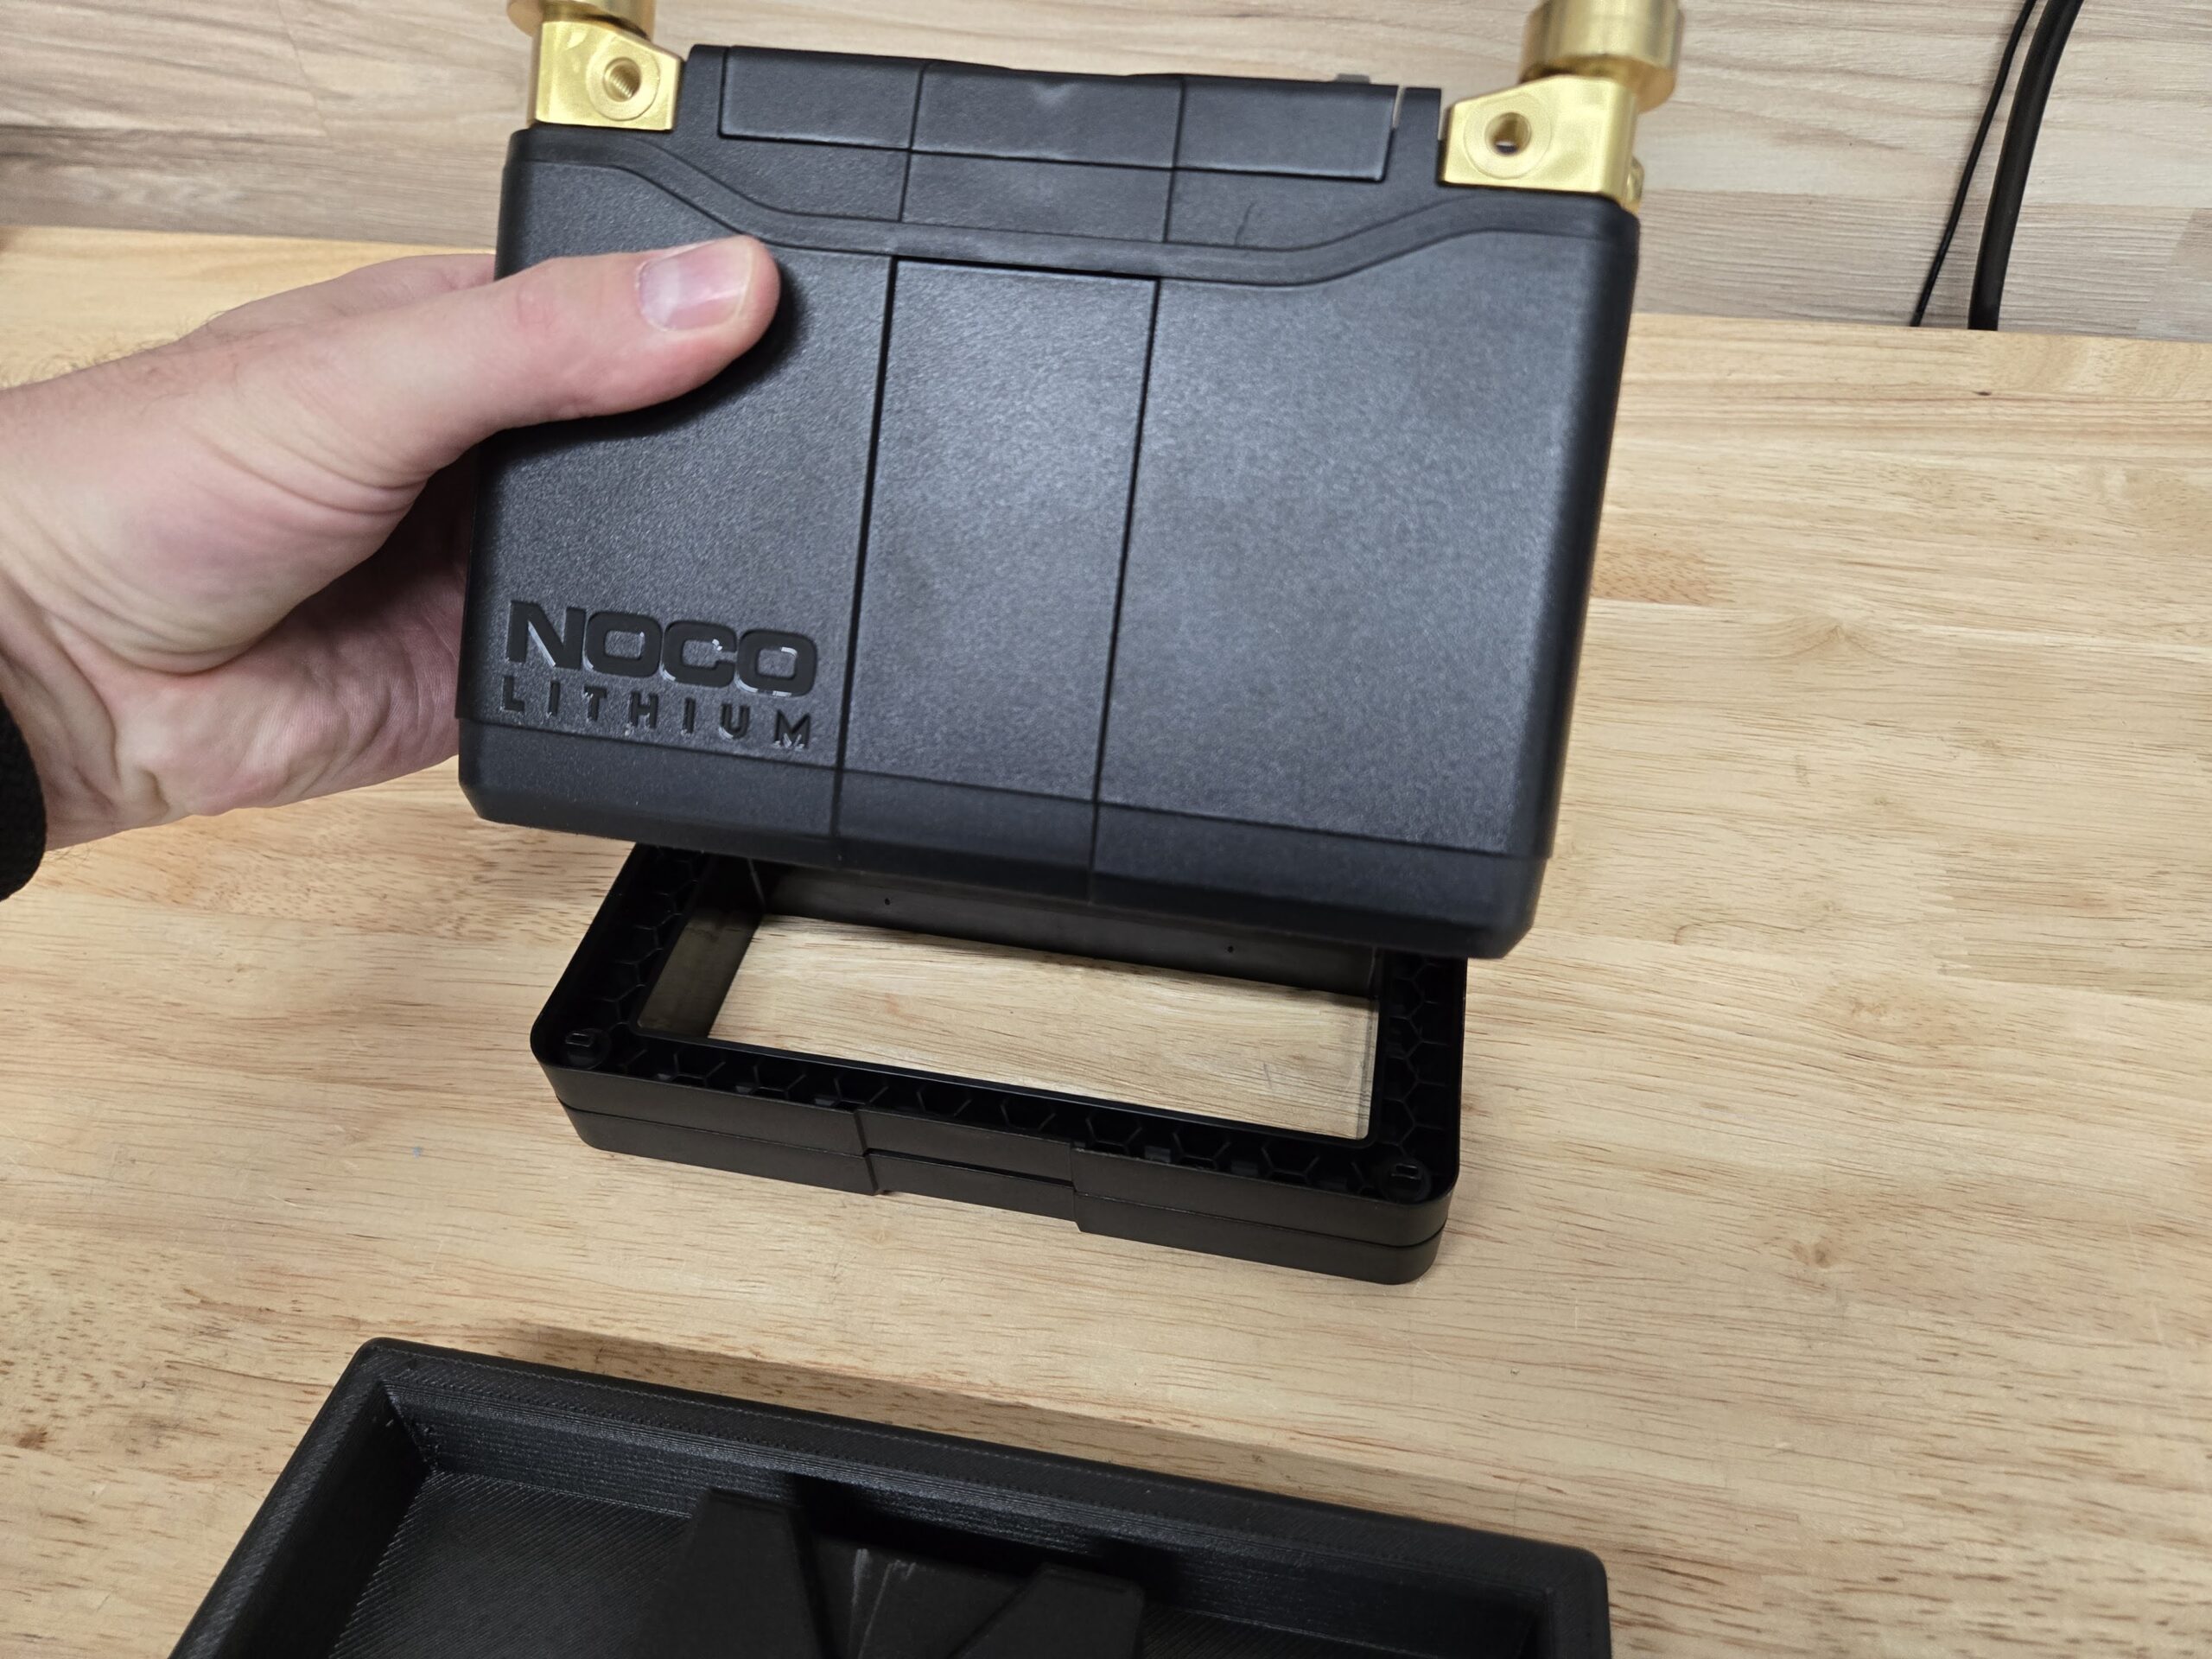
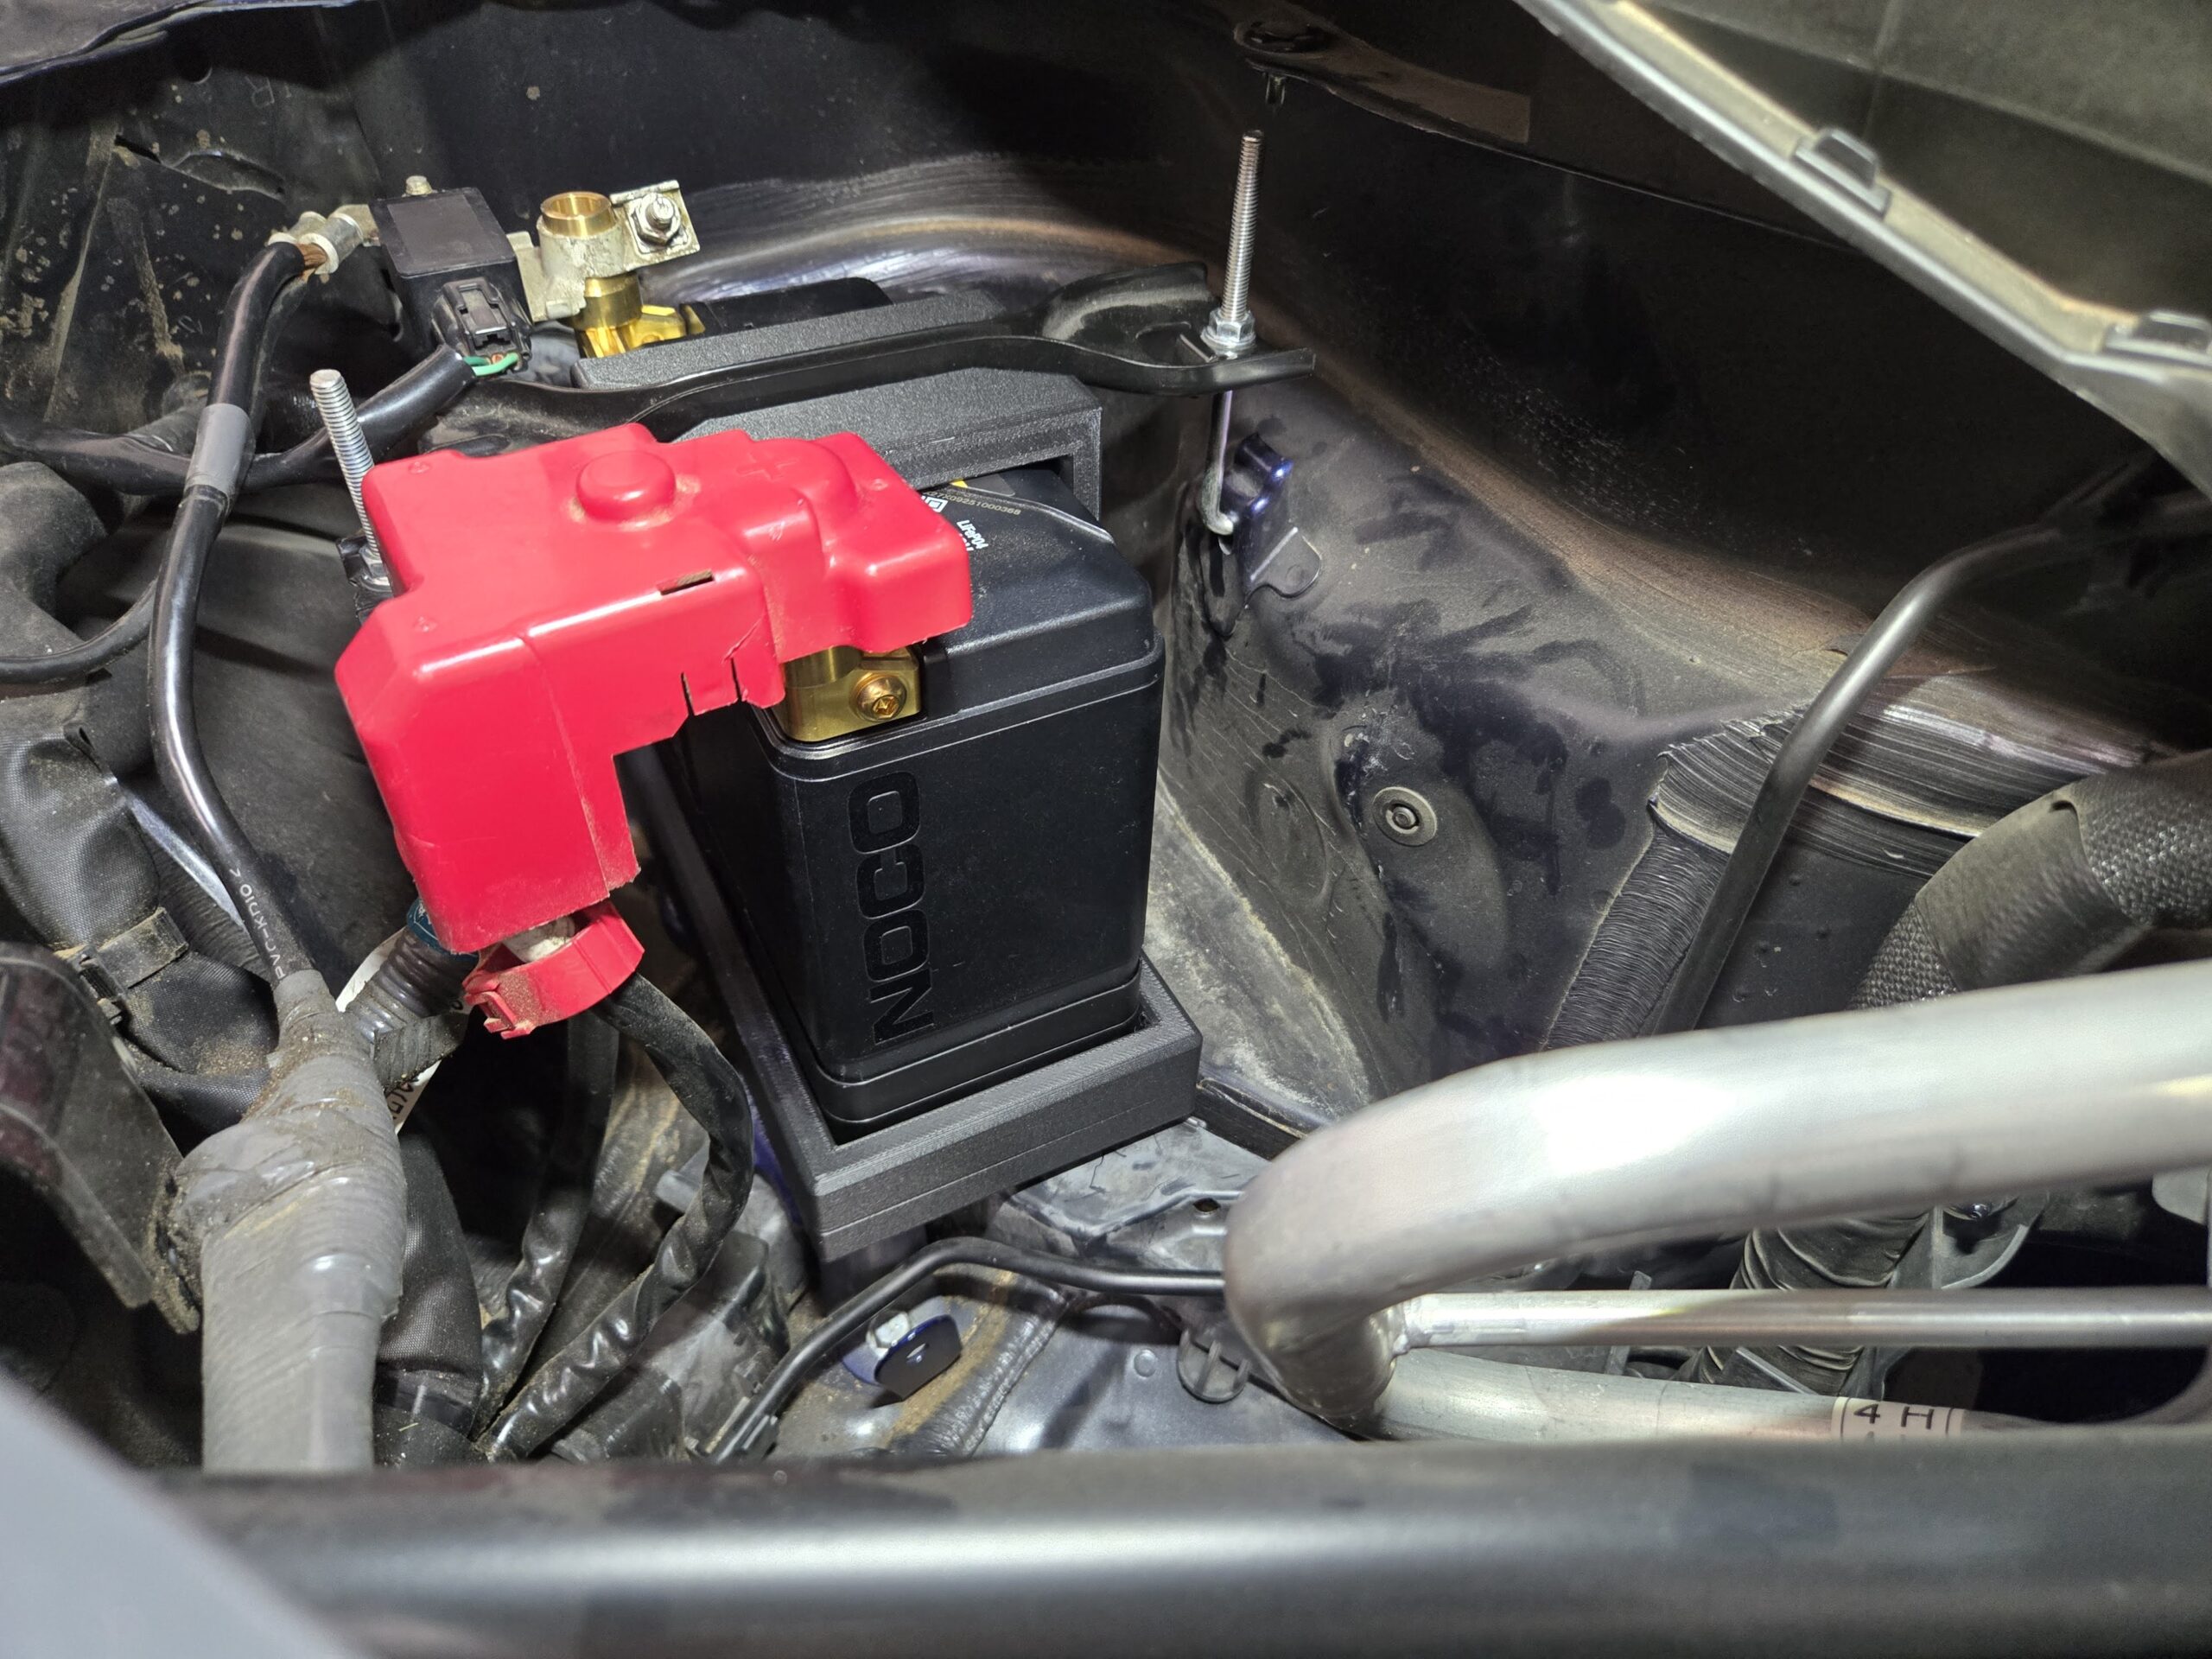
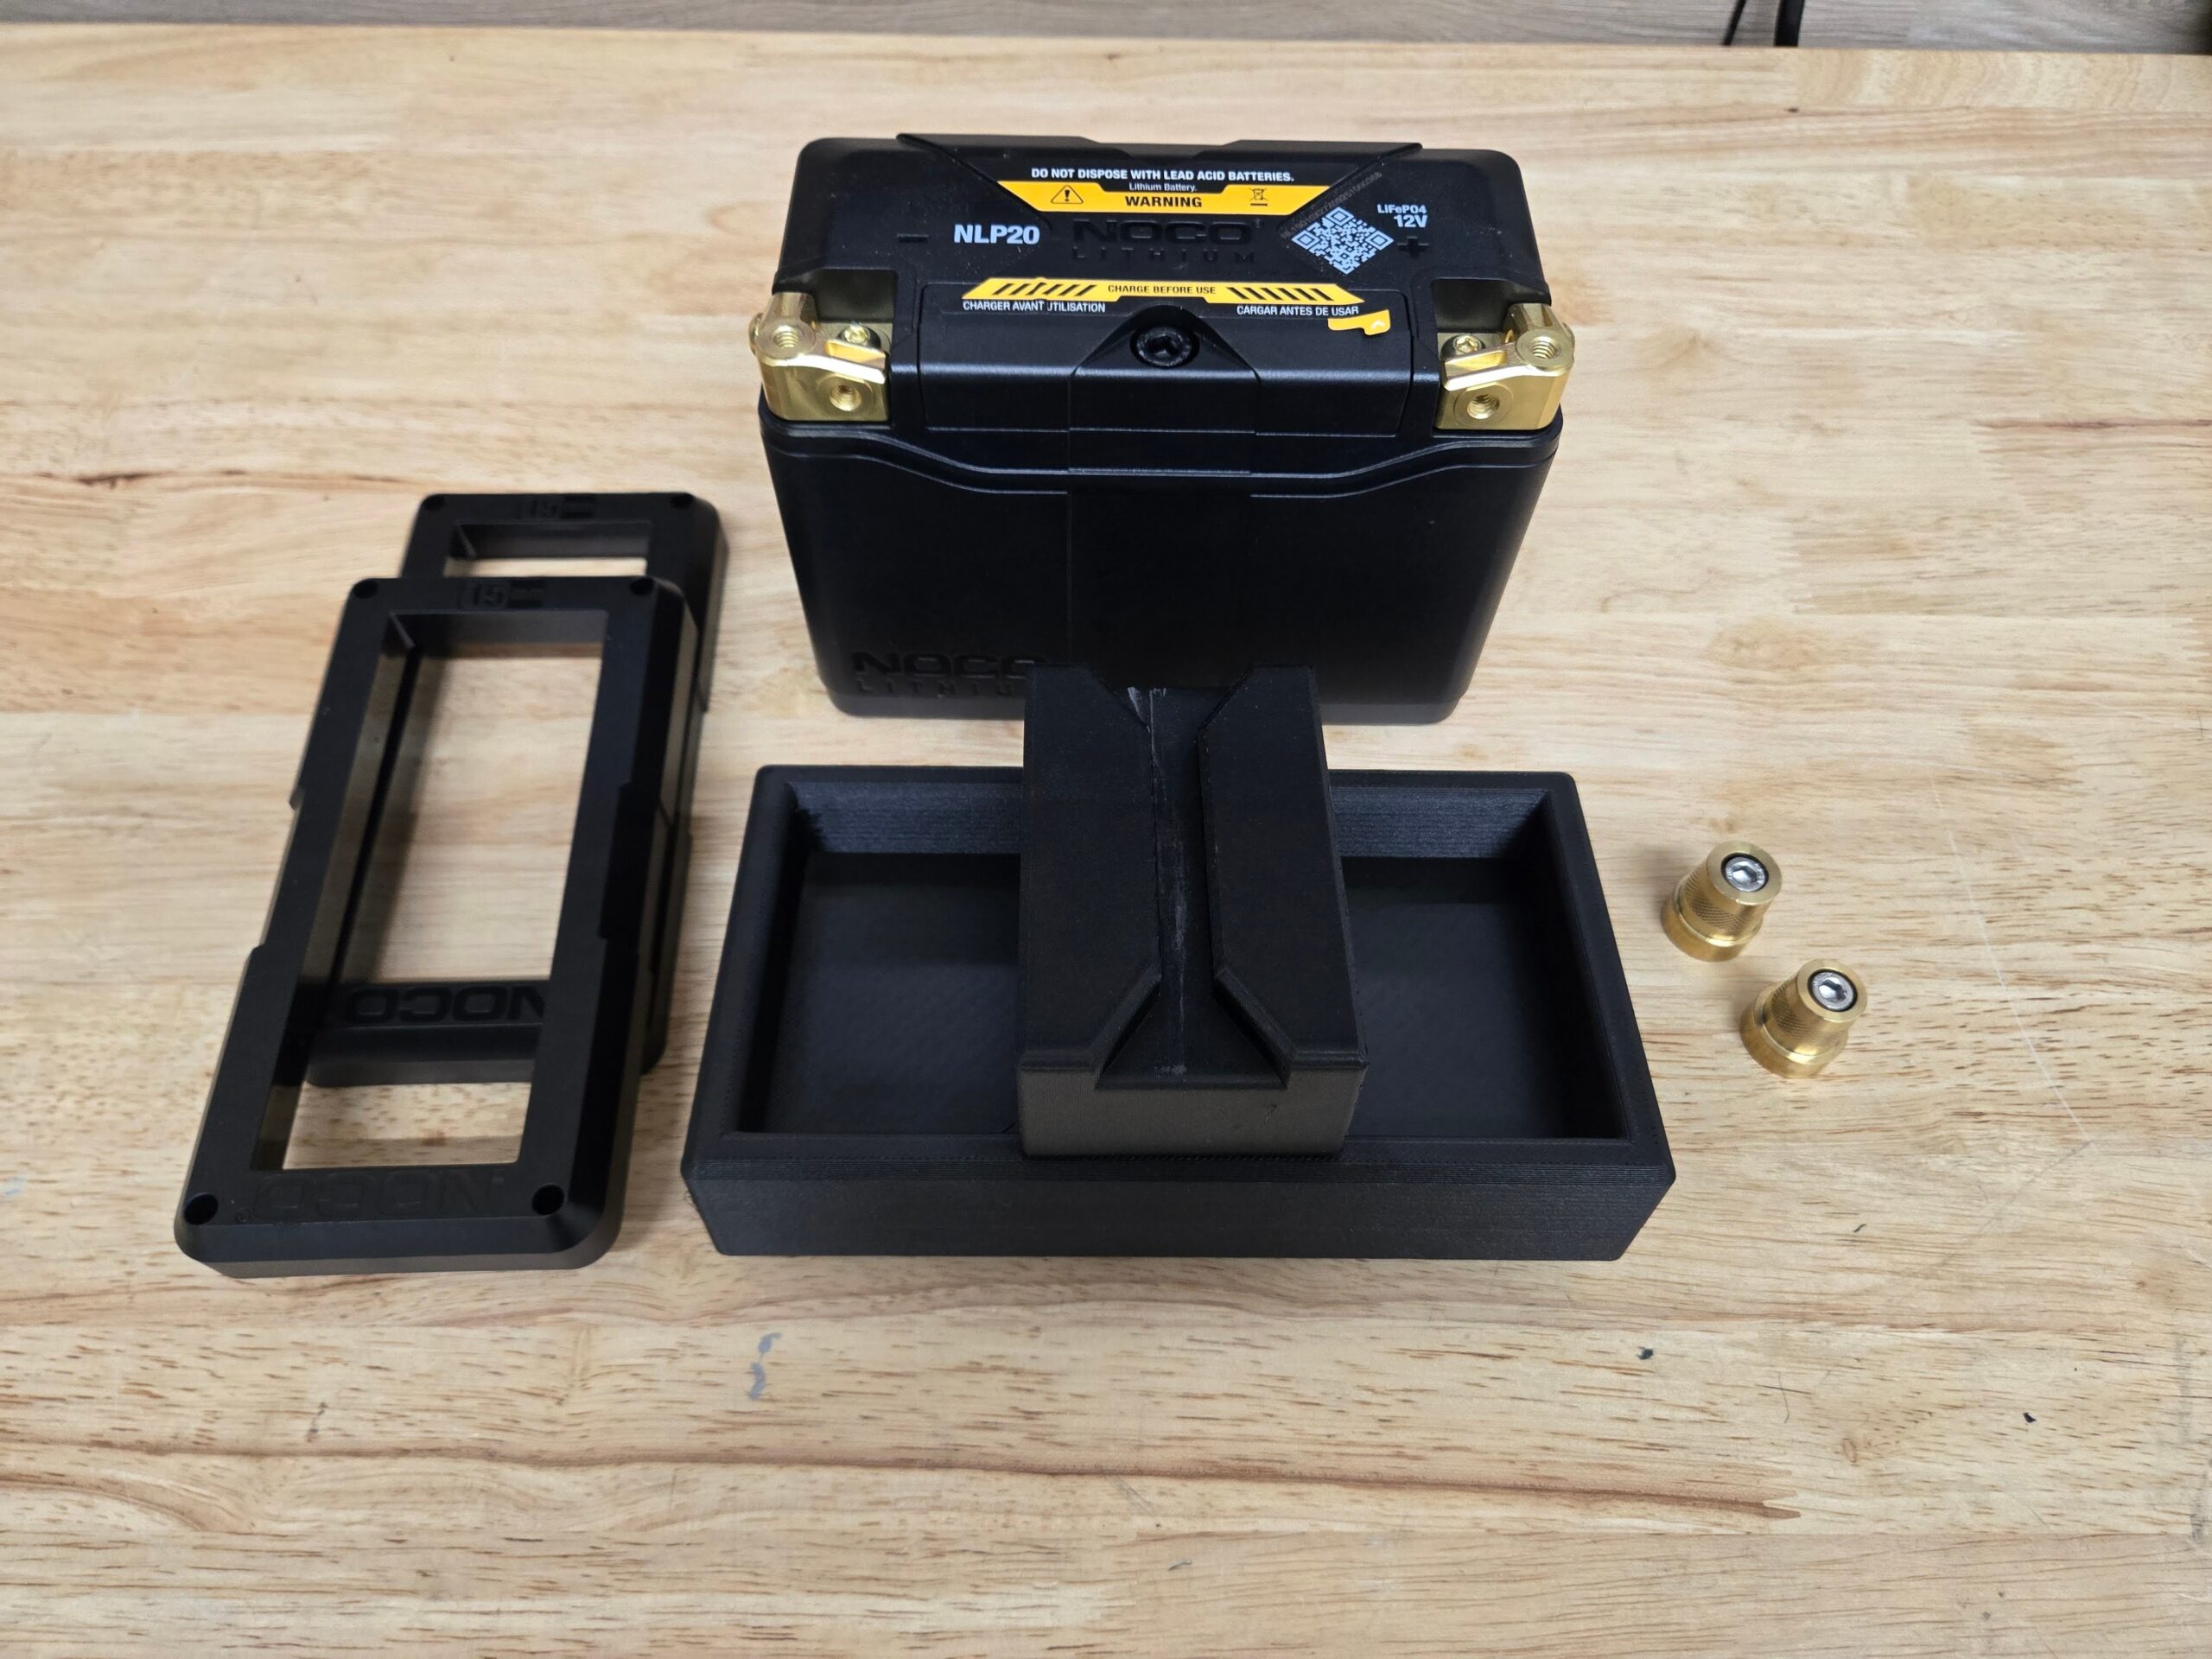
The BTR Lightweight Battery Mount has arrived! This is a 3D printed, purpose made, battery mount for the Noco NLP20 ultra lightweight lithium battery. Intended for GR86 & BRZ racers and track enthusiasts, the whole setup shaves nearly 30lbs of weight from the car! The battery mount, Noco NLP20, and required battery terminals weigh in at less than 5lbs, a big savings when the OEM battery is nearly 35lbs. I recommend swapping in the lightweight battery for your track or race weekends and run a regular battery for daily driving. The Noco NLP20 will work fine for daily driving, but you must make sure to put it on a battery tender once or twice a week to keep the charge up. The battery swap takes 5 minutes once you know the process.
How do I get a BTR Lightweight Battery Mount?
There are two ways to get the BTR Lightweight Battery Mount.
- Download the STL or 3MF files from the Files section below and print it yourself.
- Purchase from the BTR Garage for $50.00, plus shipping.
- Contact me on Instagram @thebtrjustin
- Send me an email justin -at- btrgarage.com
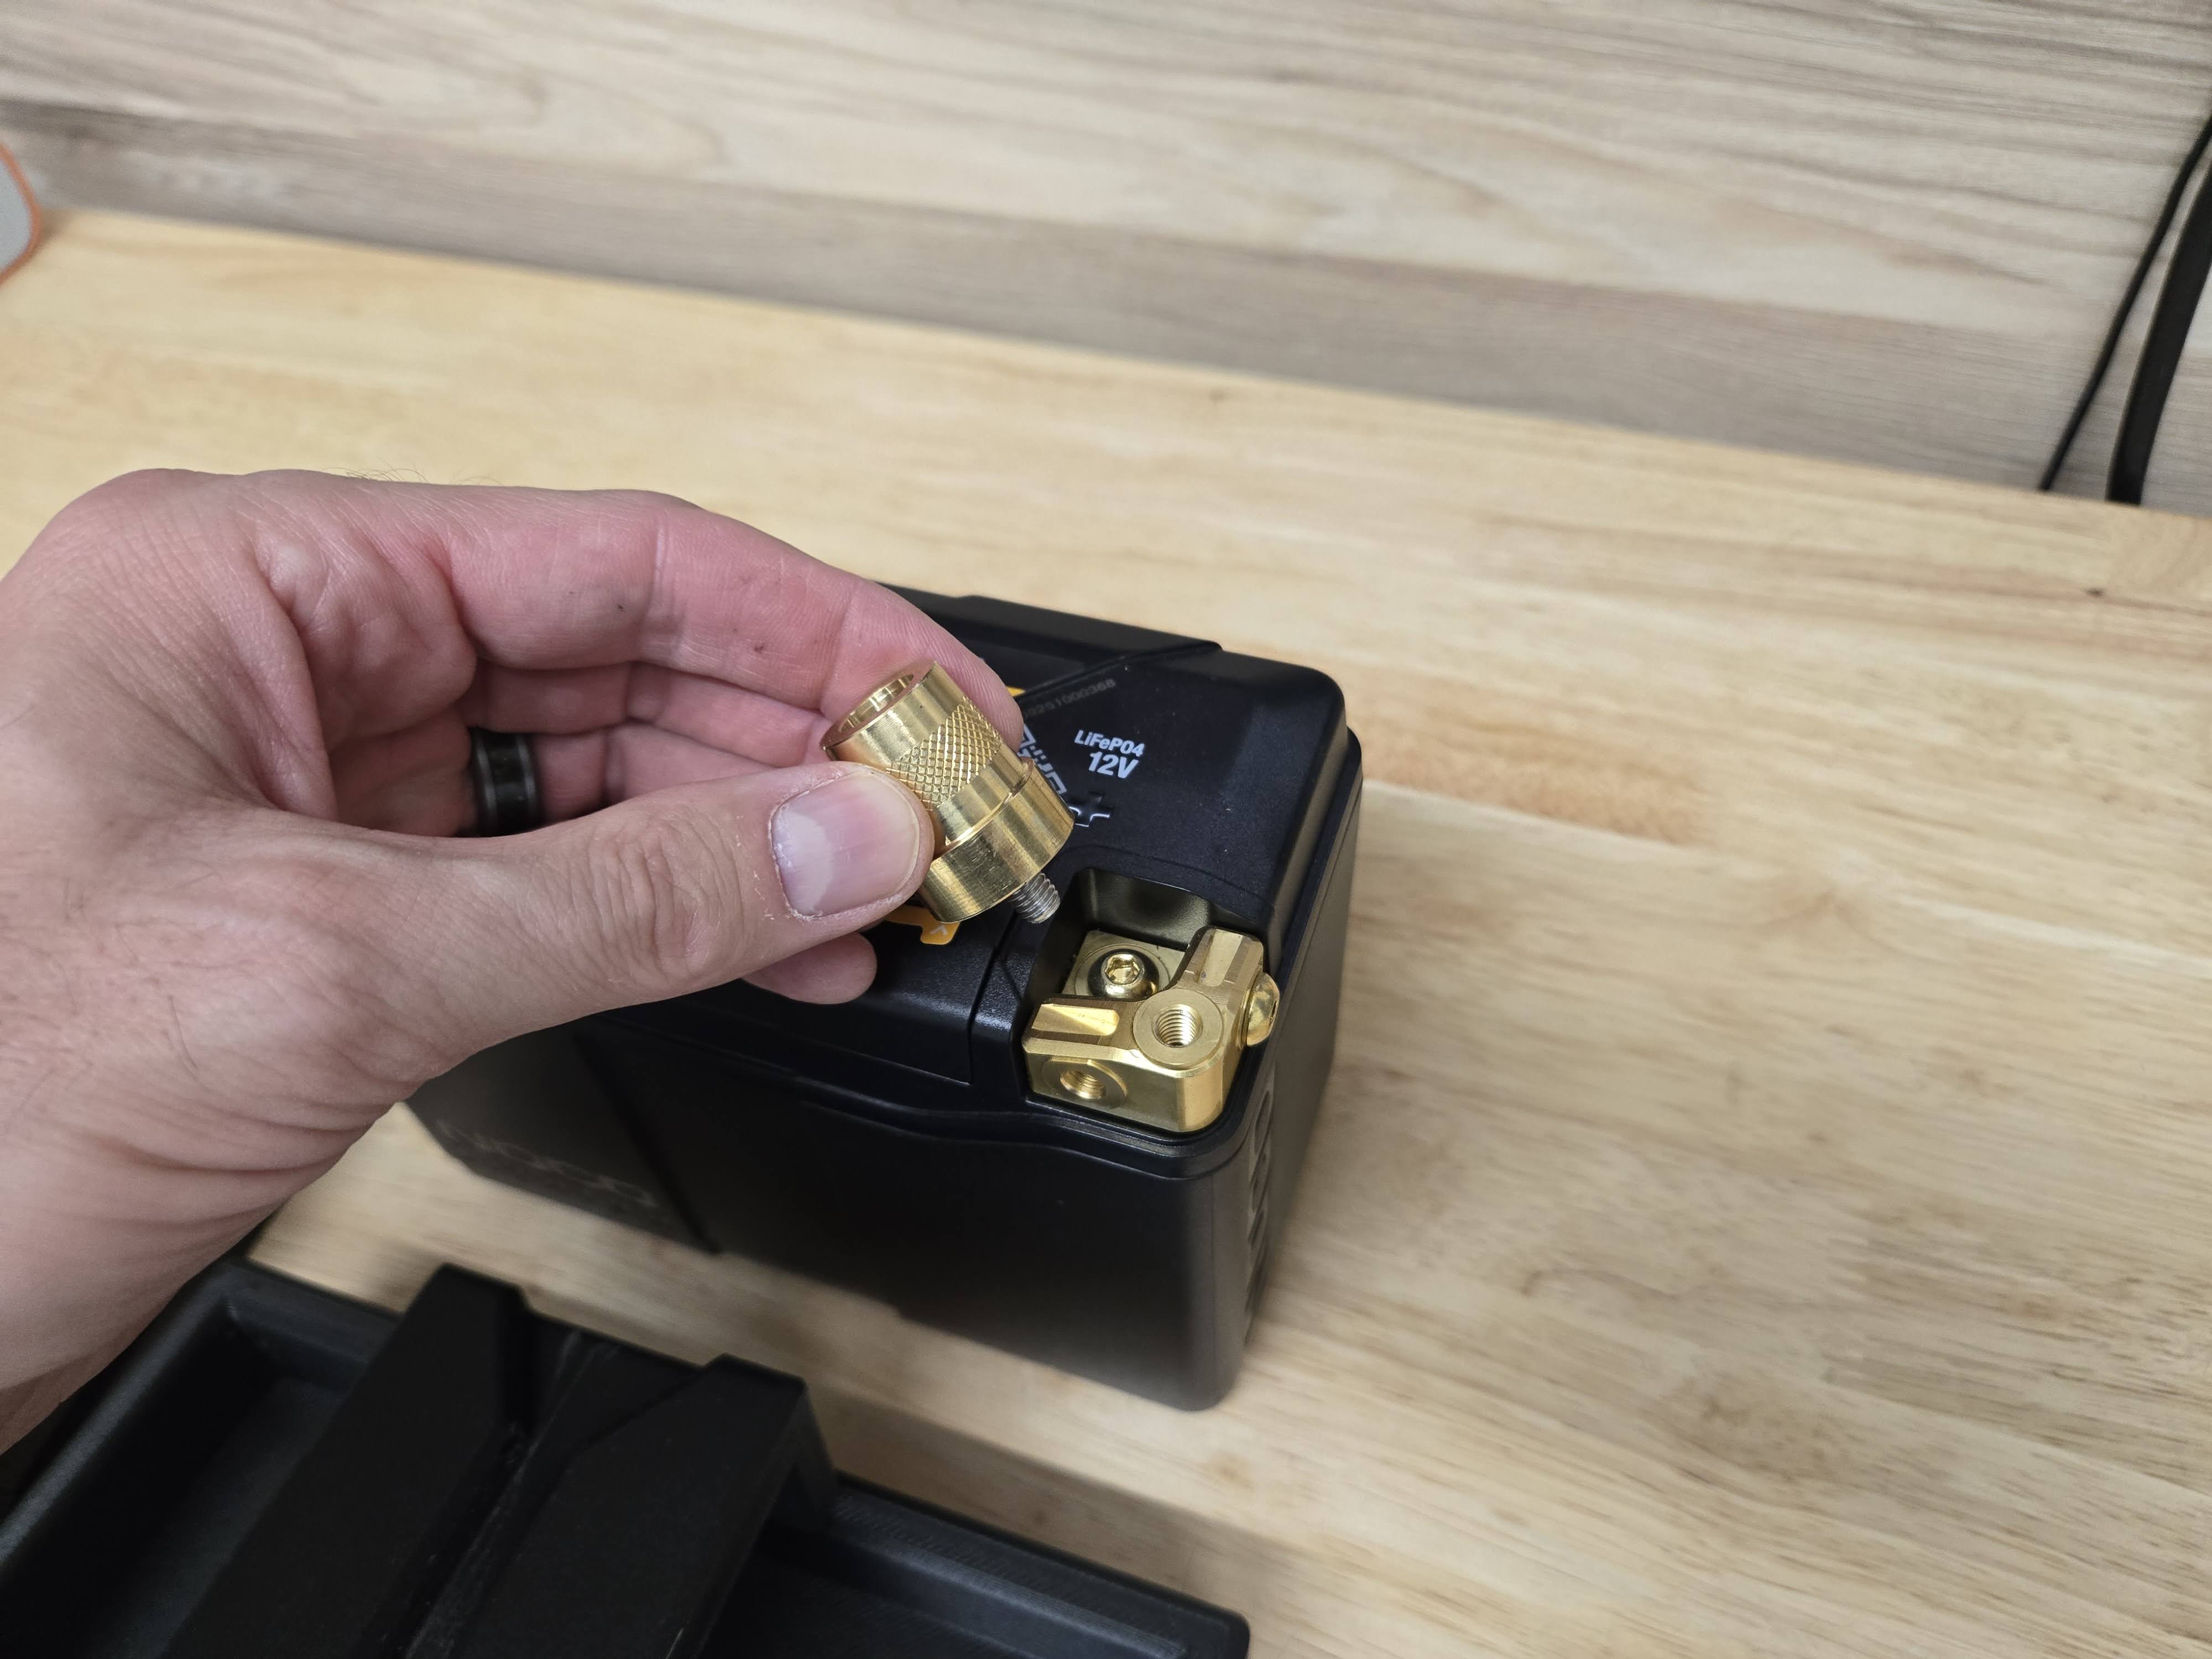
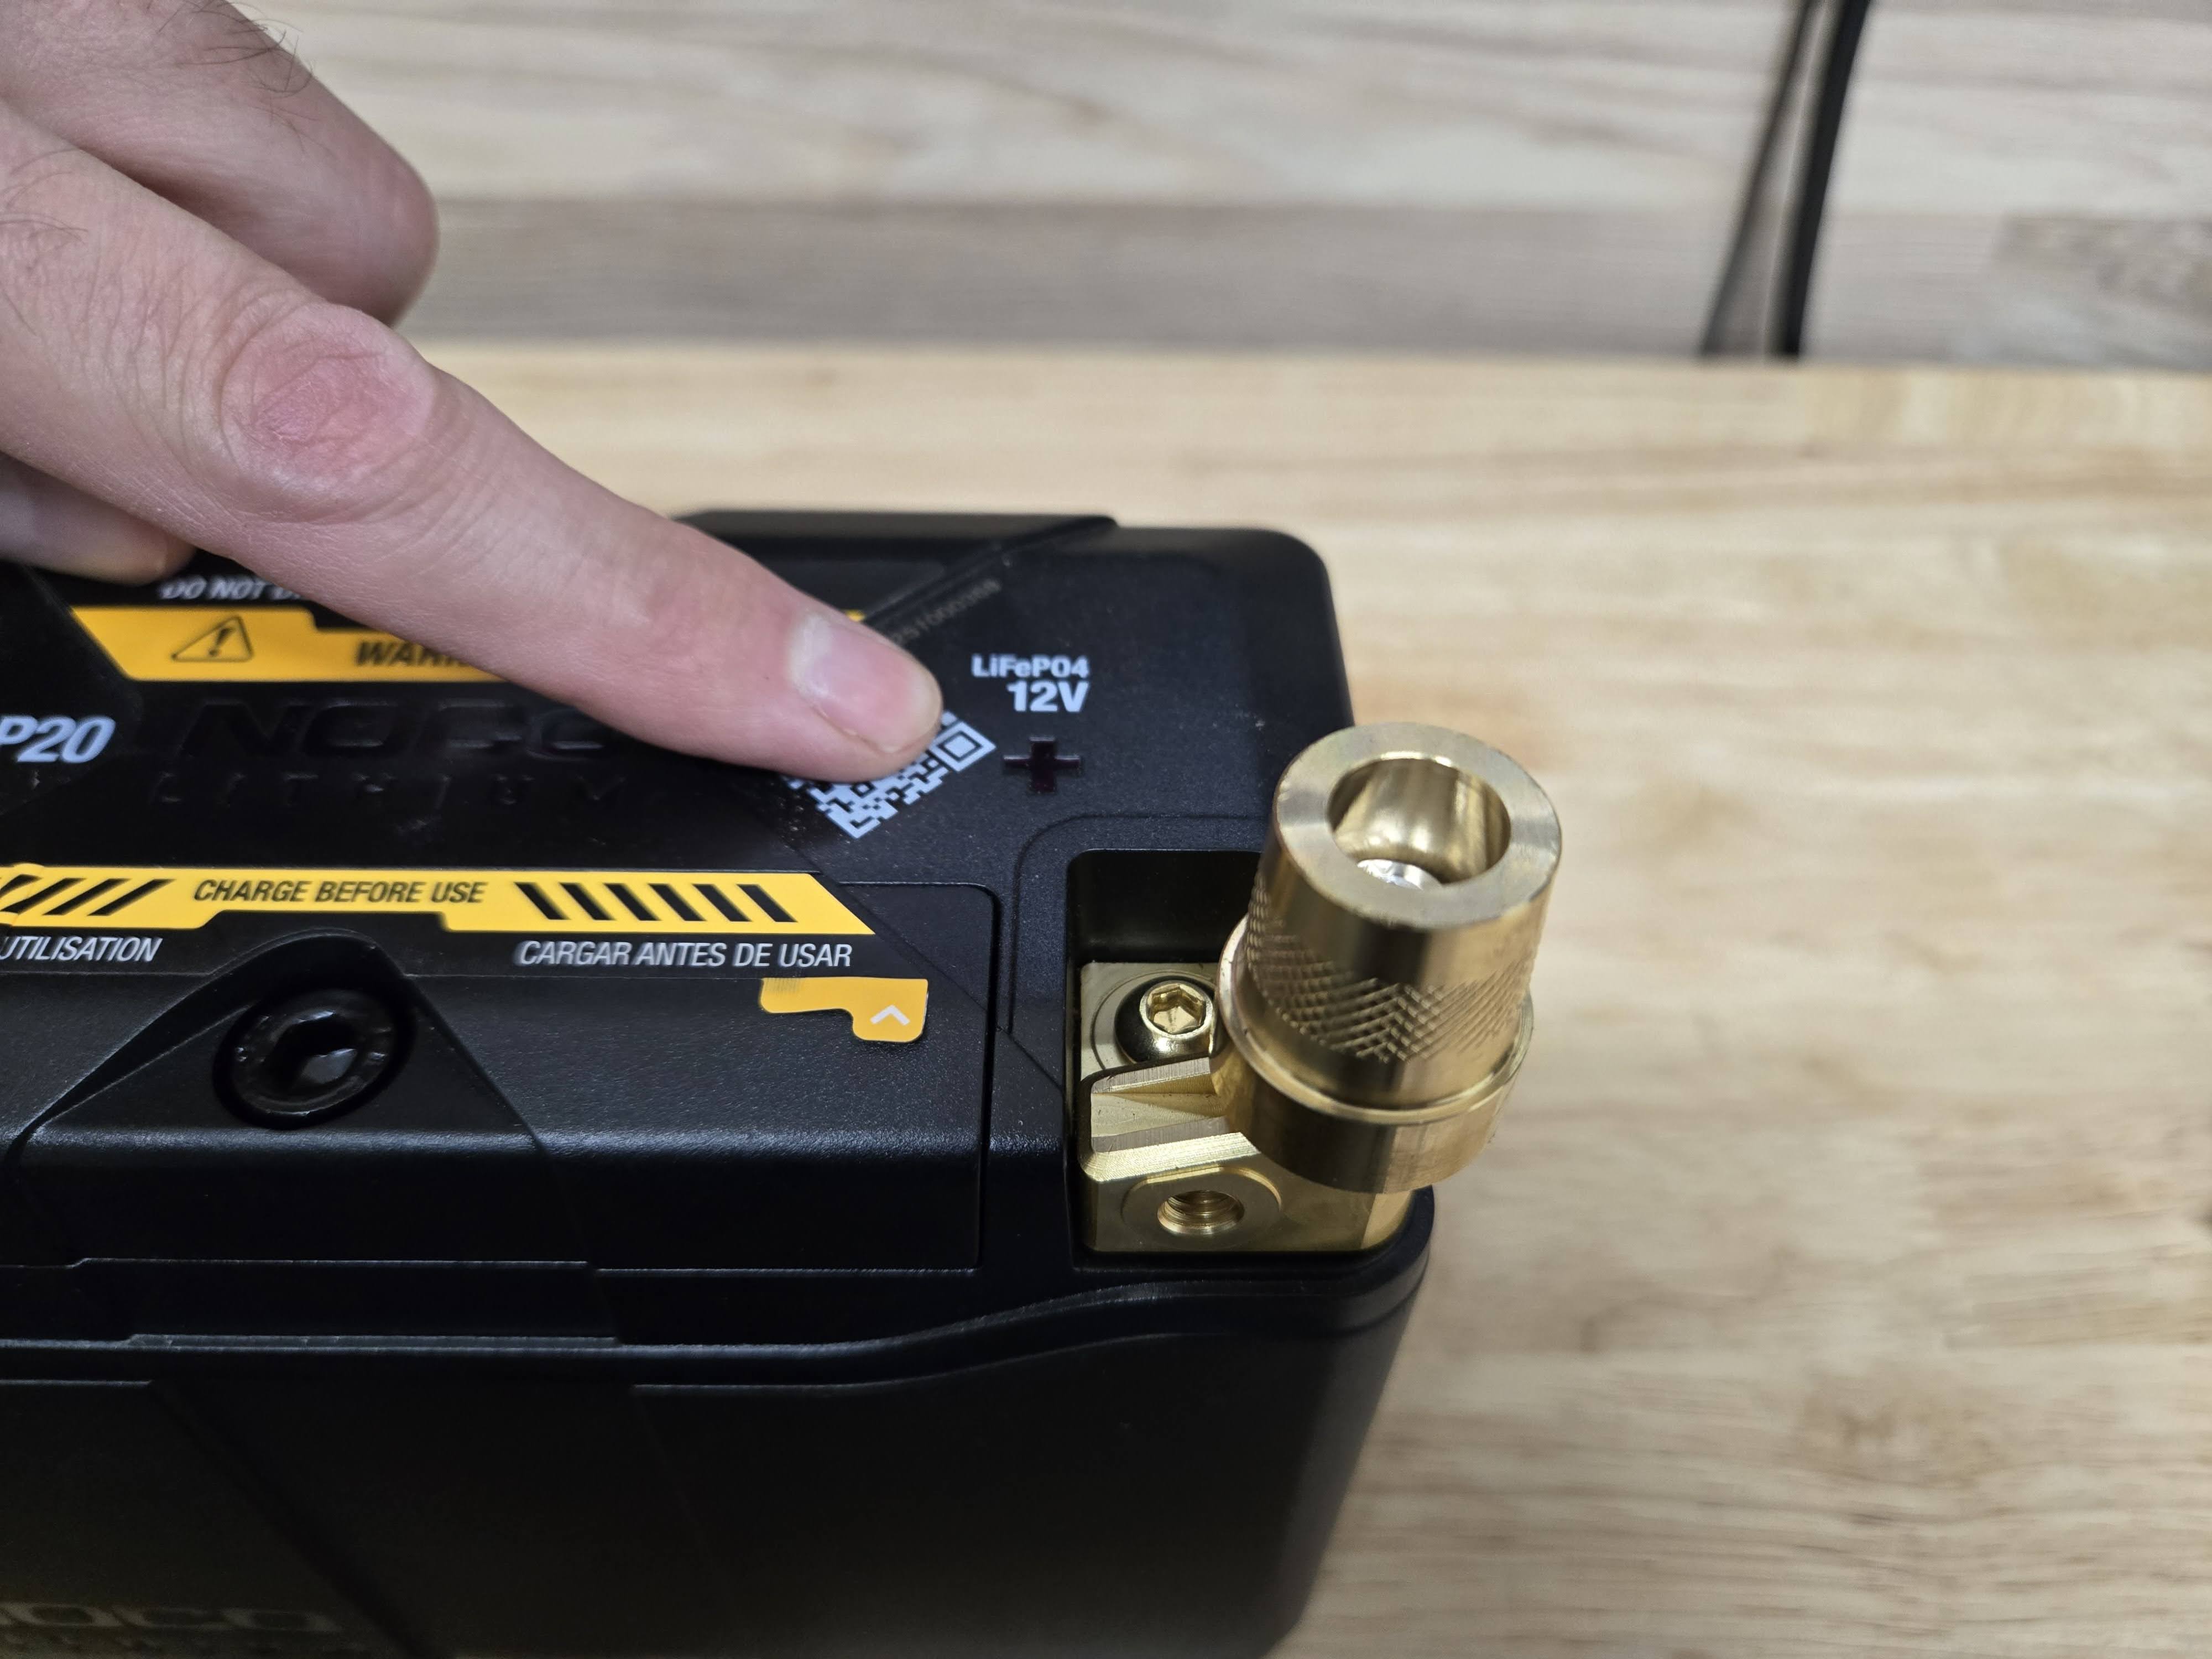
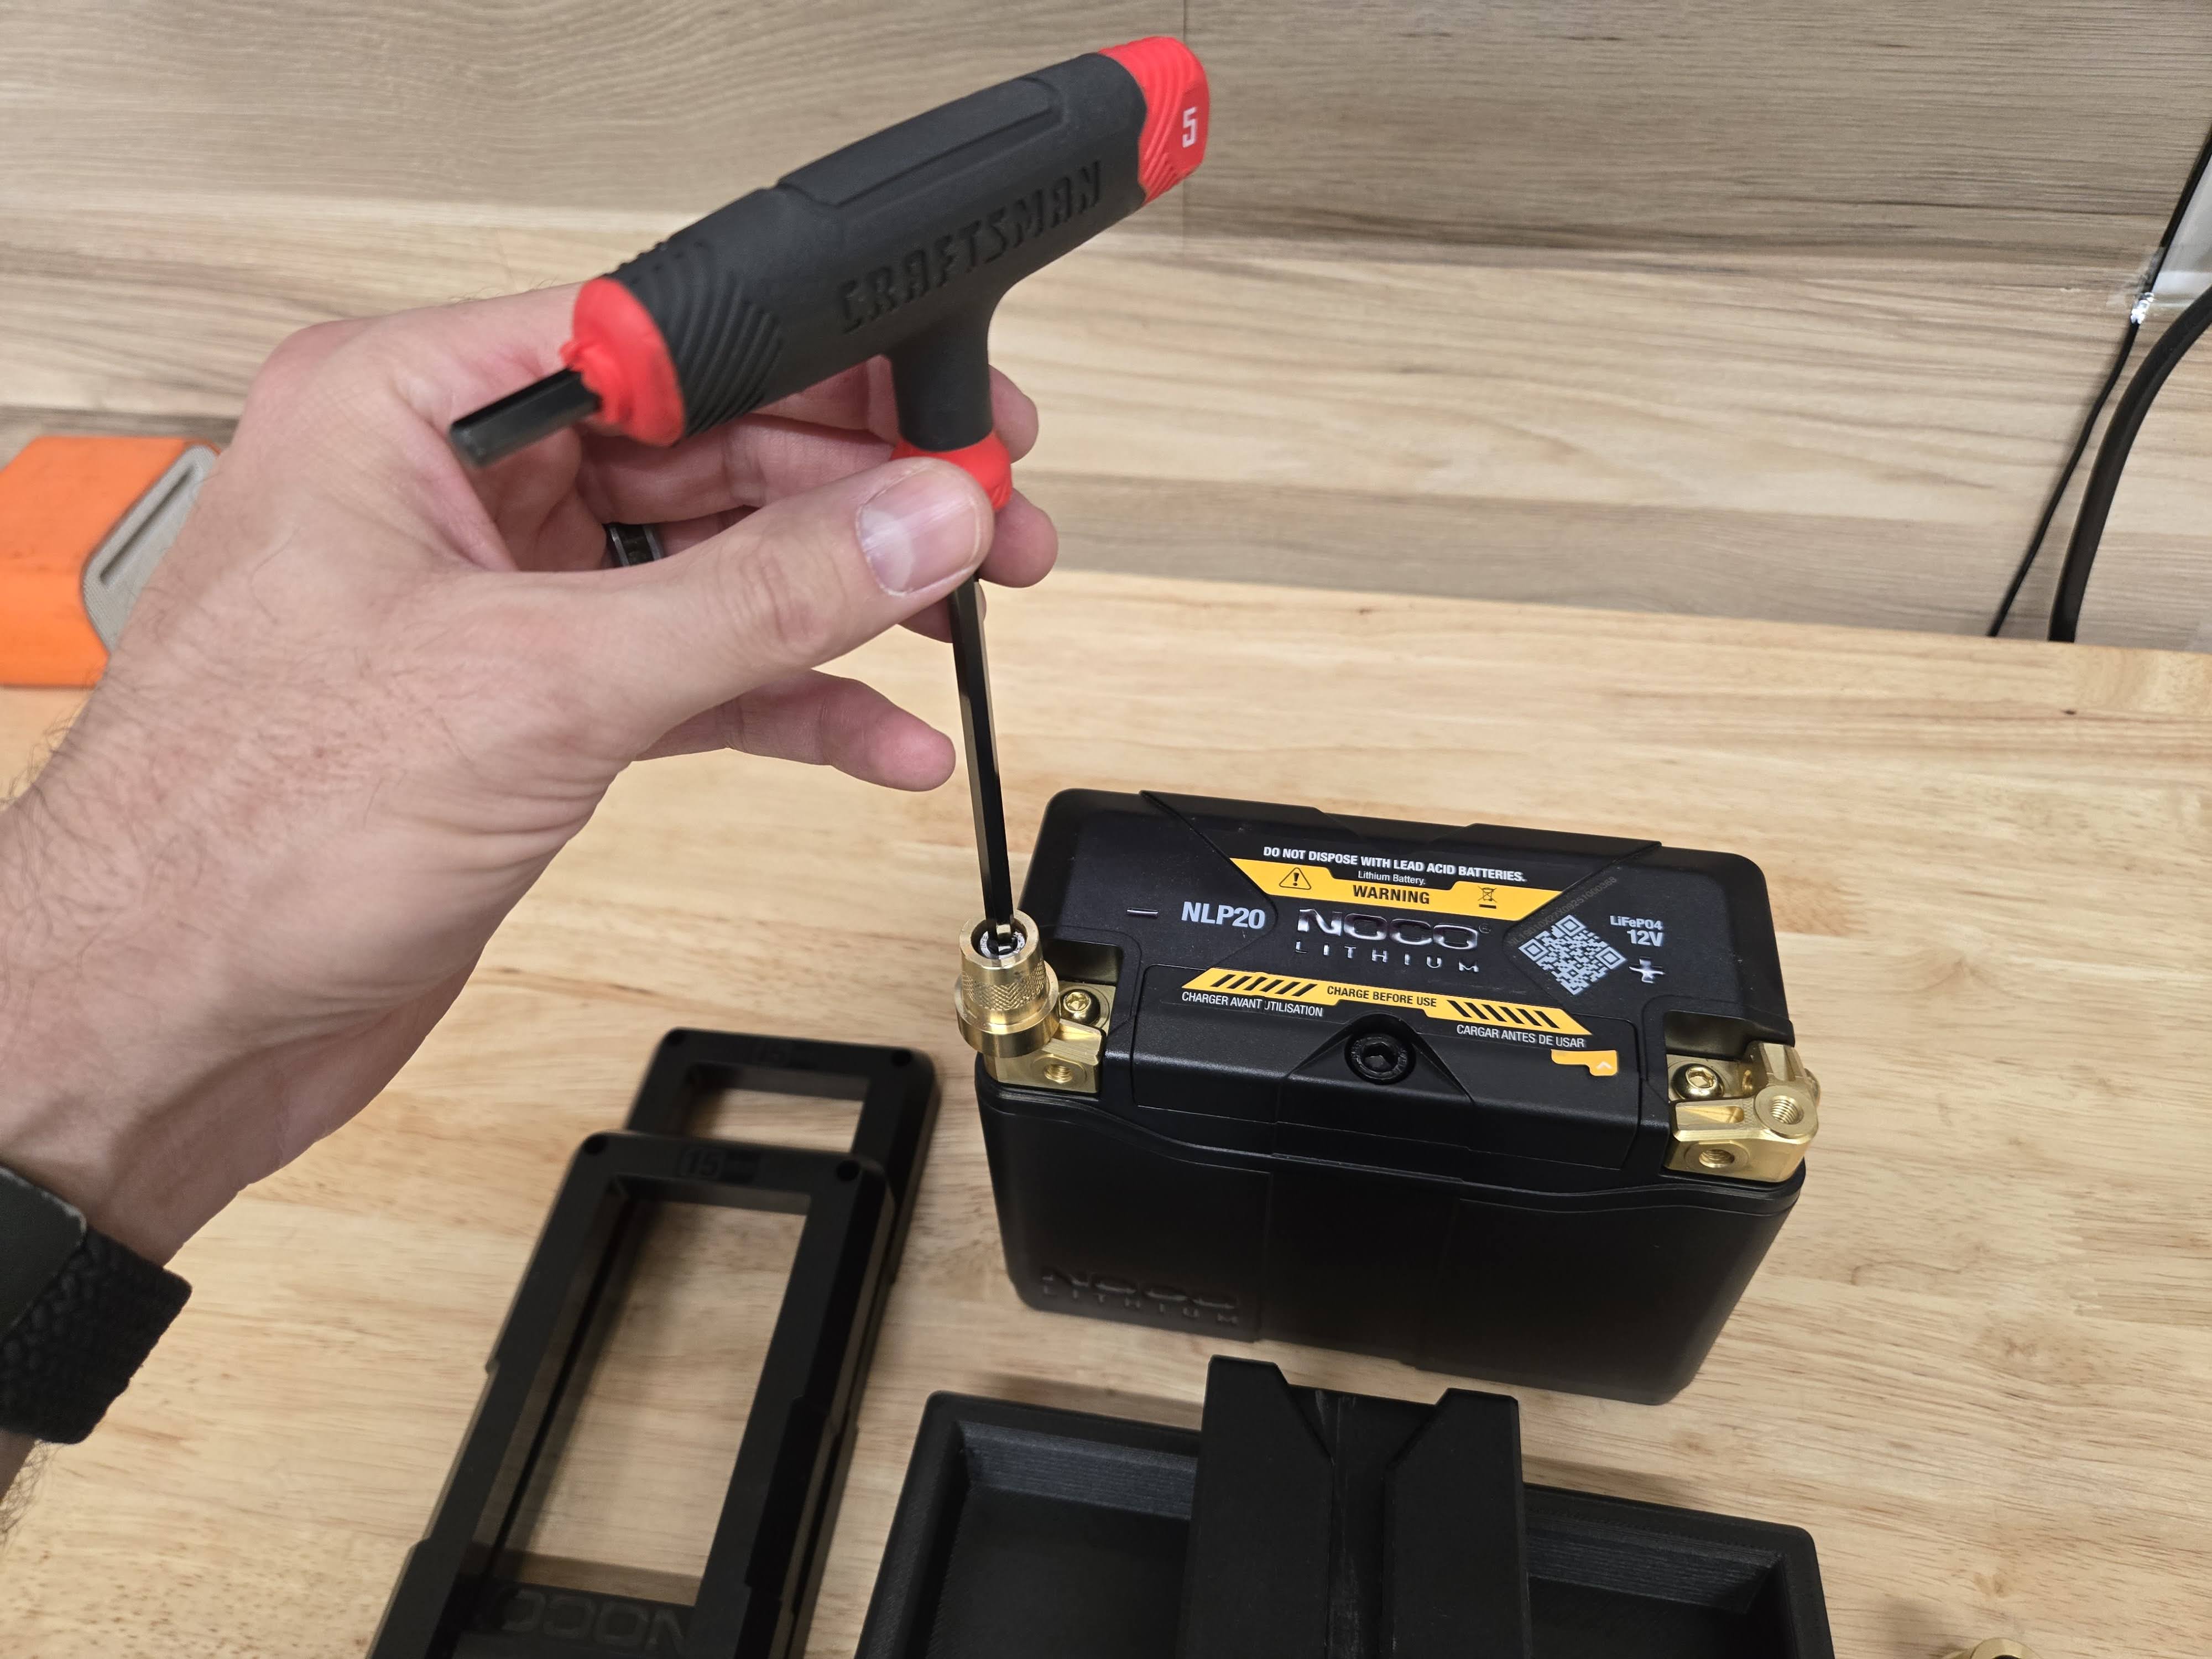
Don’t forget, you need to buy the Noco NLP20 battery itself, battery terminals, and optionally the battery tender (recommended).
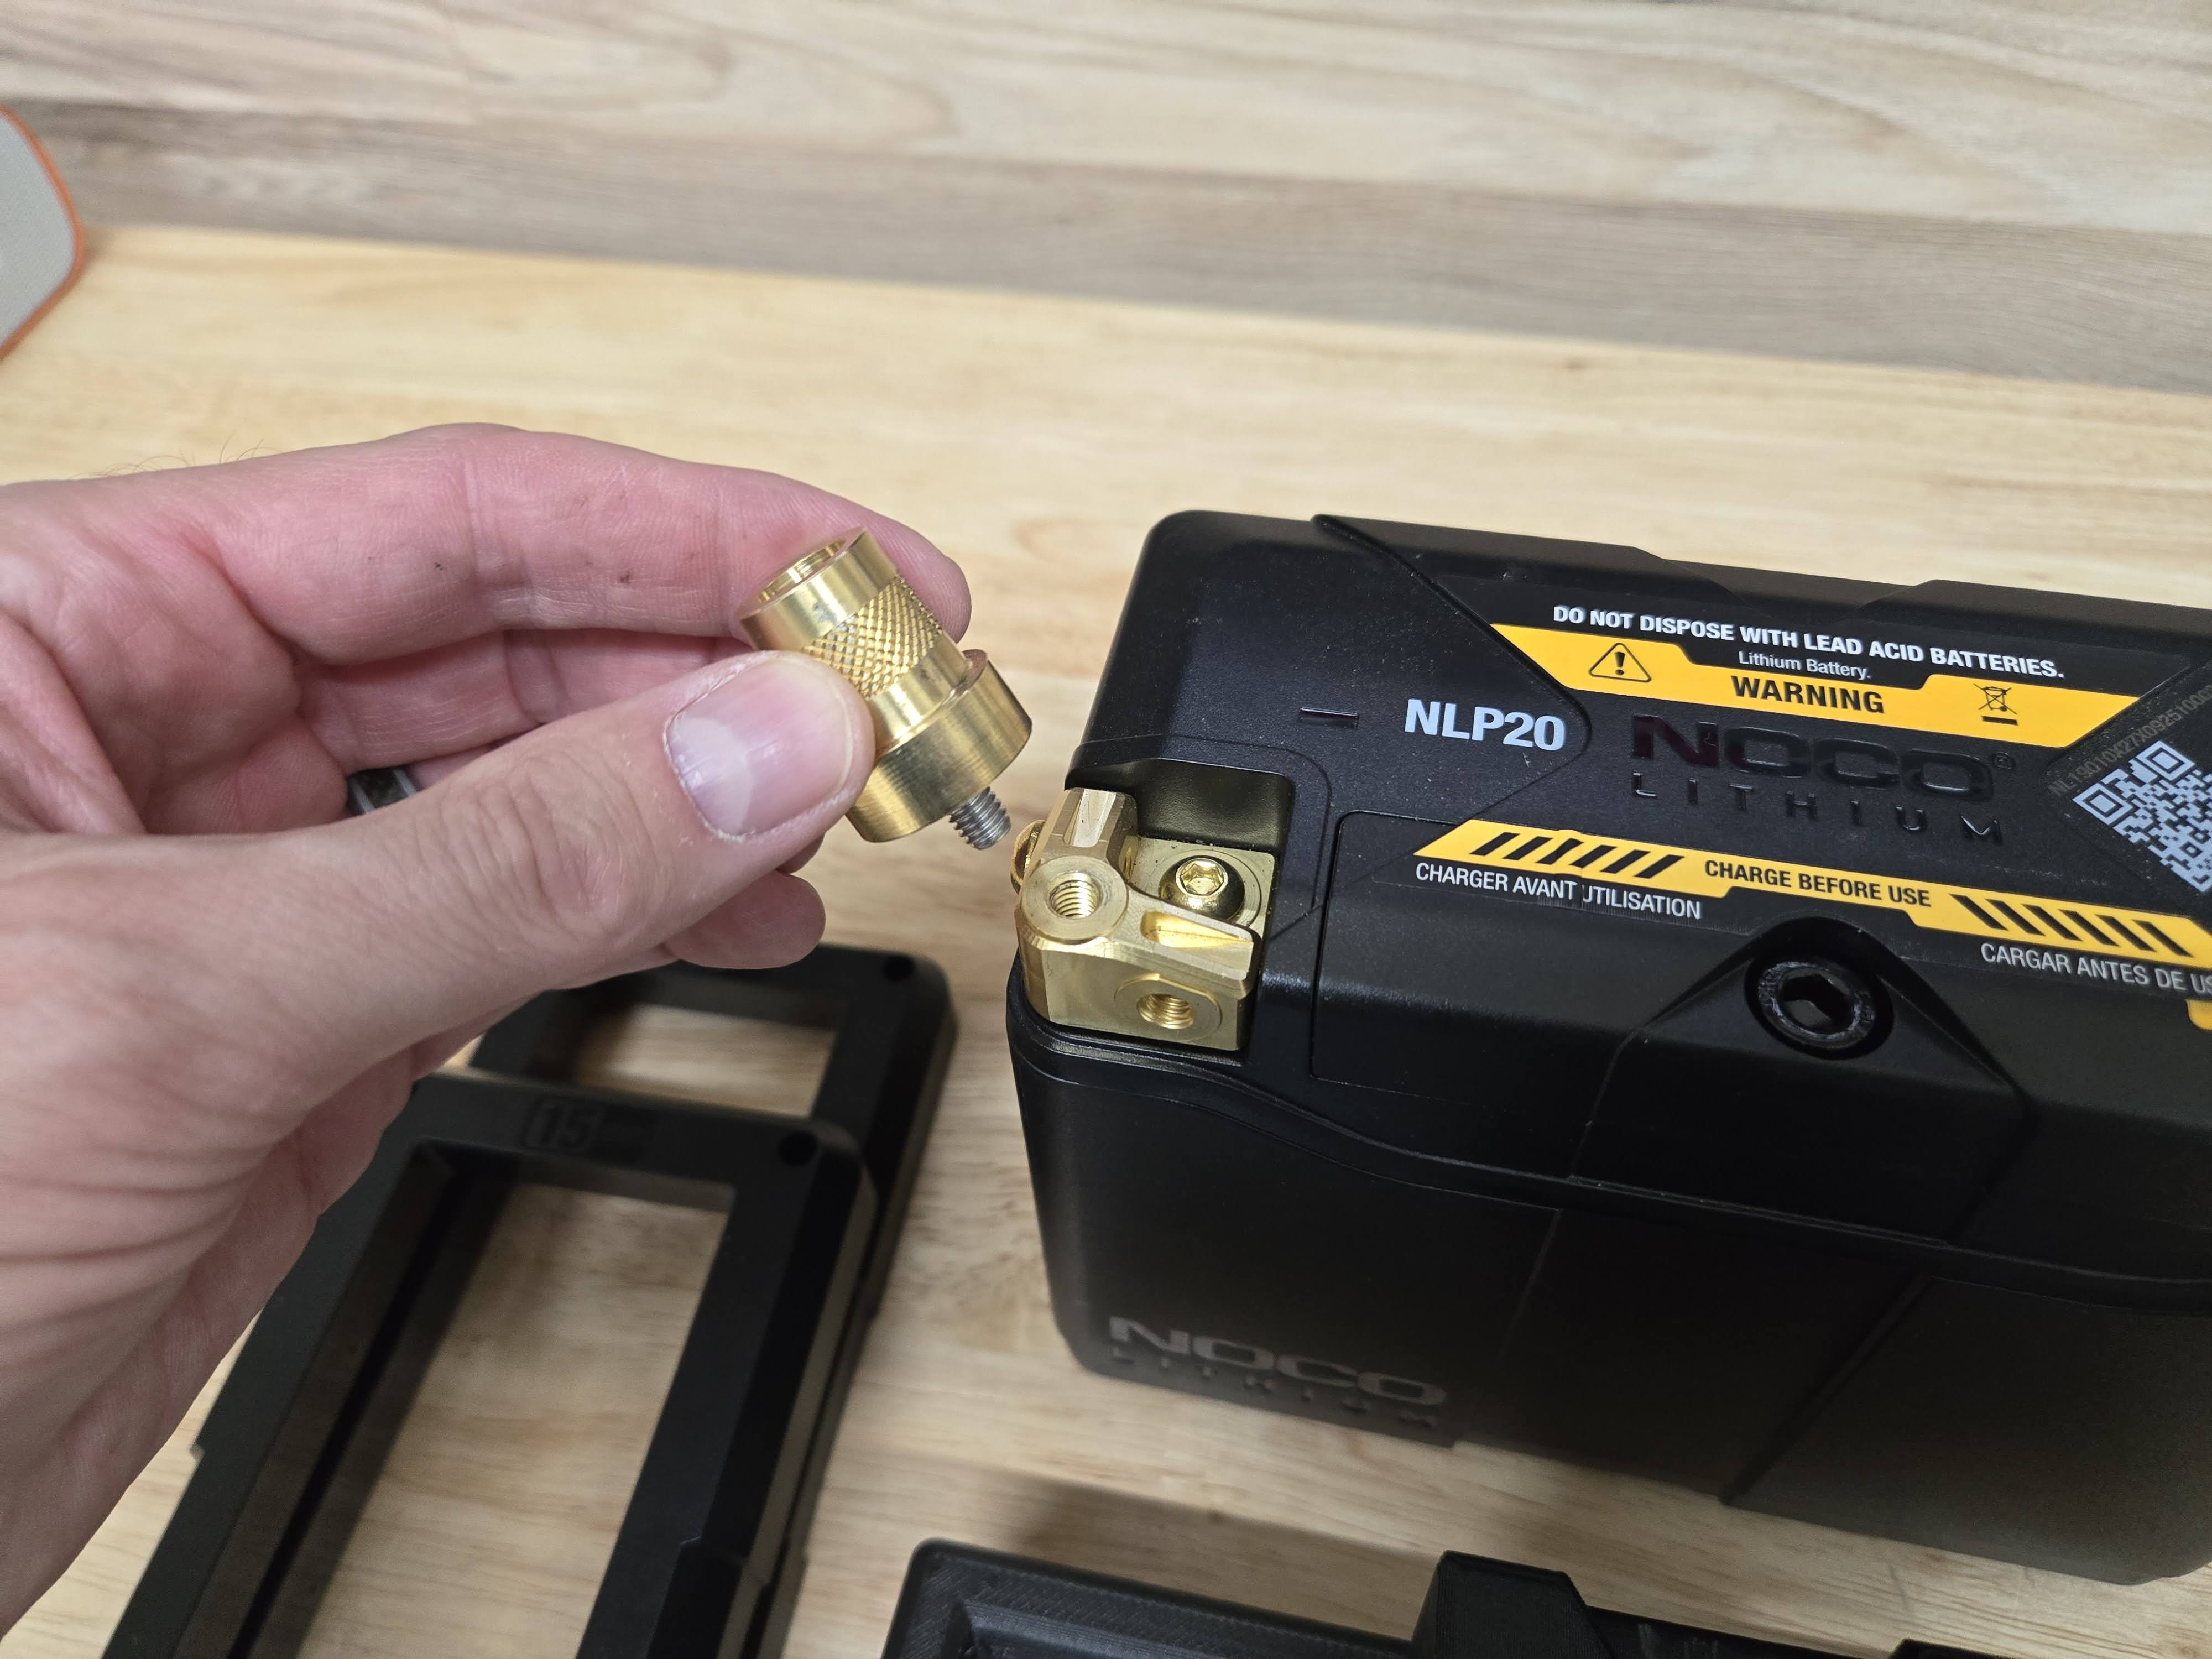
- NOCO Lithium NLP20: Ultra-Light 12V Lithium Battery
- Tall Brass Battery Post Adaptor (M6 Thread)
- Battery Tender Junior 12V
Print Yourself Approach
If you choose to print yourself, here are some things you will need along with the STL/3MF files.
A capable 3D printer, nozzle, and filament. What I use is below. If you already have a 3D printer you still need the appropriate filament listed below.
- Bambu Labs P1S 3D Printer
- Bambu 0.6mm Hardened Steel Nozzle Assembly
- Polymaker Fiberon PET-CF17 3D Printing Filament
My Bambu P1S settings are below
- Use the nozzle profile:
* 0.30mm Strength @BBL X1C 0.6 nozzle
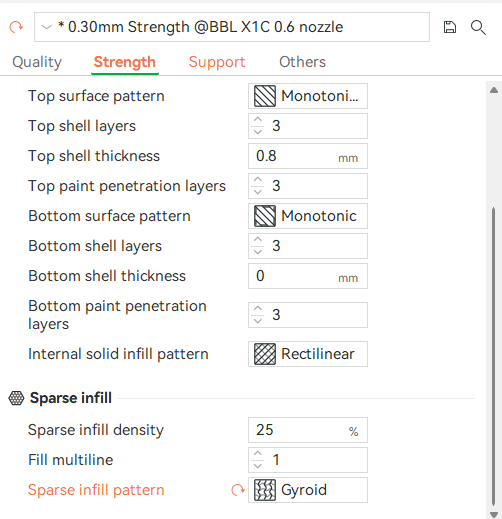
- Strength settings are default except:
Sparse infill pattern = Gyroid
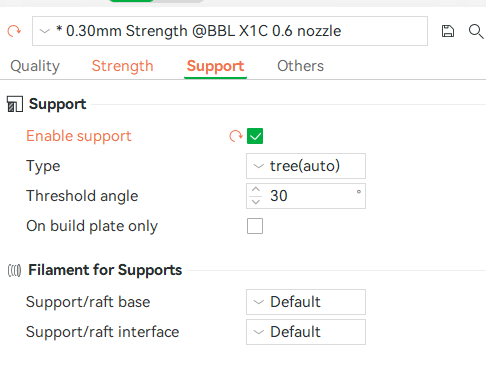
- Support
Enable support - default values (use same filament)
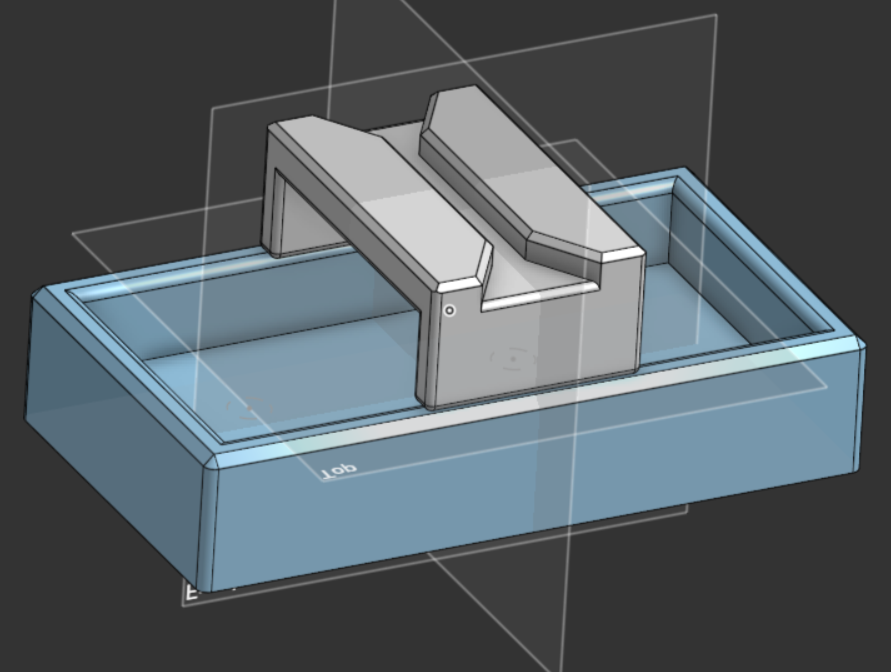
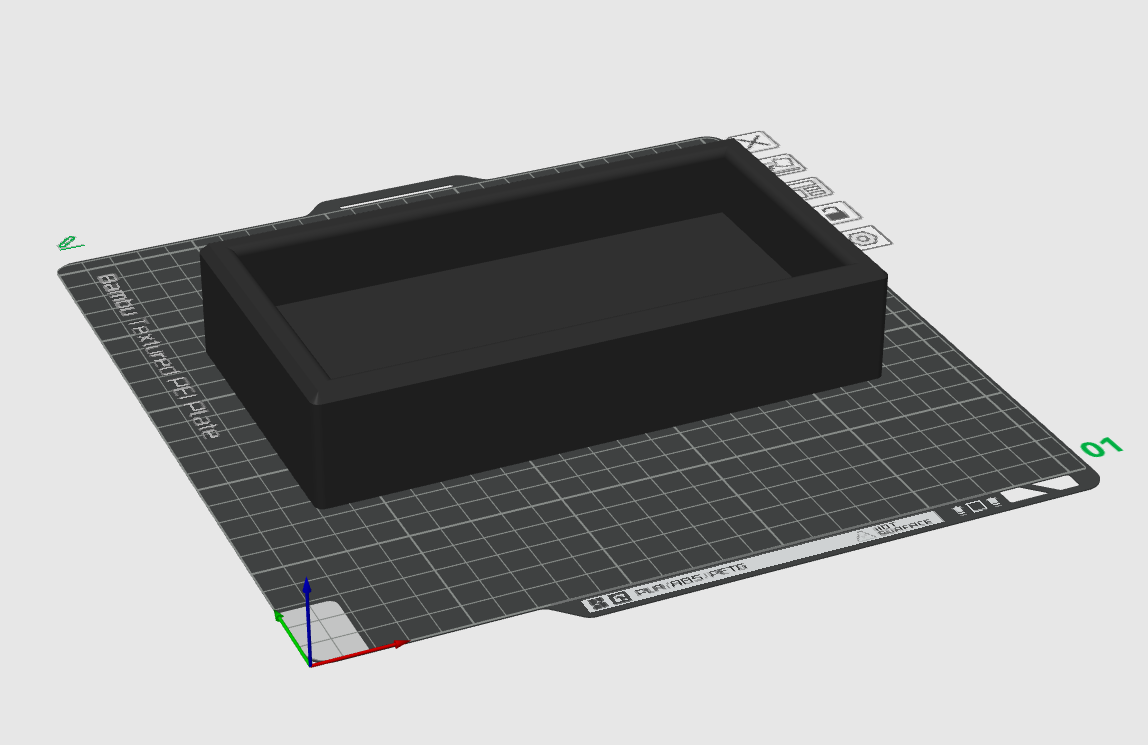
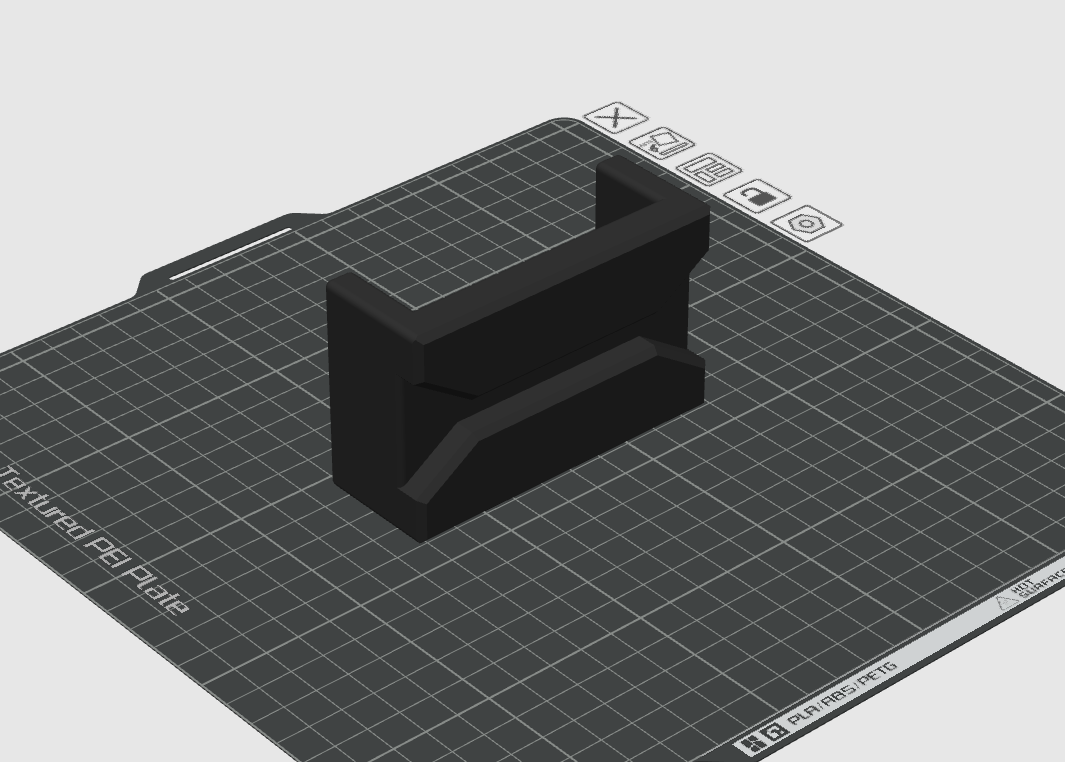
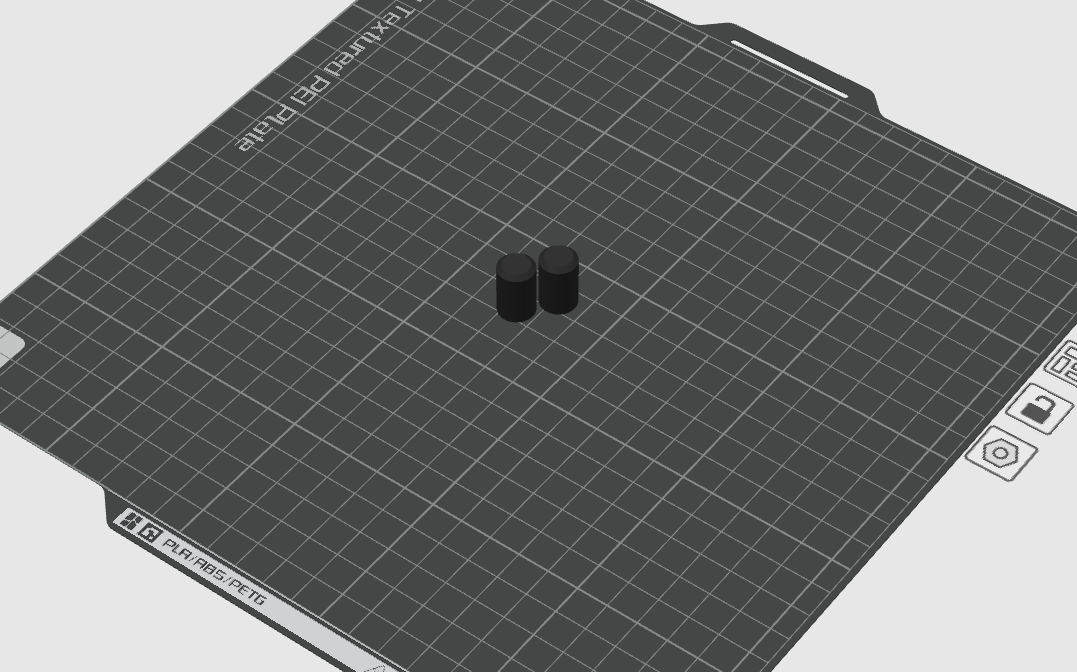
Proper orientation of the parts on your 3D printer plate. See the images below for correct orientation.
Files
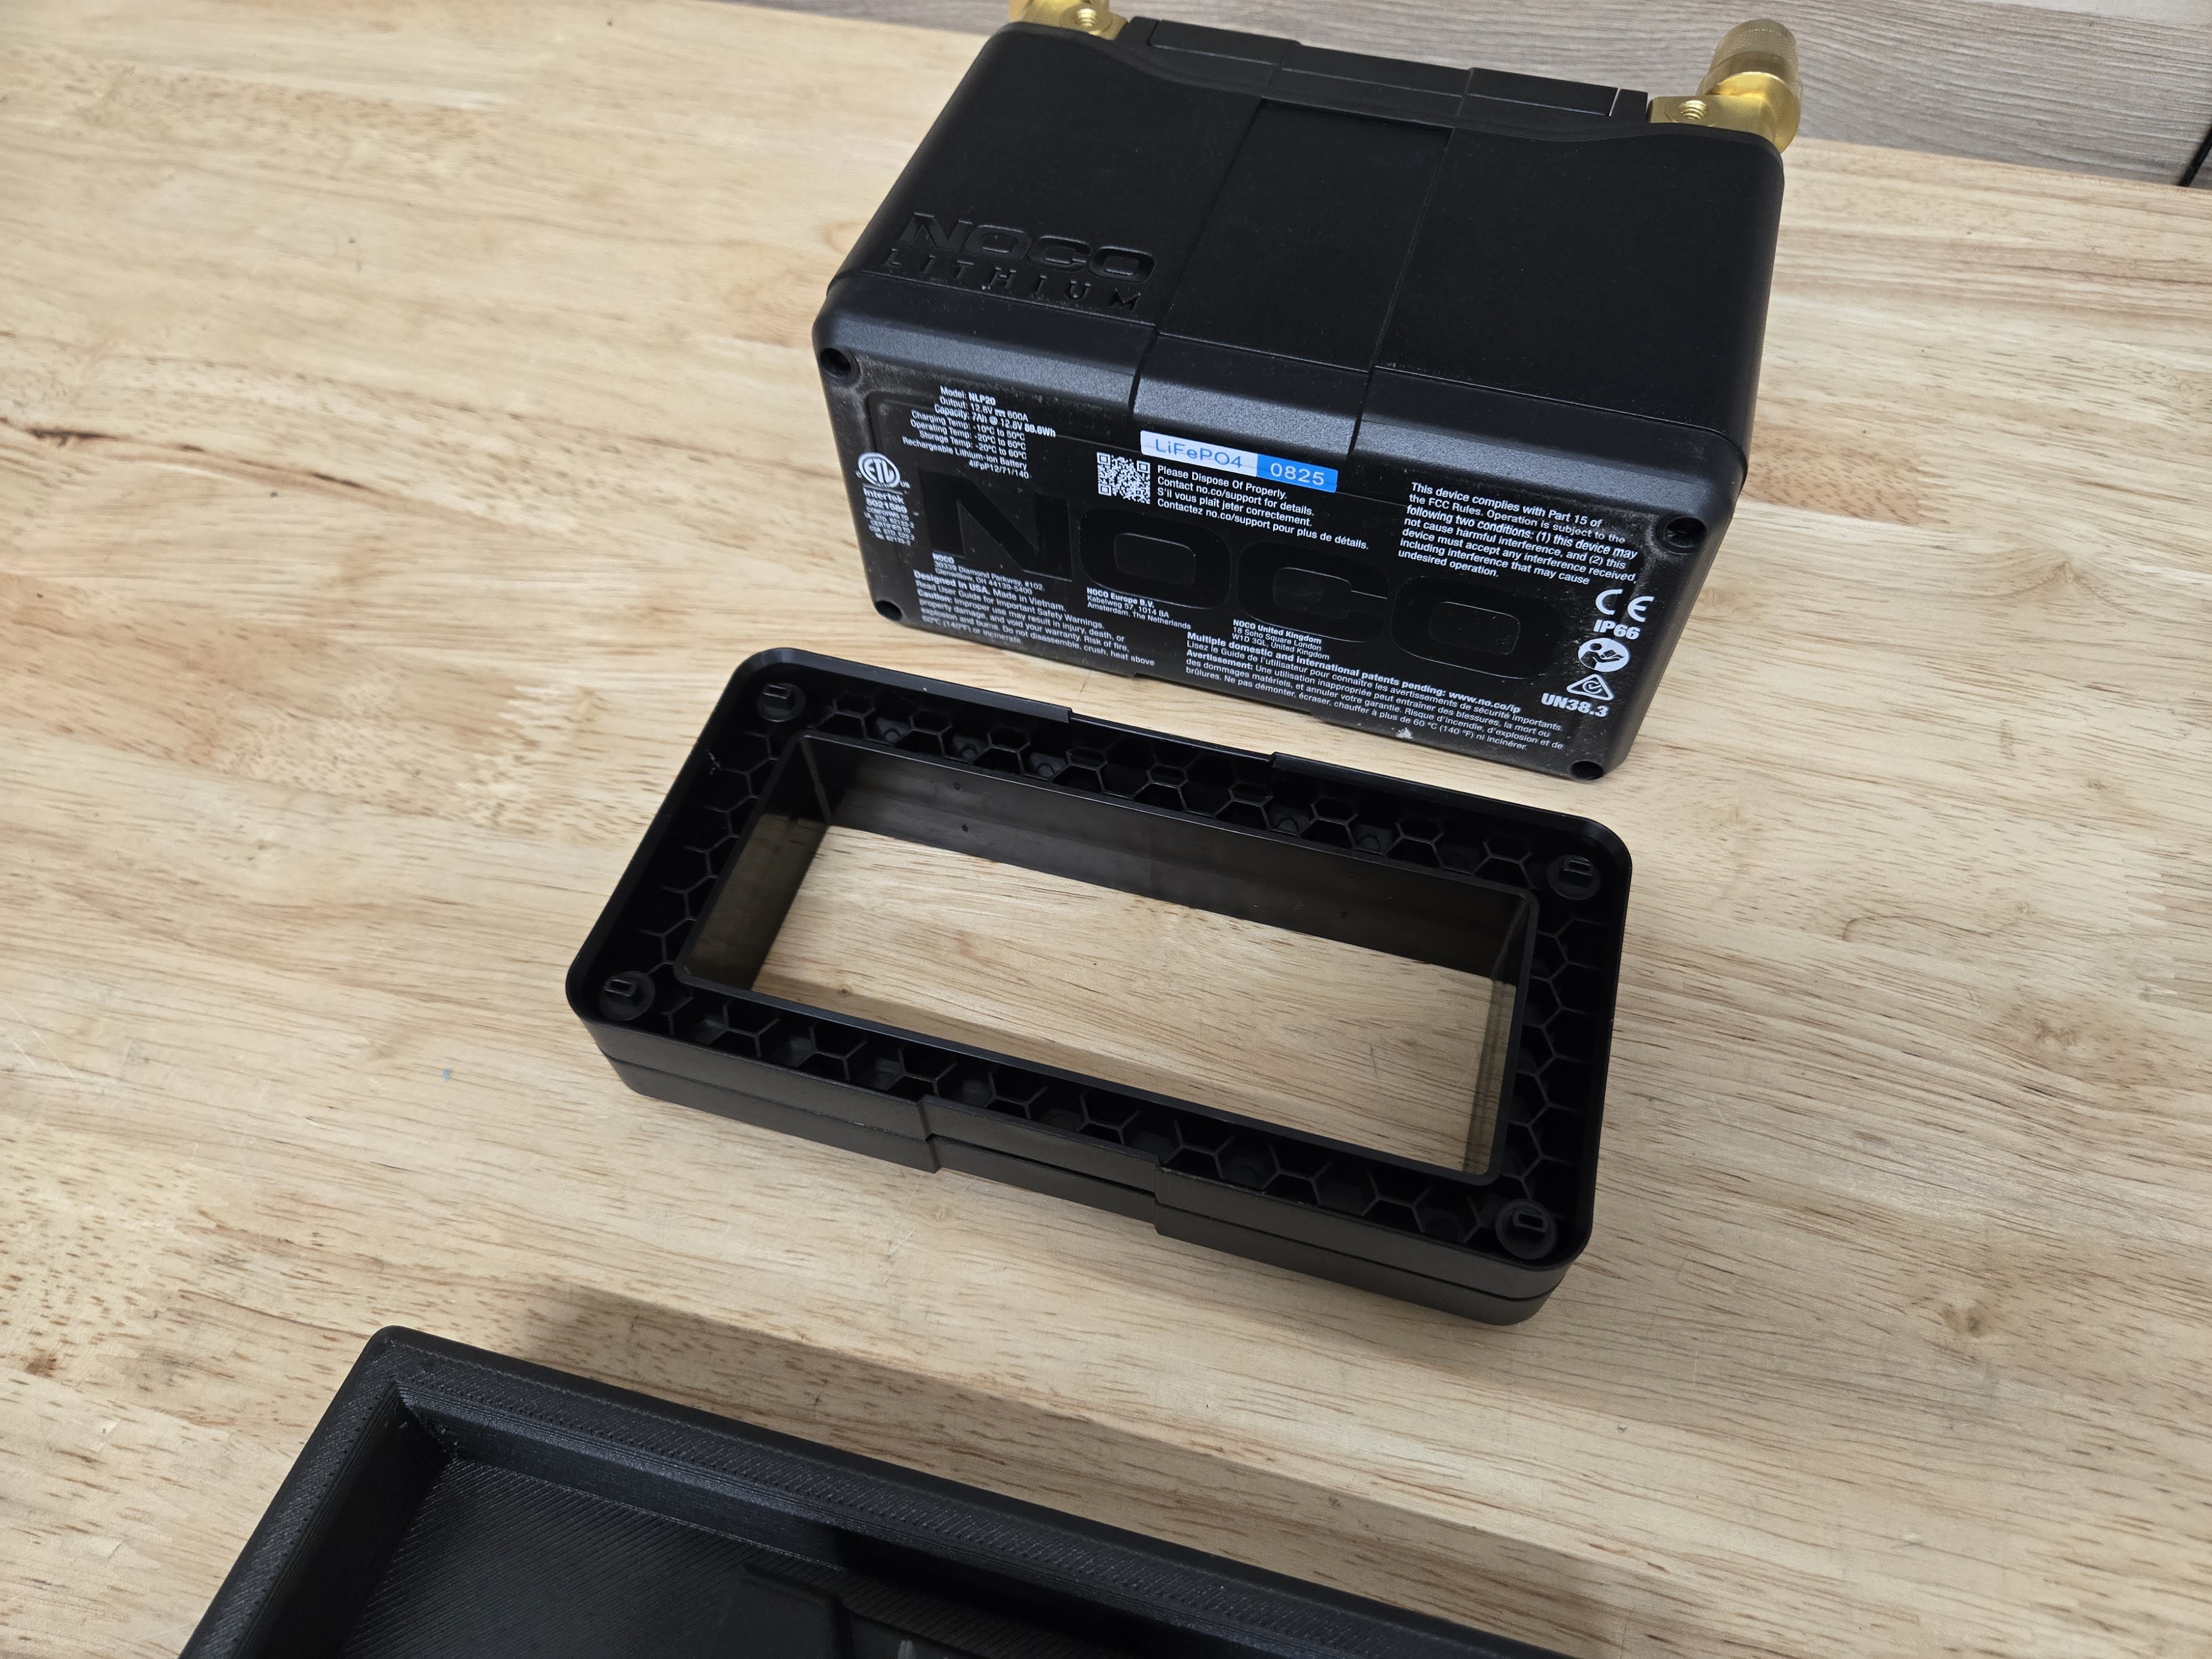
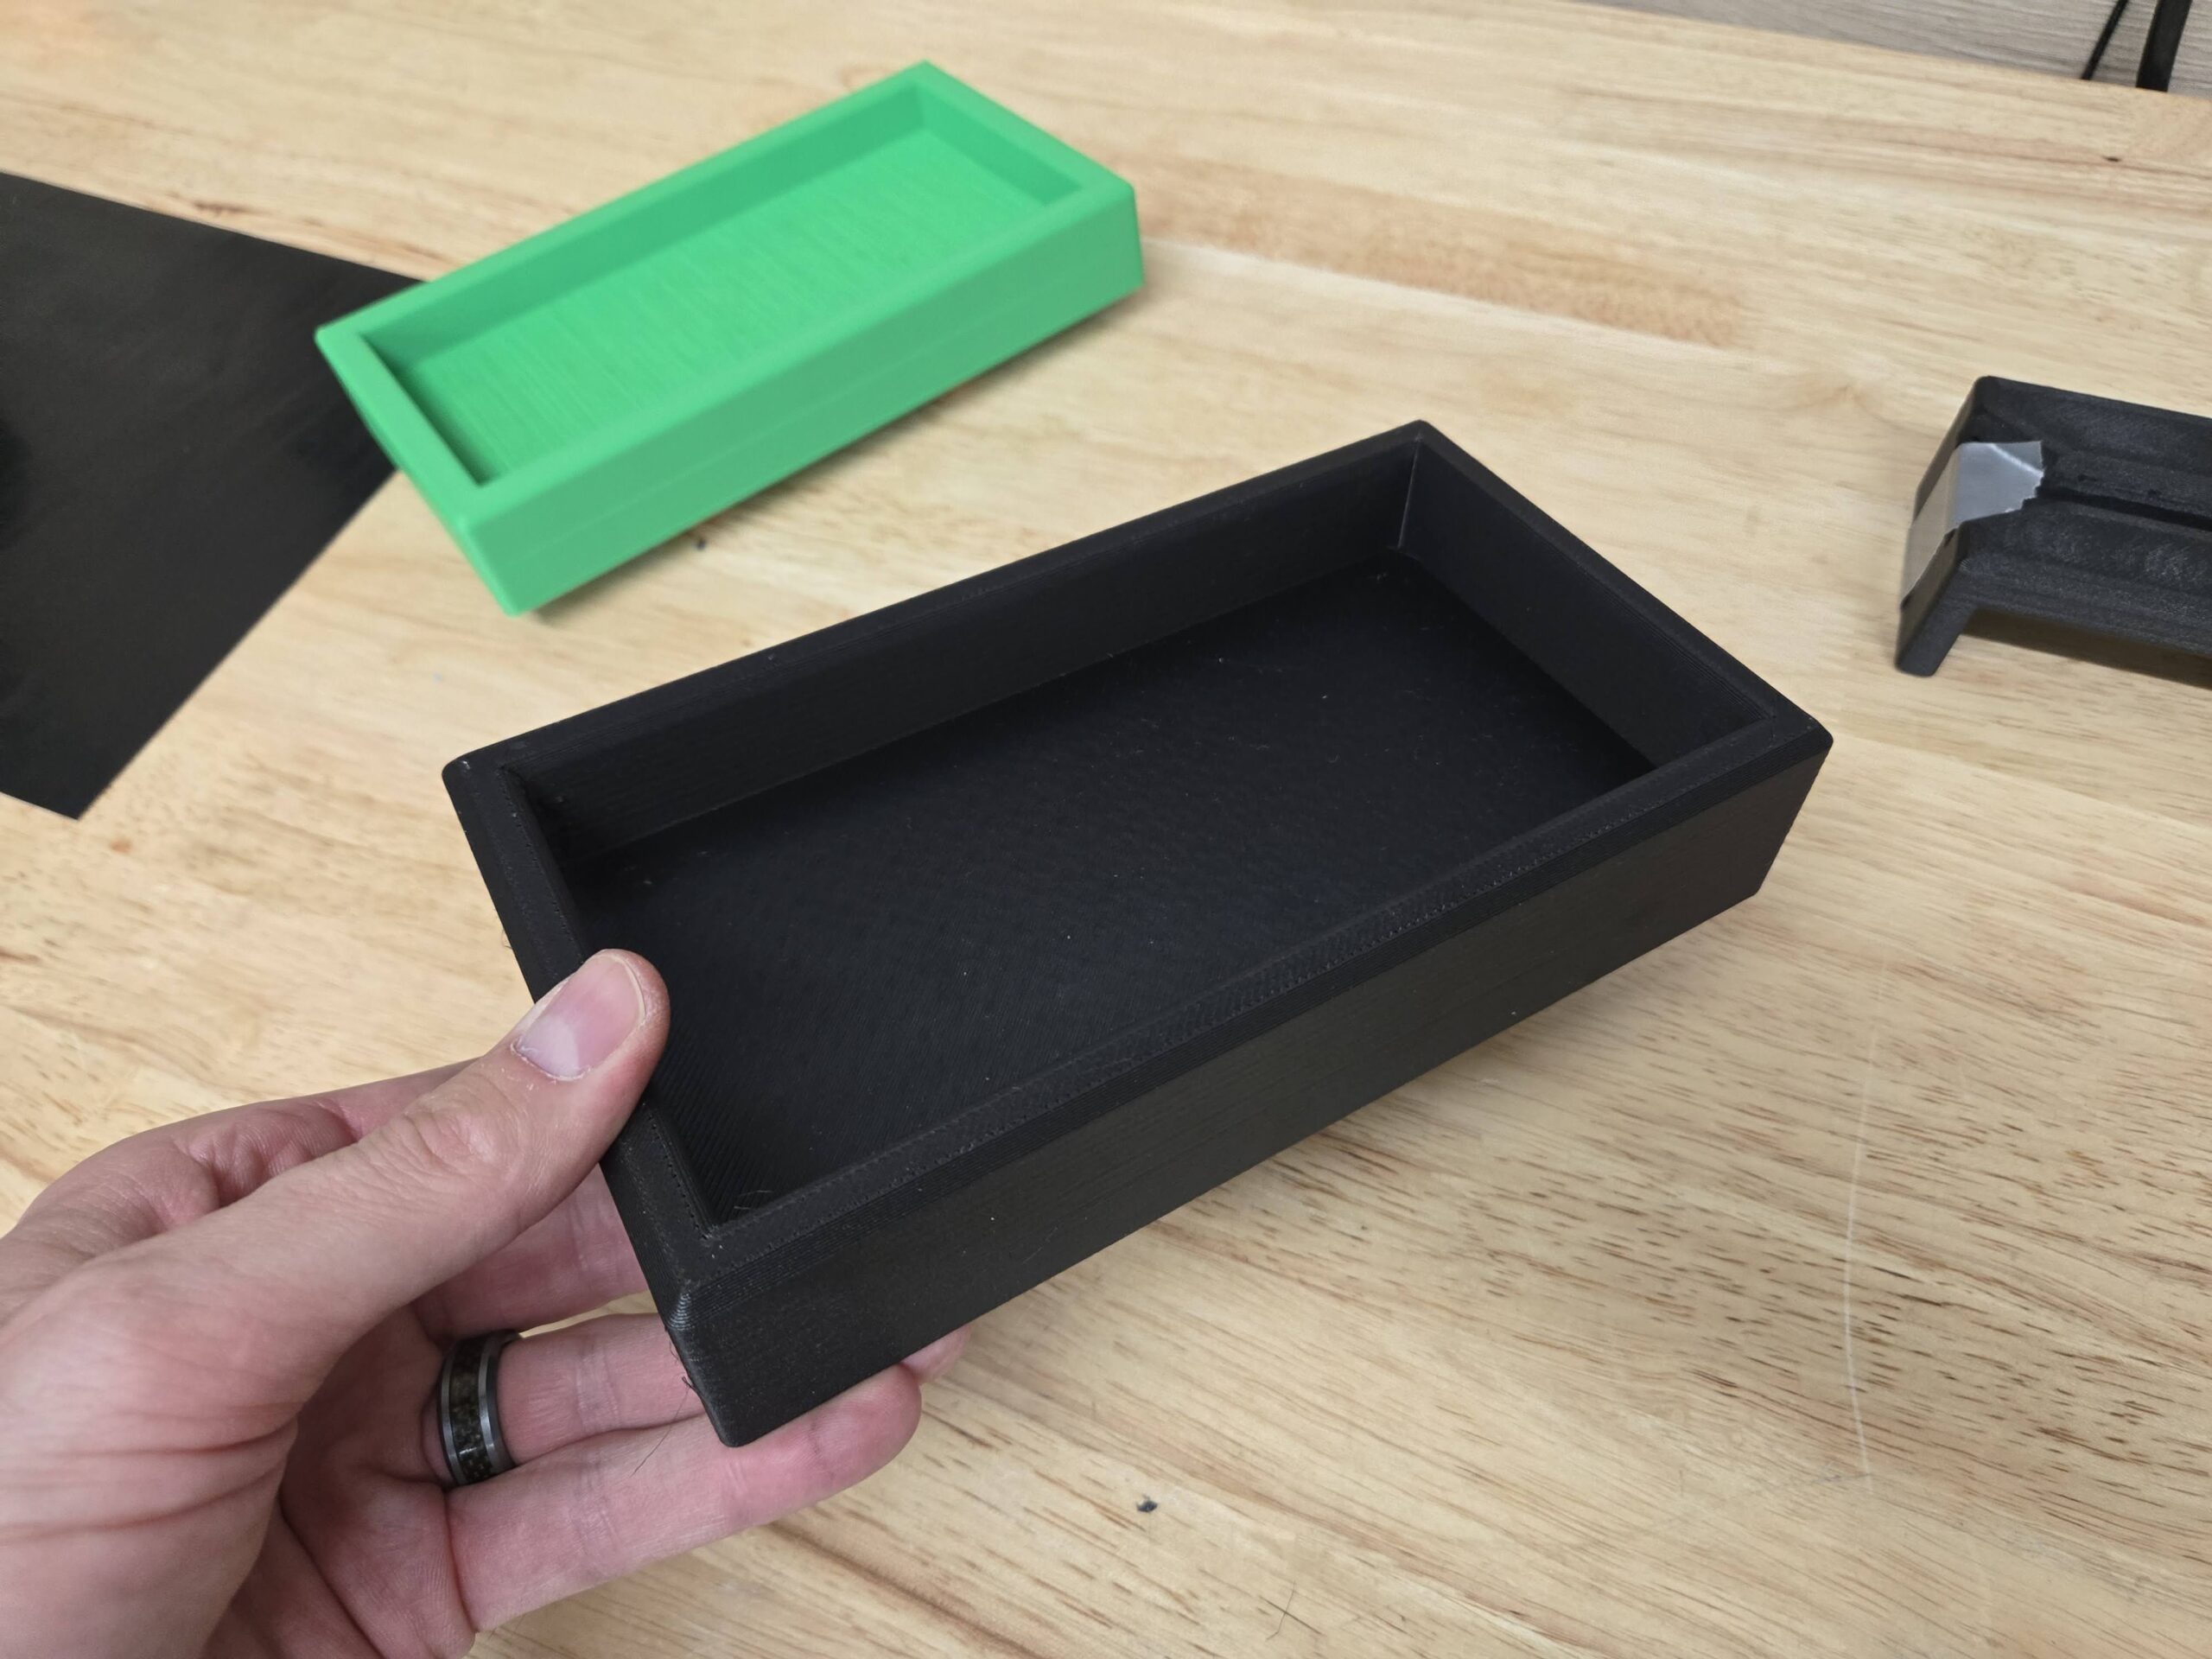
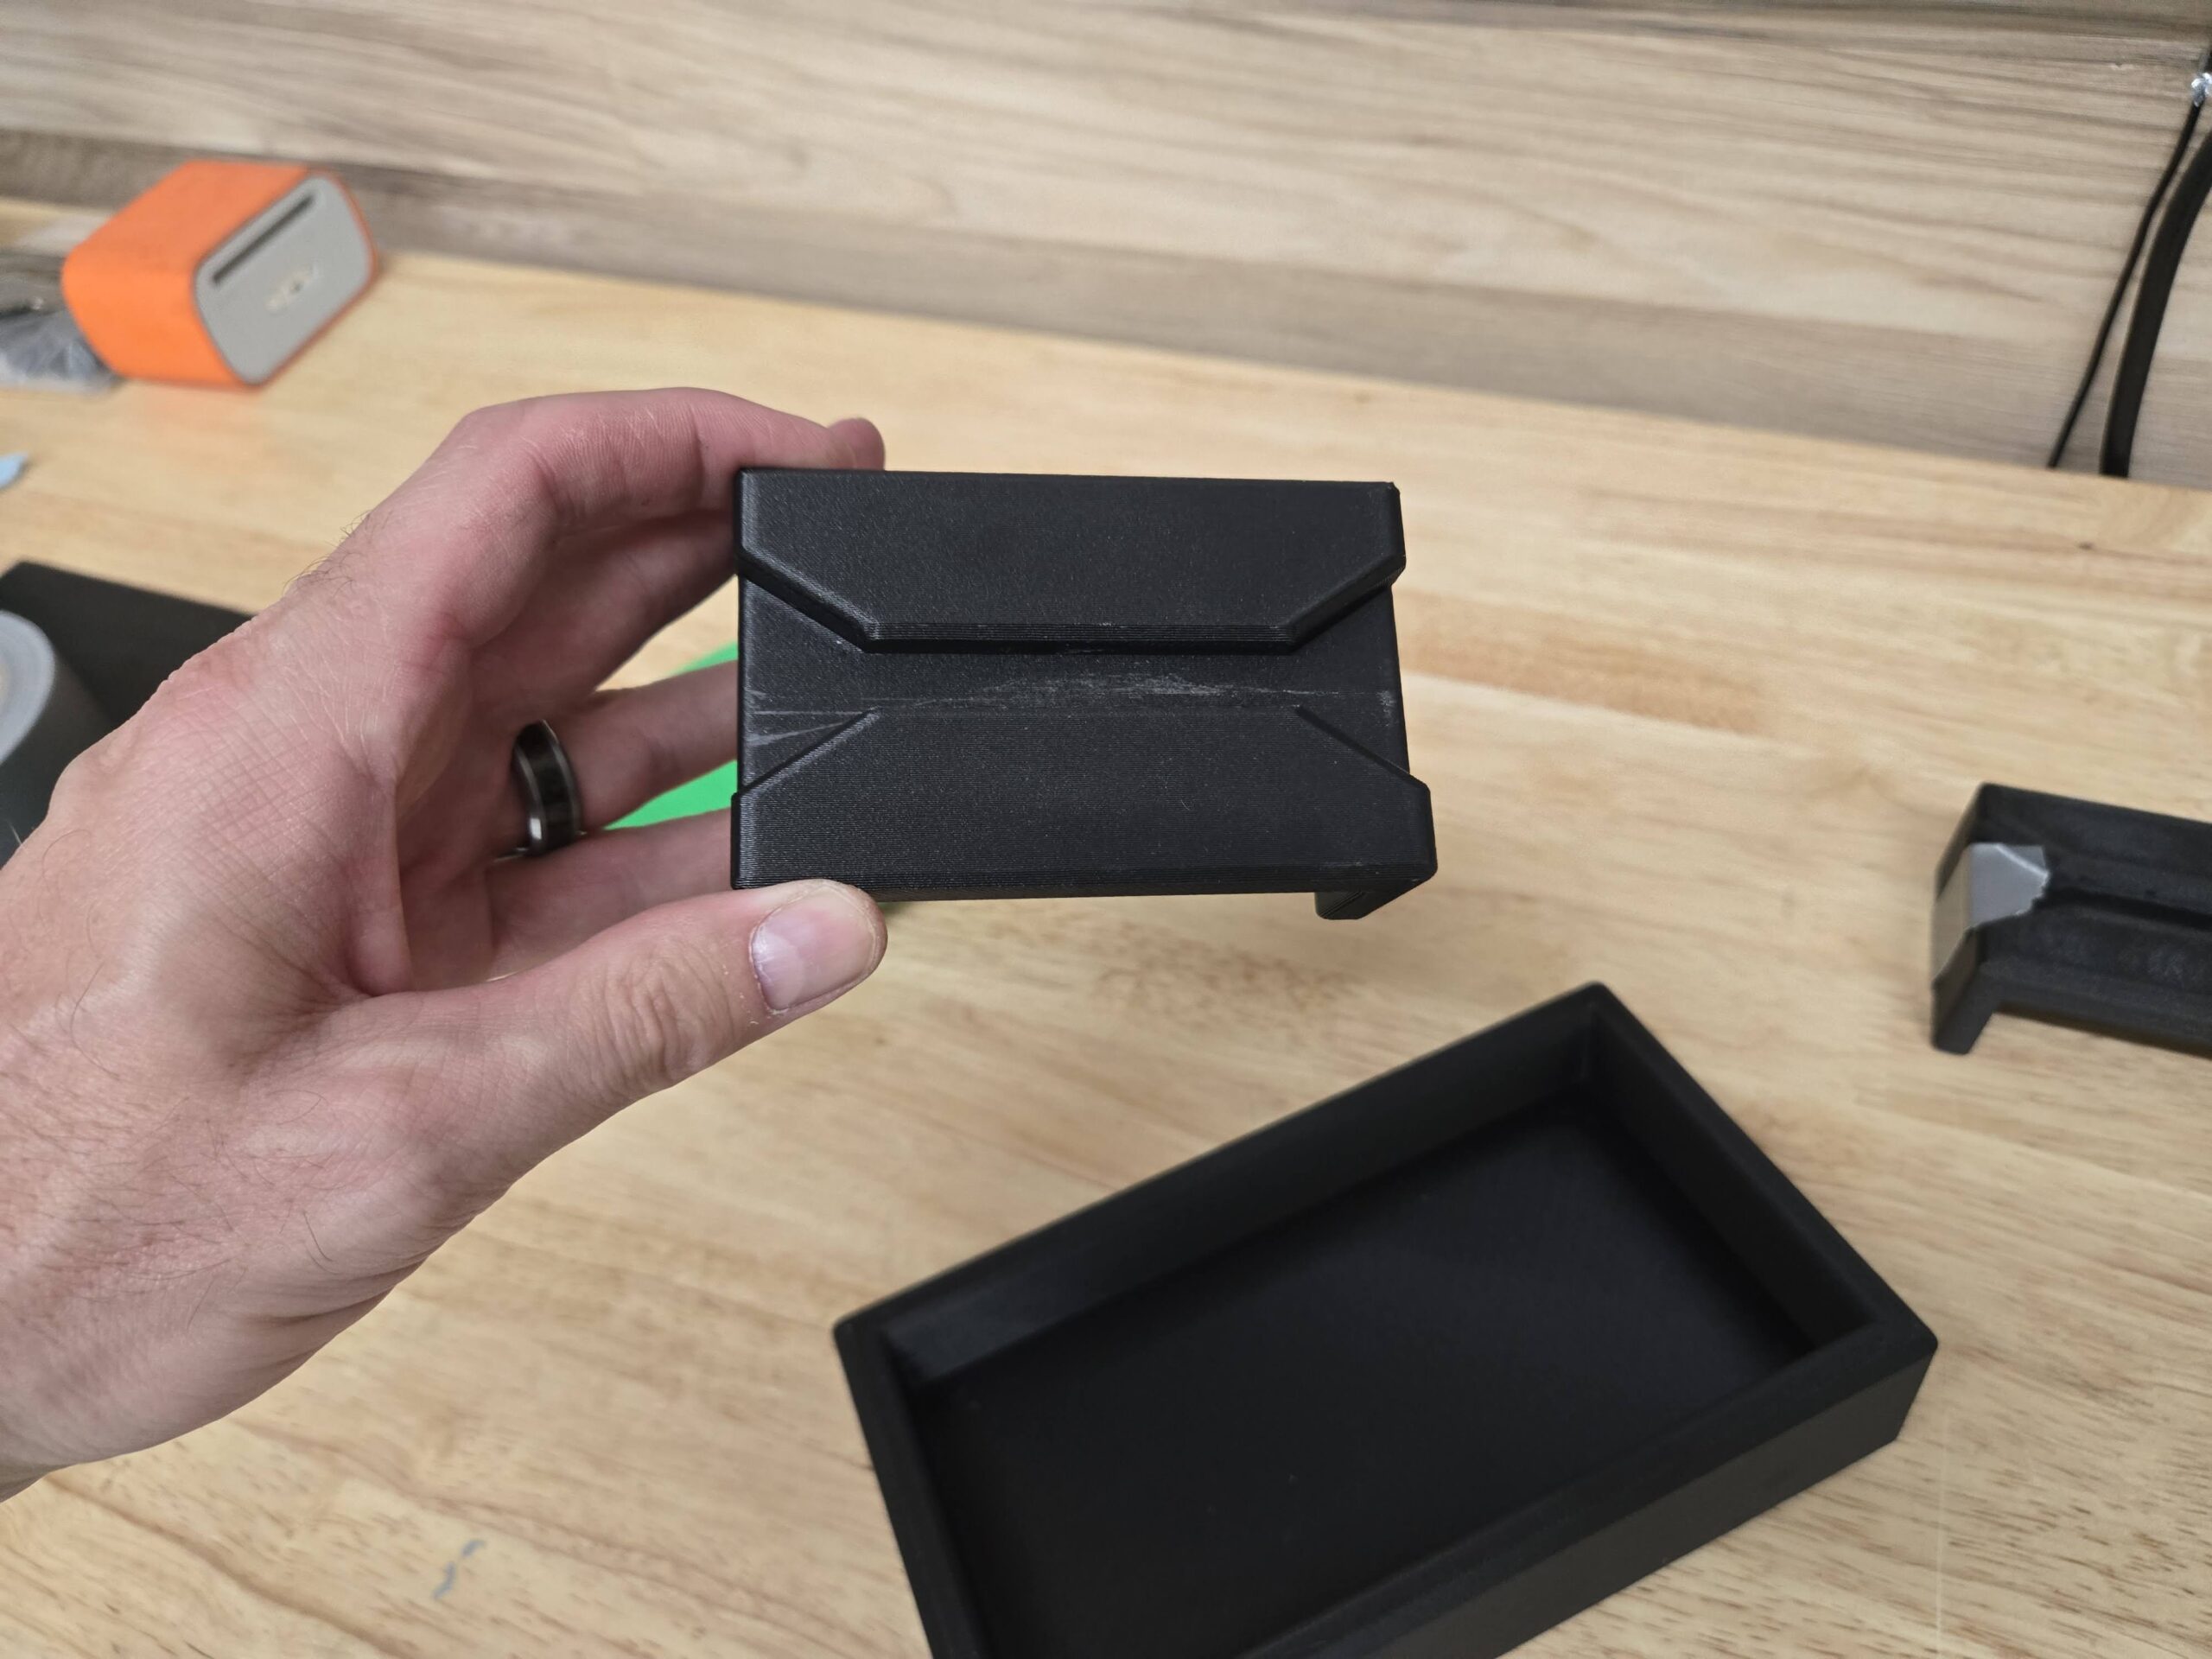
You can find the base STL files below if you would like to print yourself.
- BTR-Battery-Mount-Bottom-tray.stl
- BTR-Battery-Mount-Top-Tray.stl
- BTR-Battery-Mount-Dowel-pin-make-2.stl
The files below include more 3D printing settings that make it much easier to jump to printing (like nozzle size, Strength, Support settings)
- BTR-Battery-Mount-Bottom-tray.3mf
- BTR-Battery-Mount-Top-Tray.3mf
- BTR-Battery-Mount-Dowel-pin-make-2.3mf
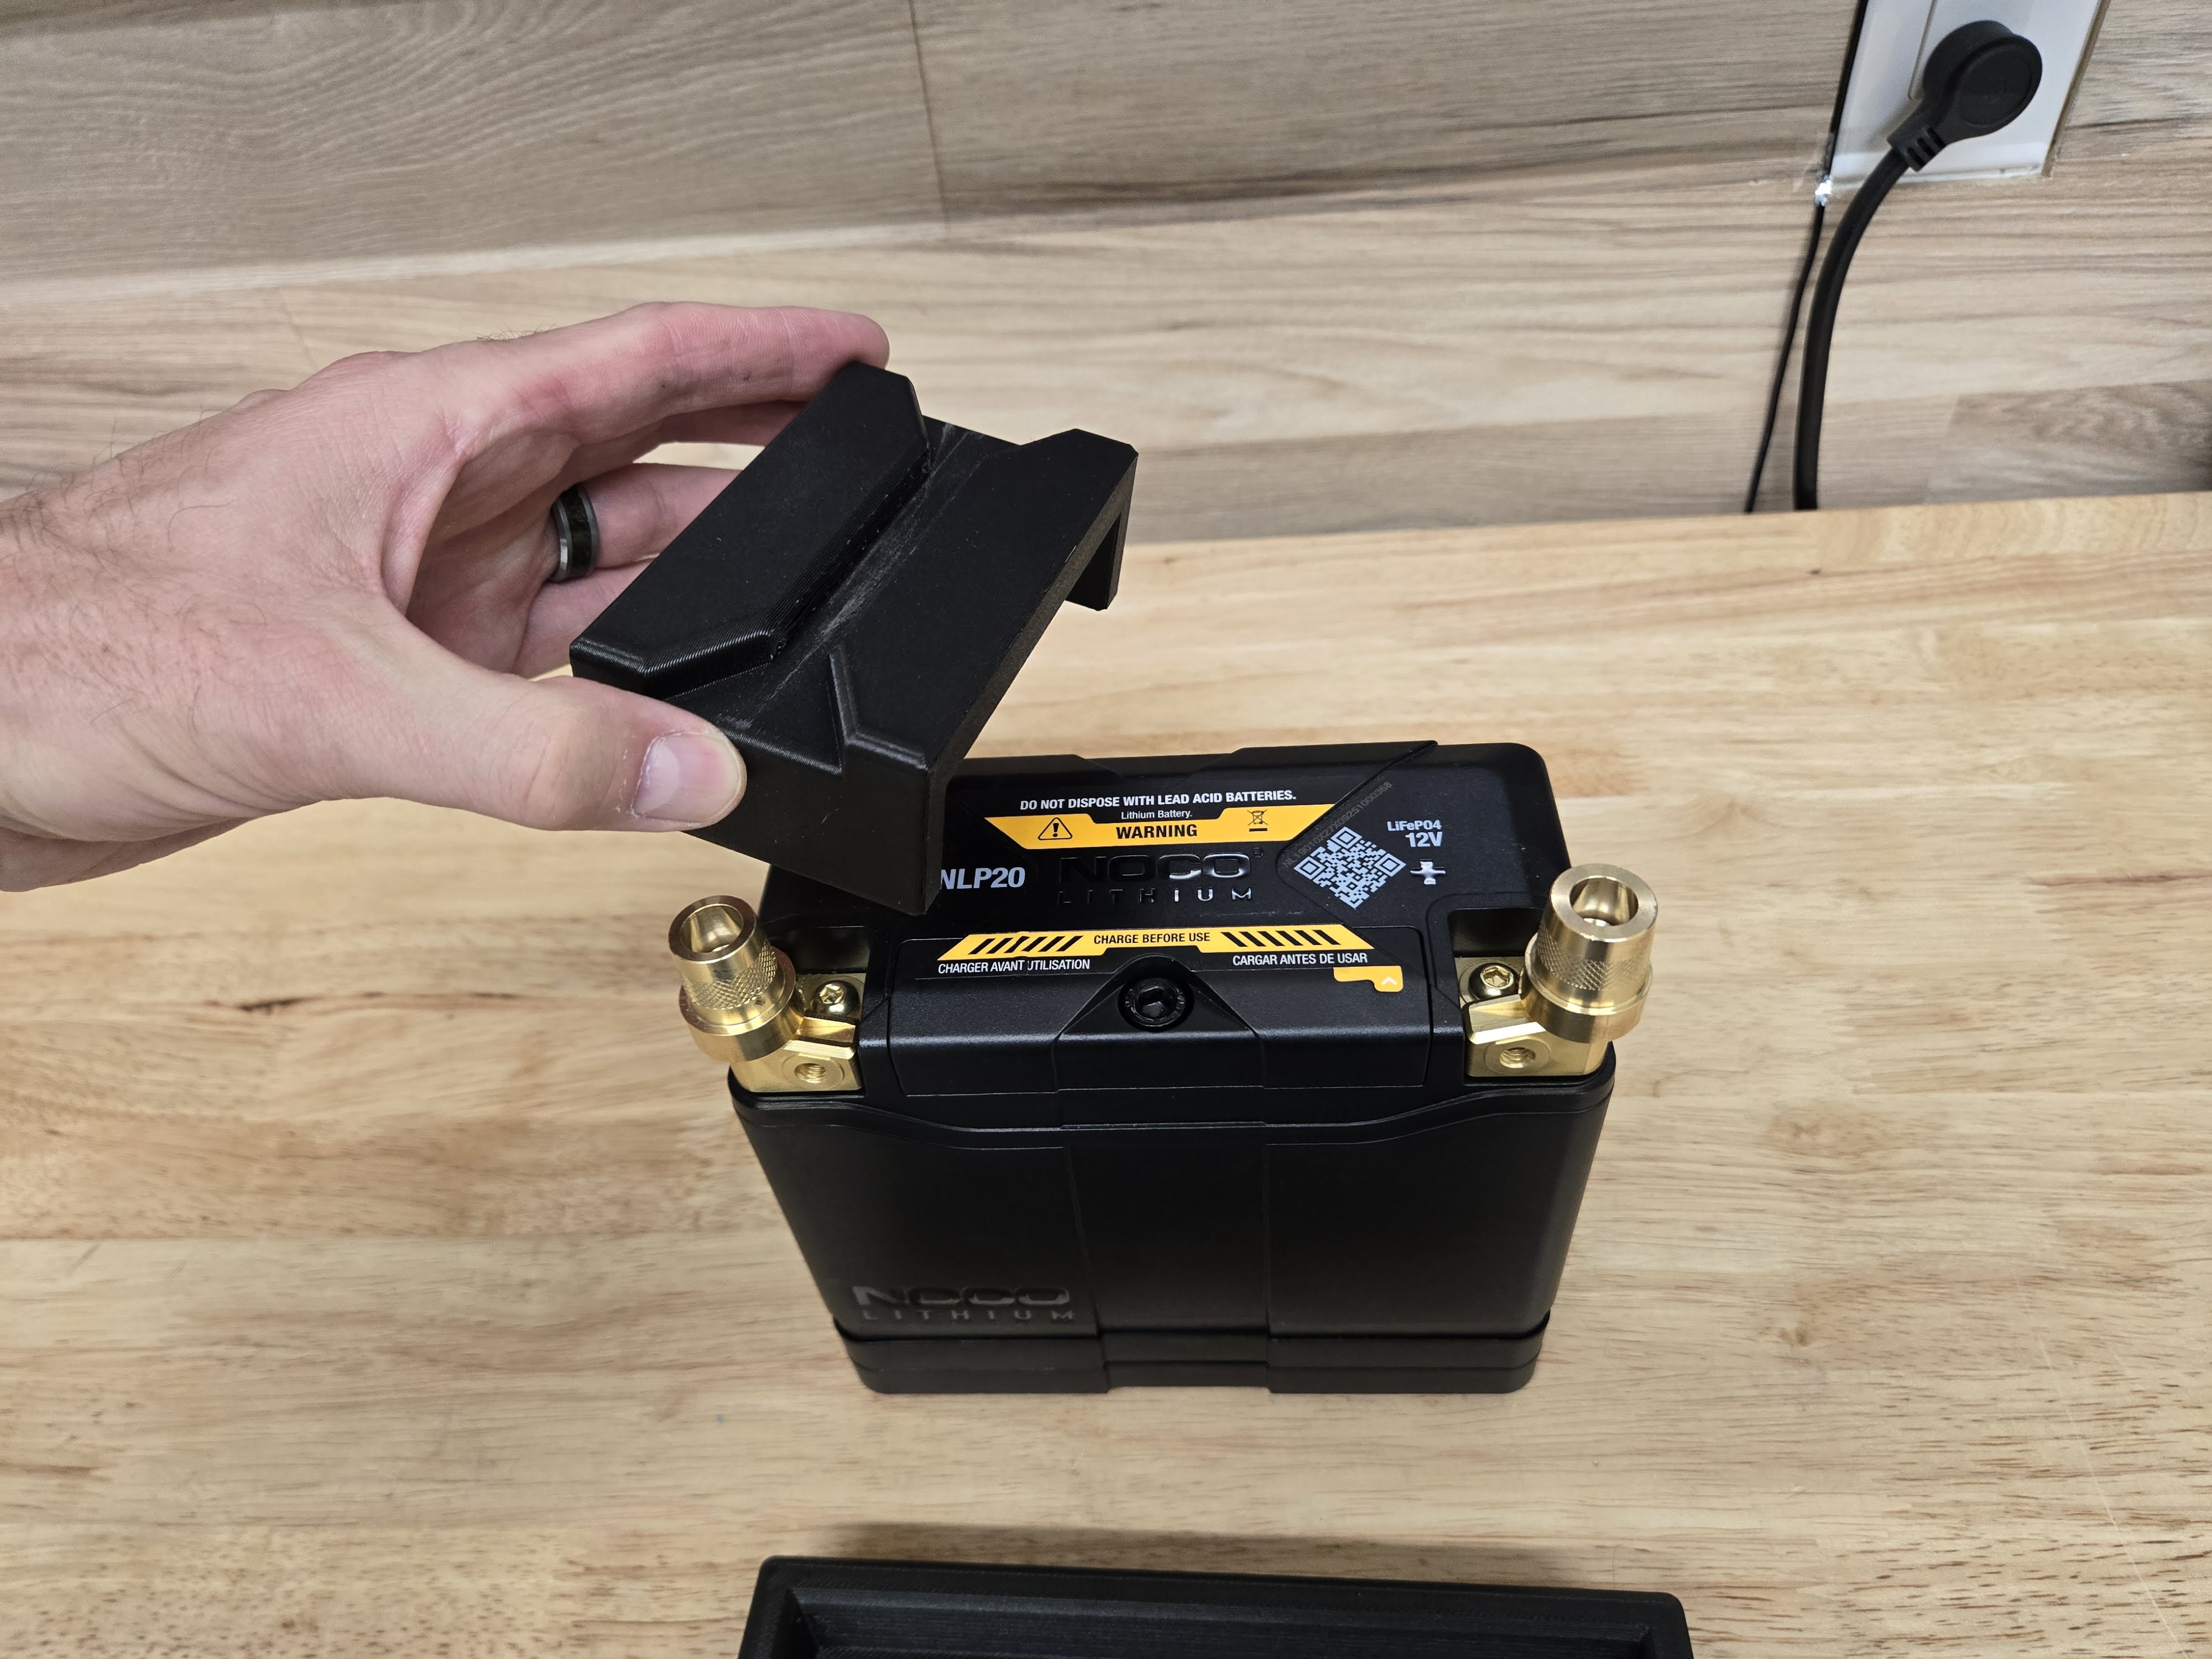
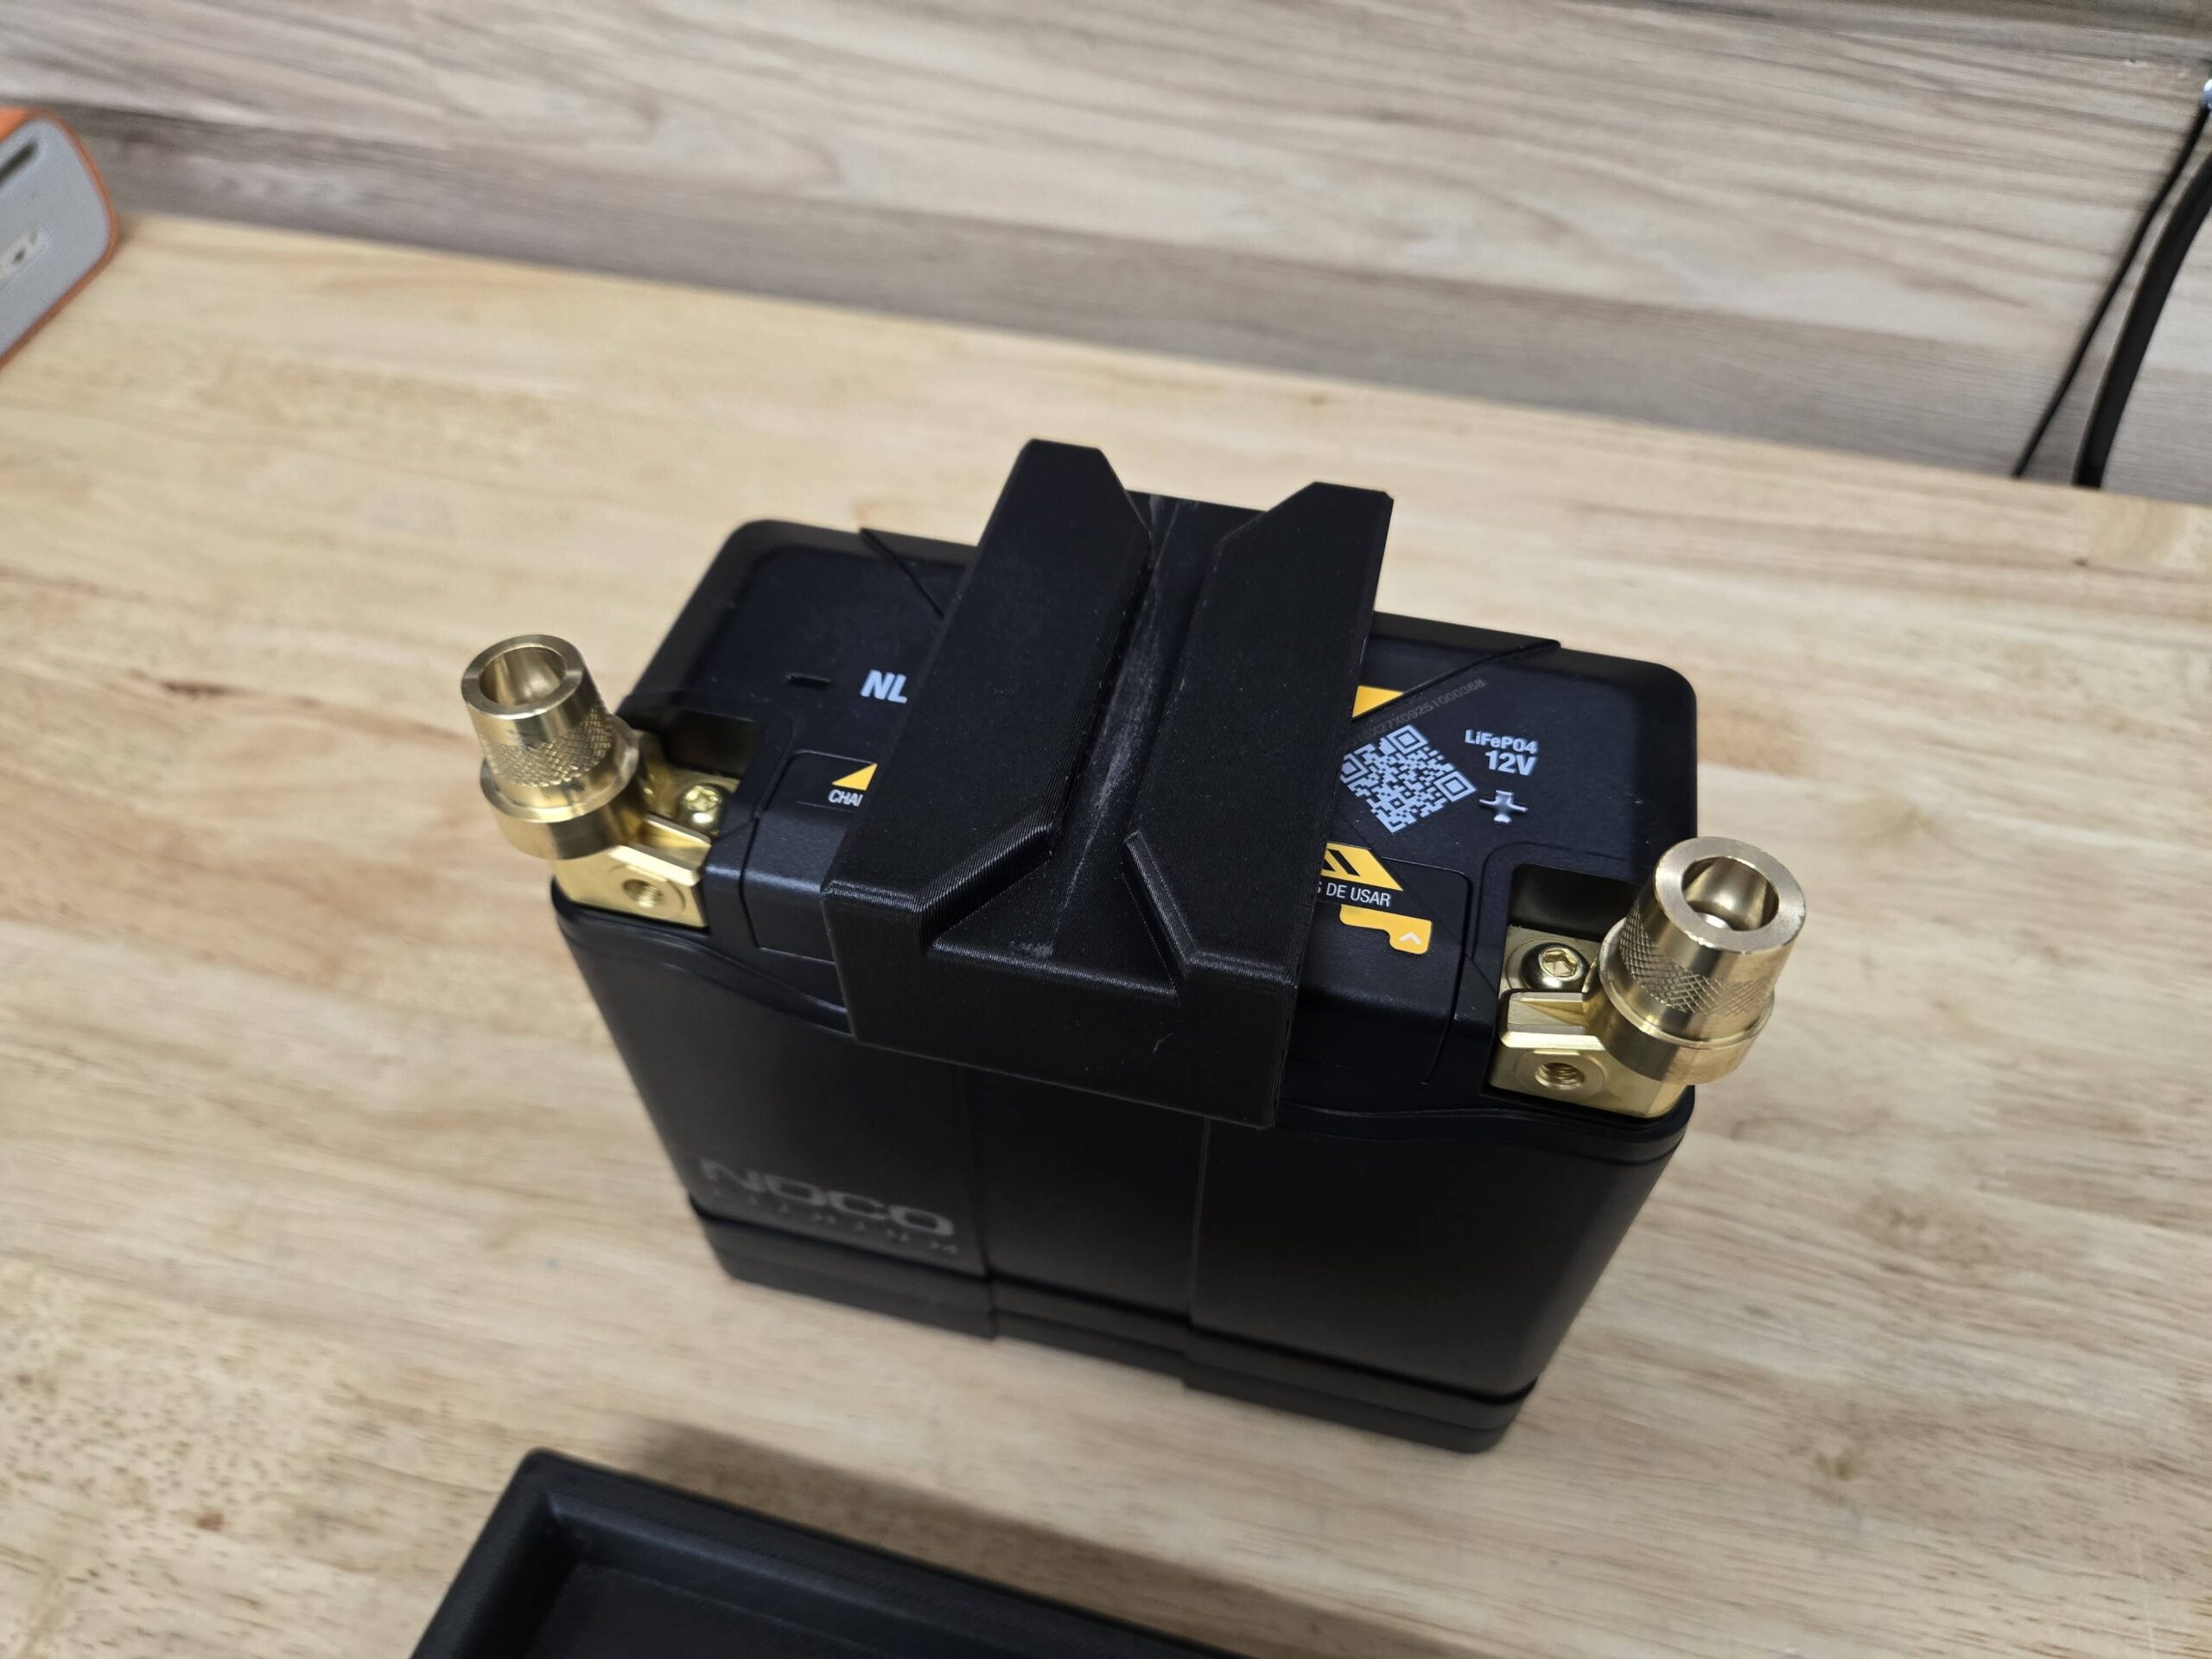
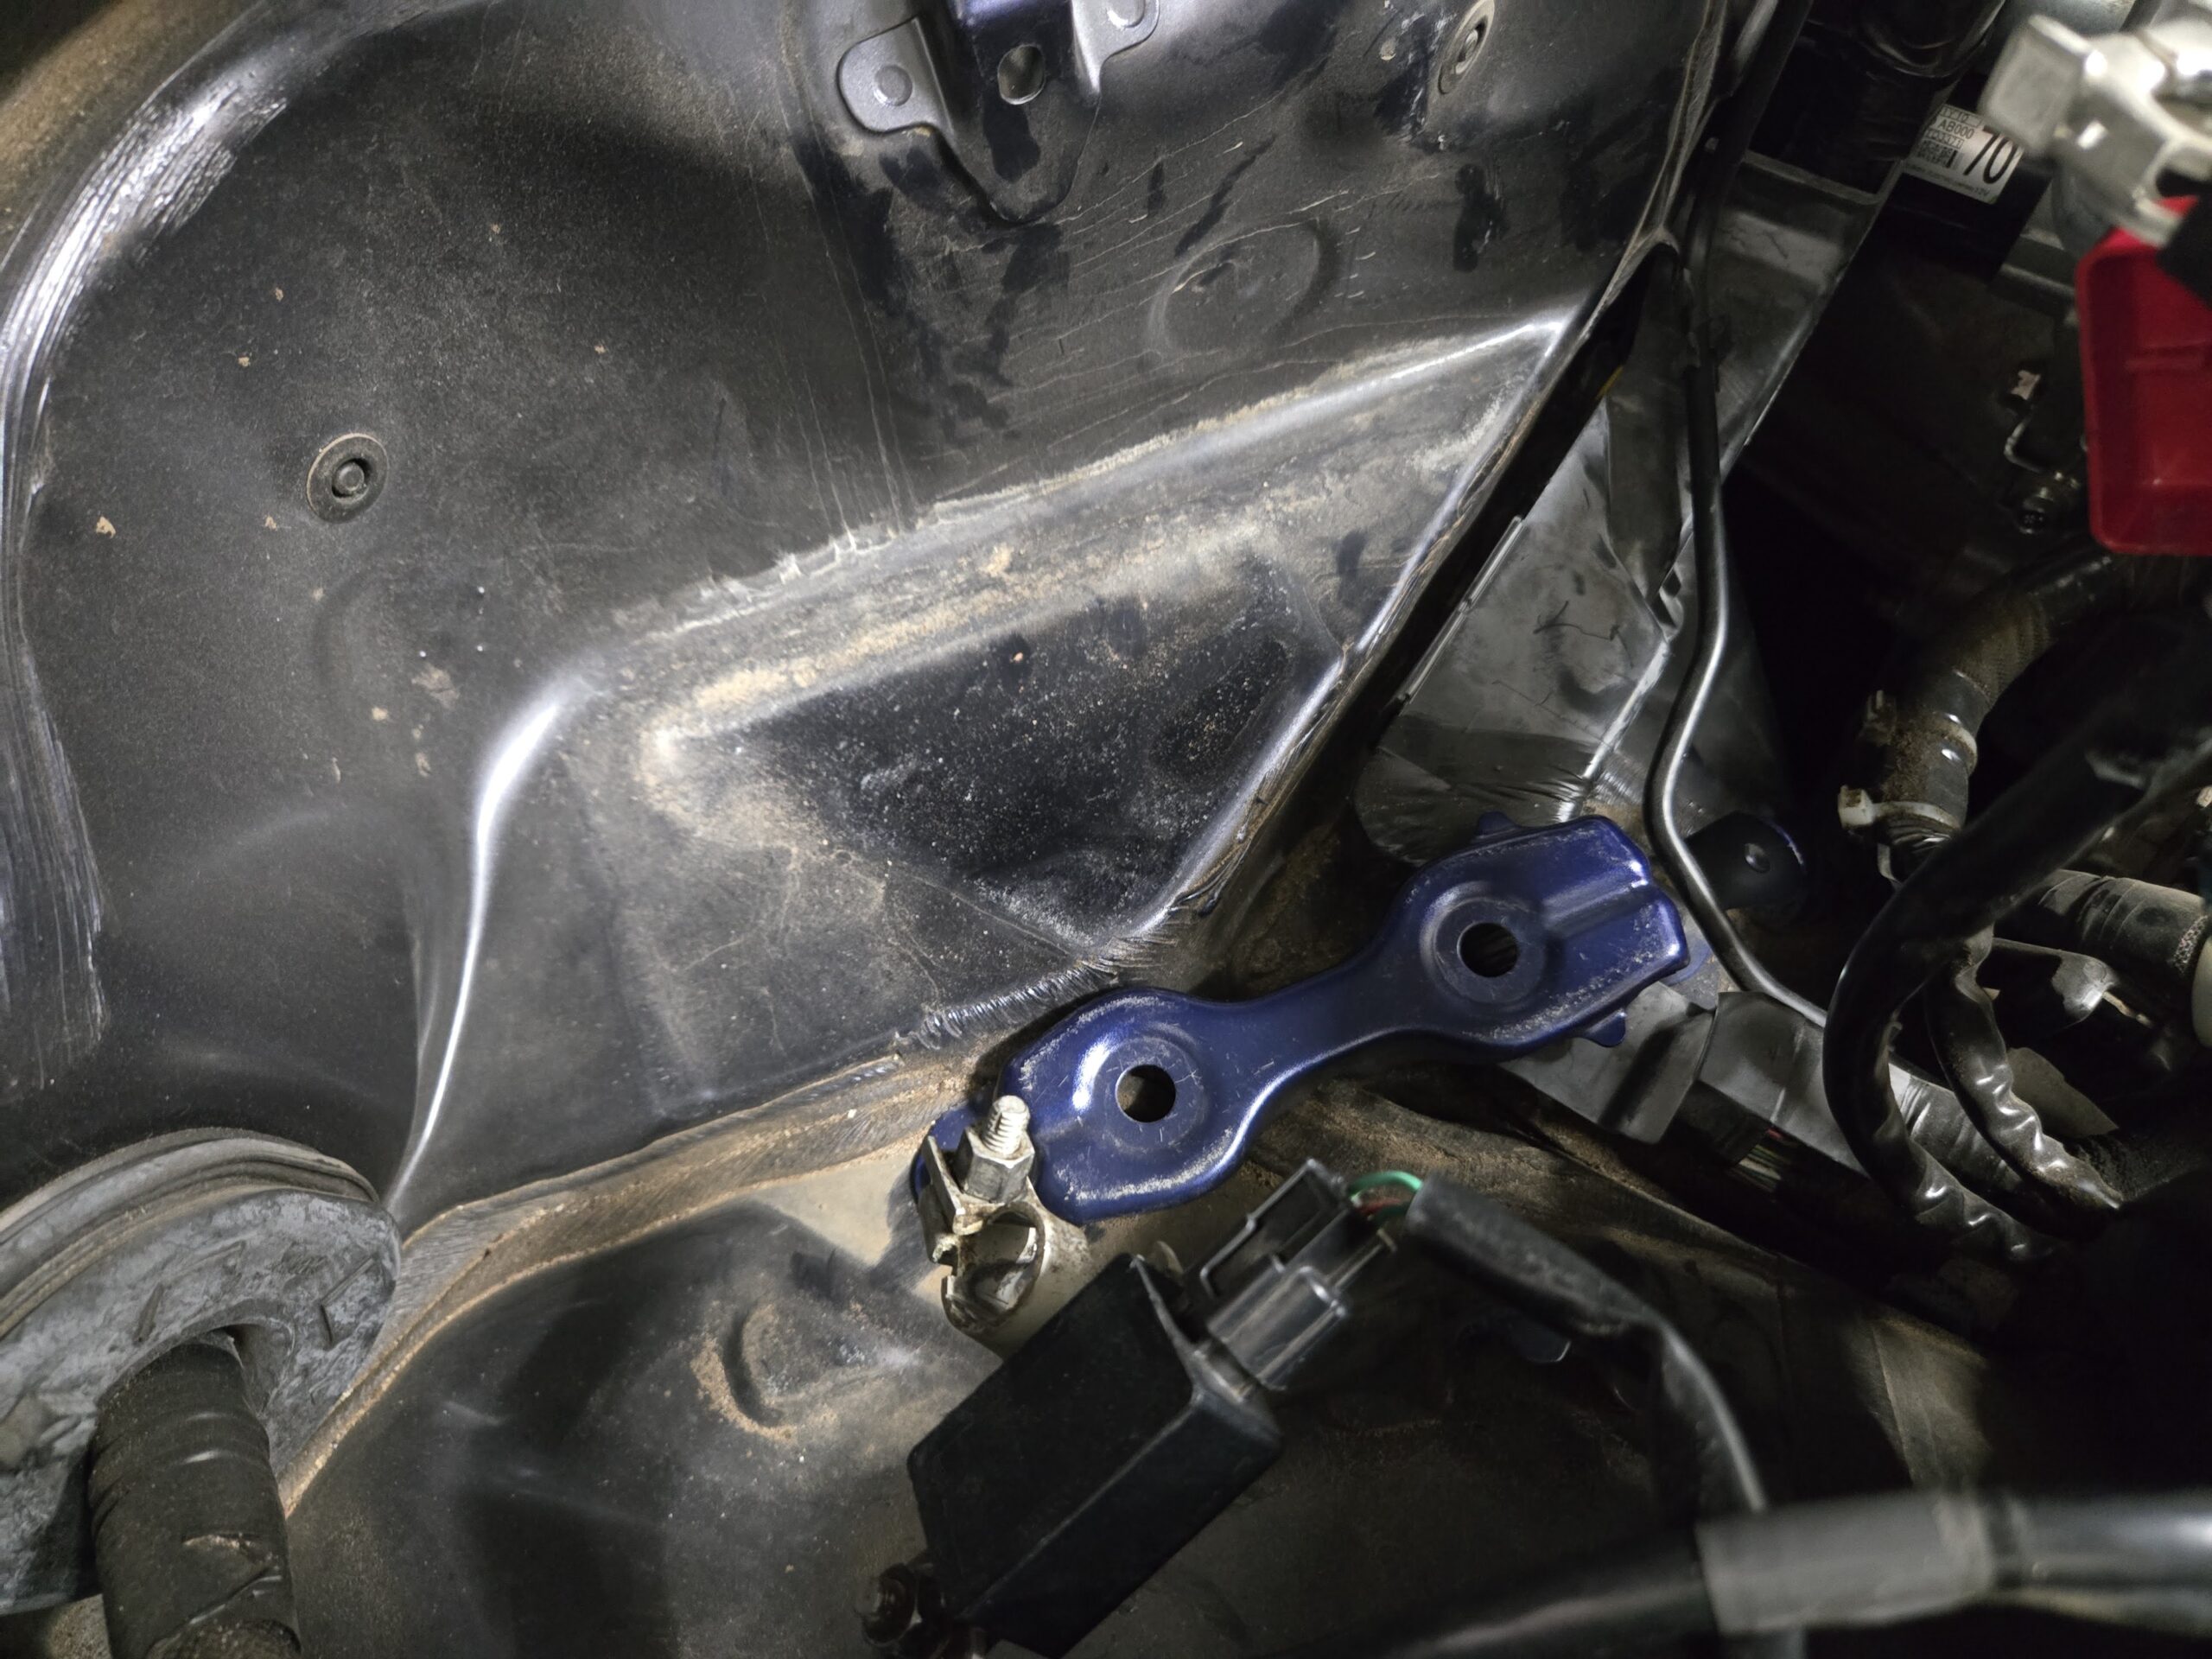
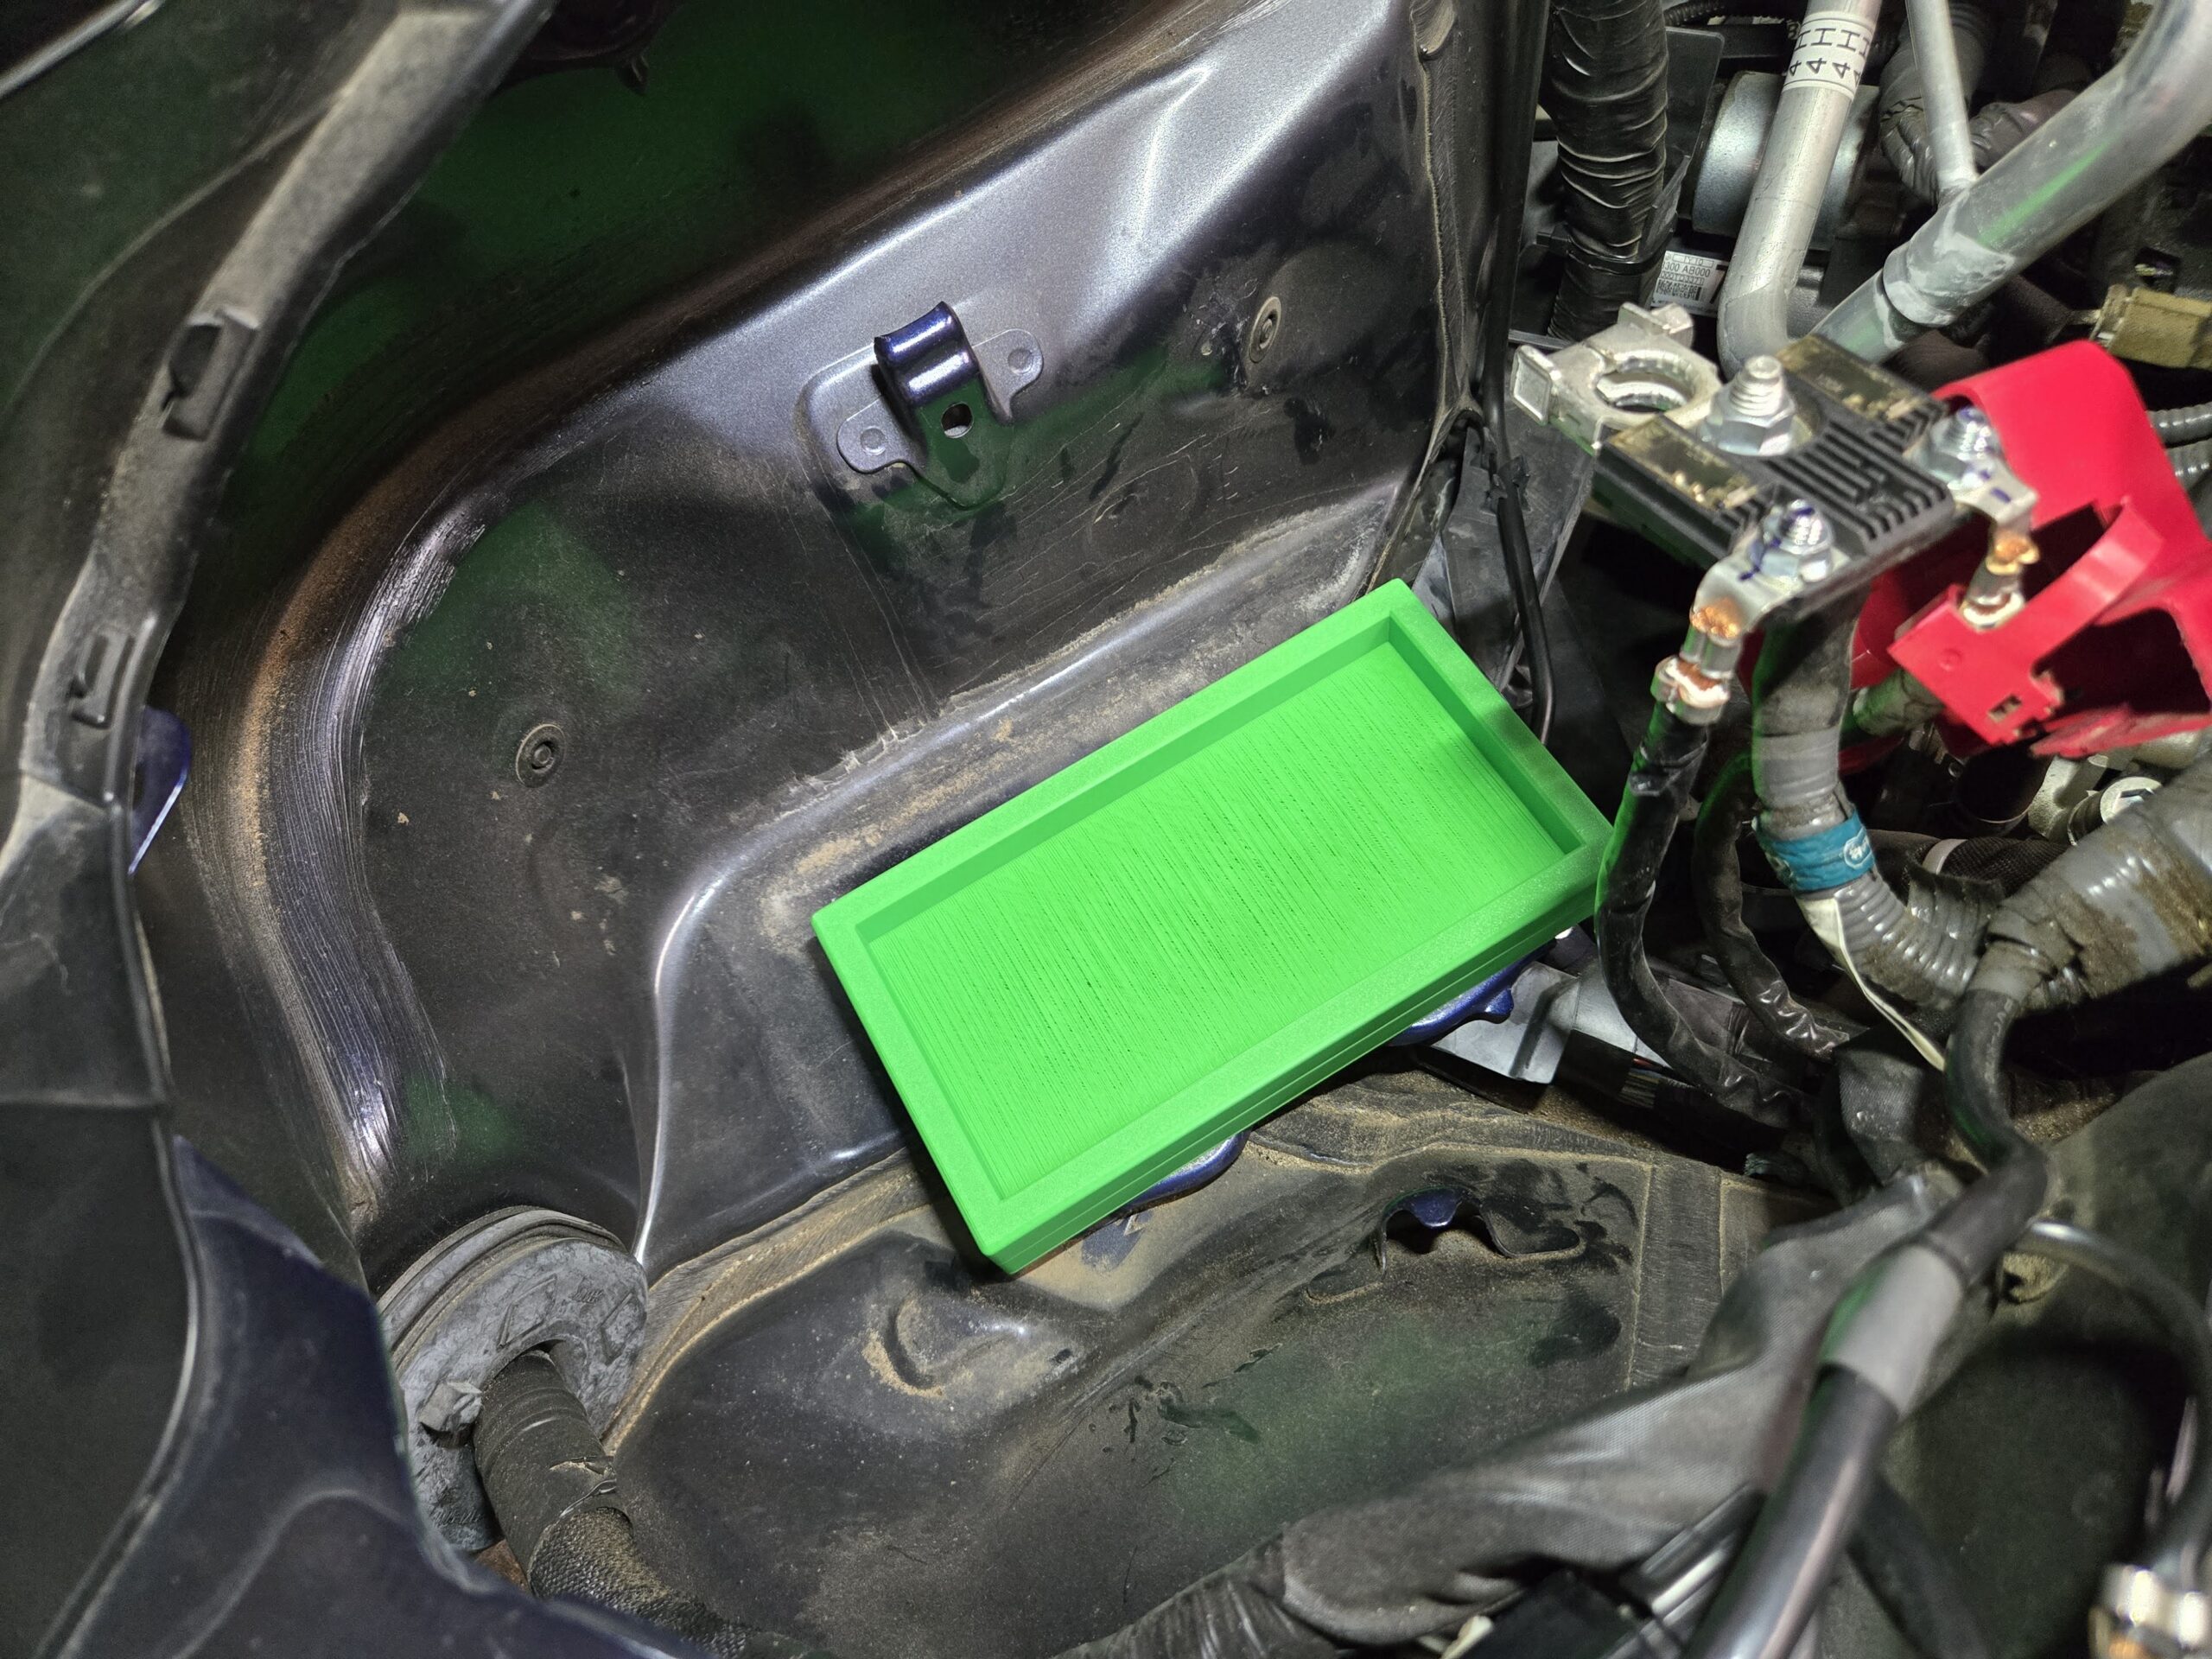
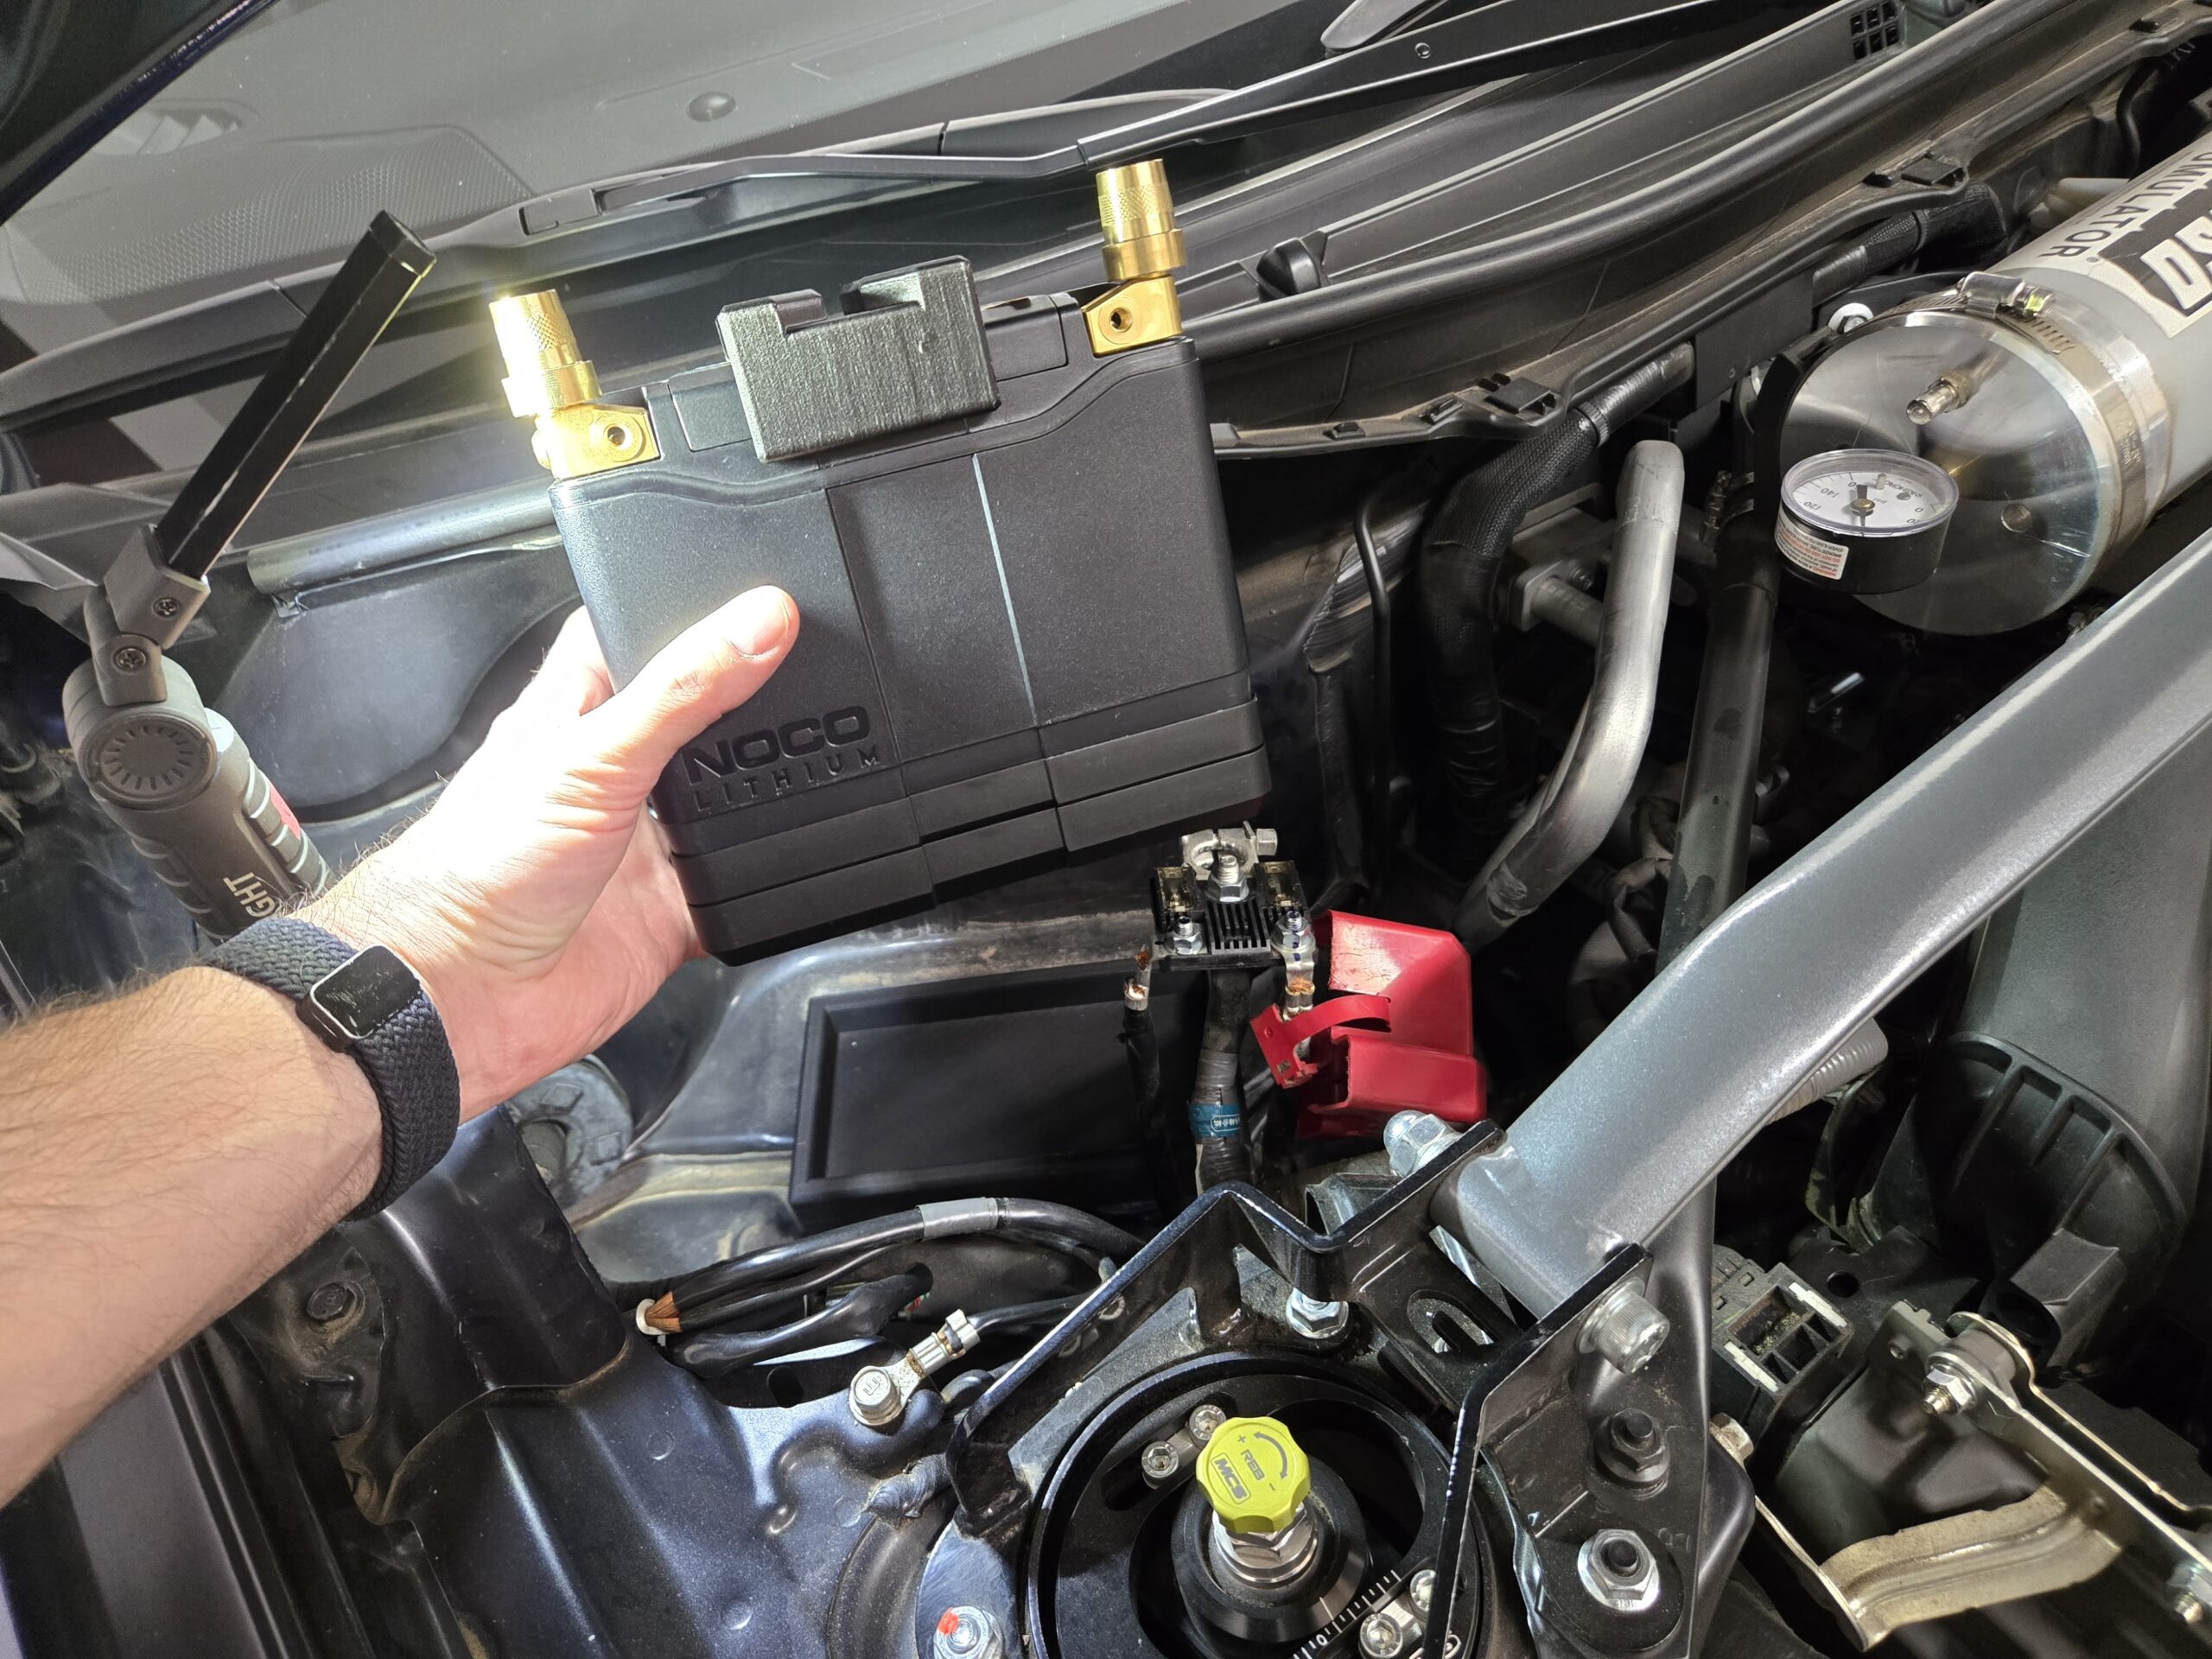
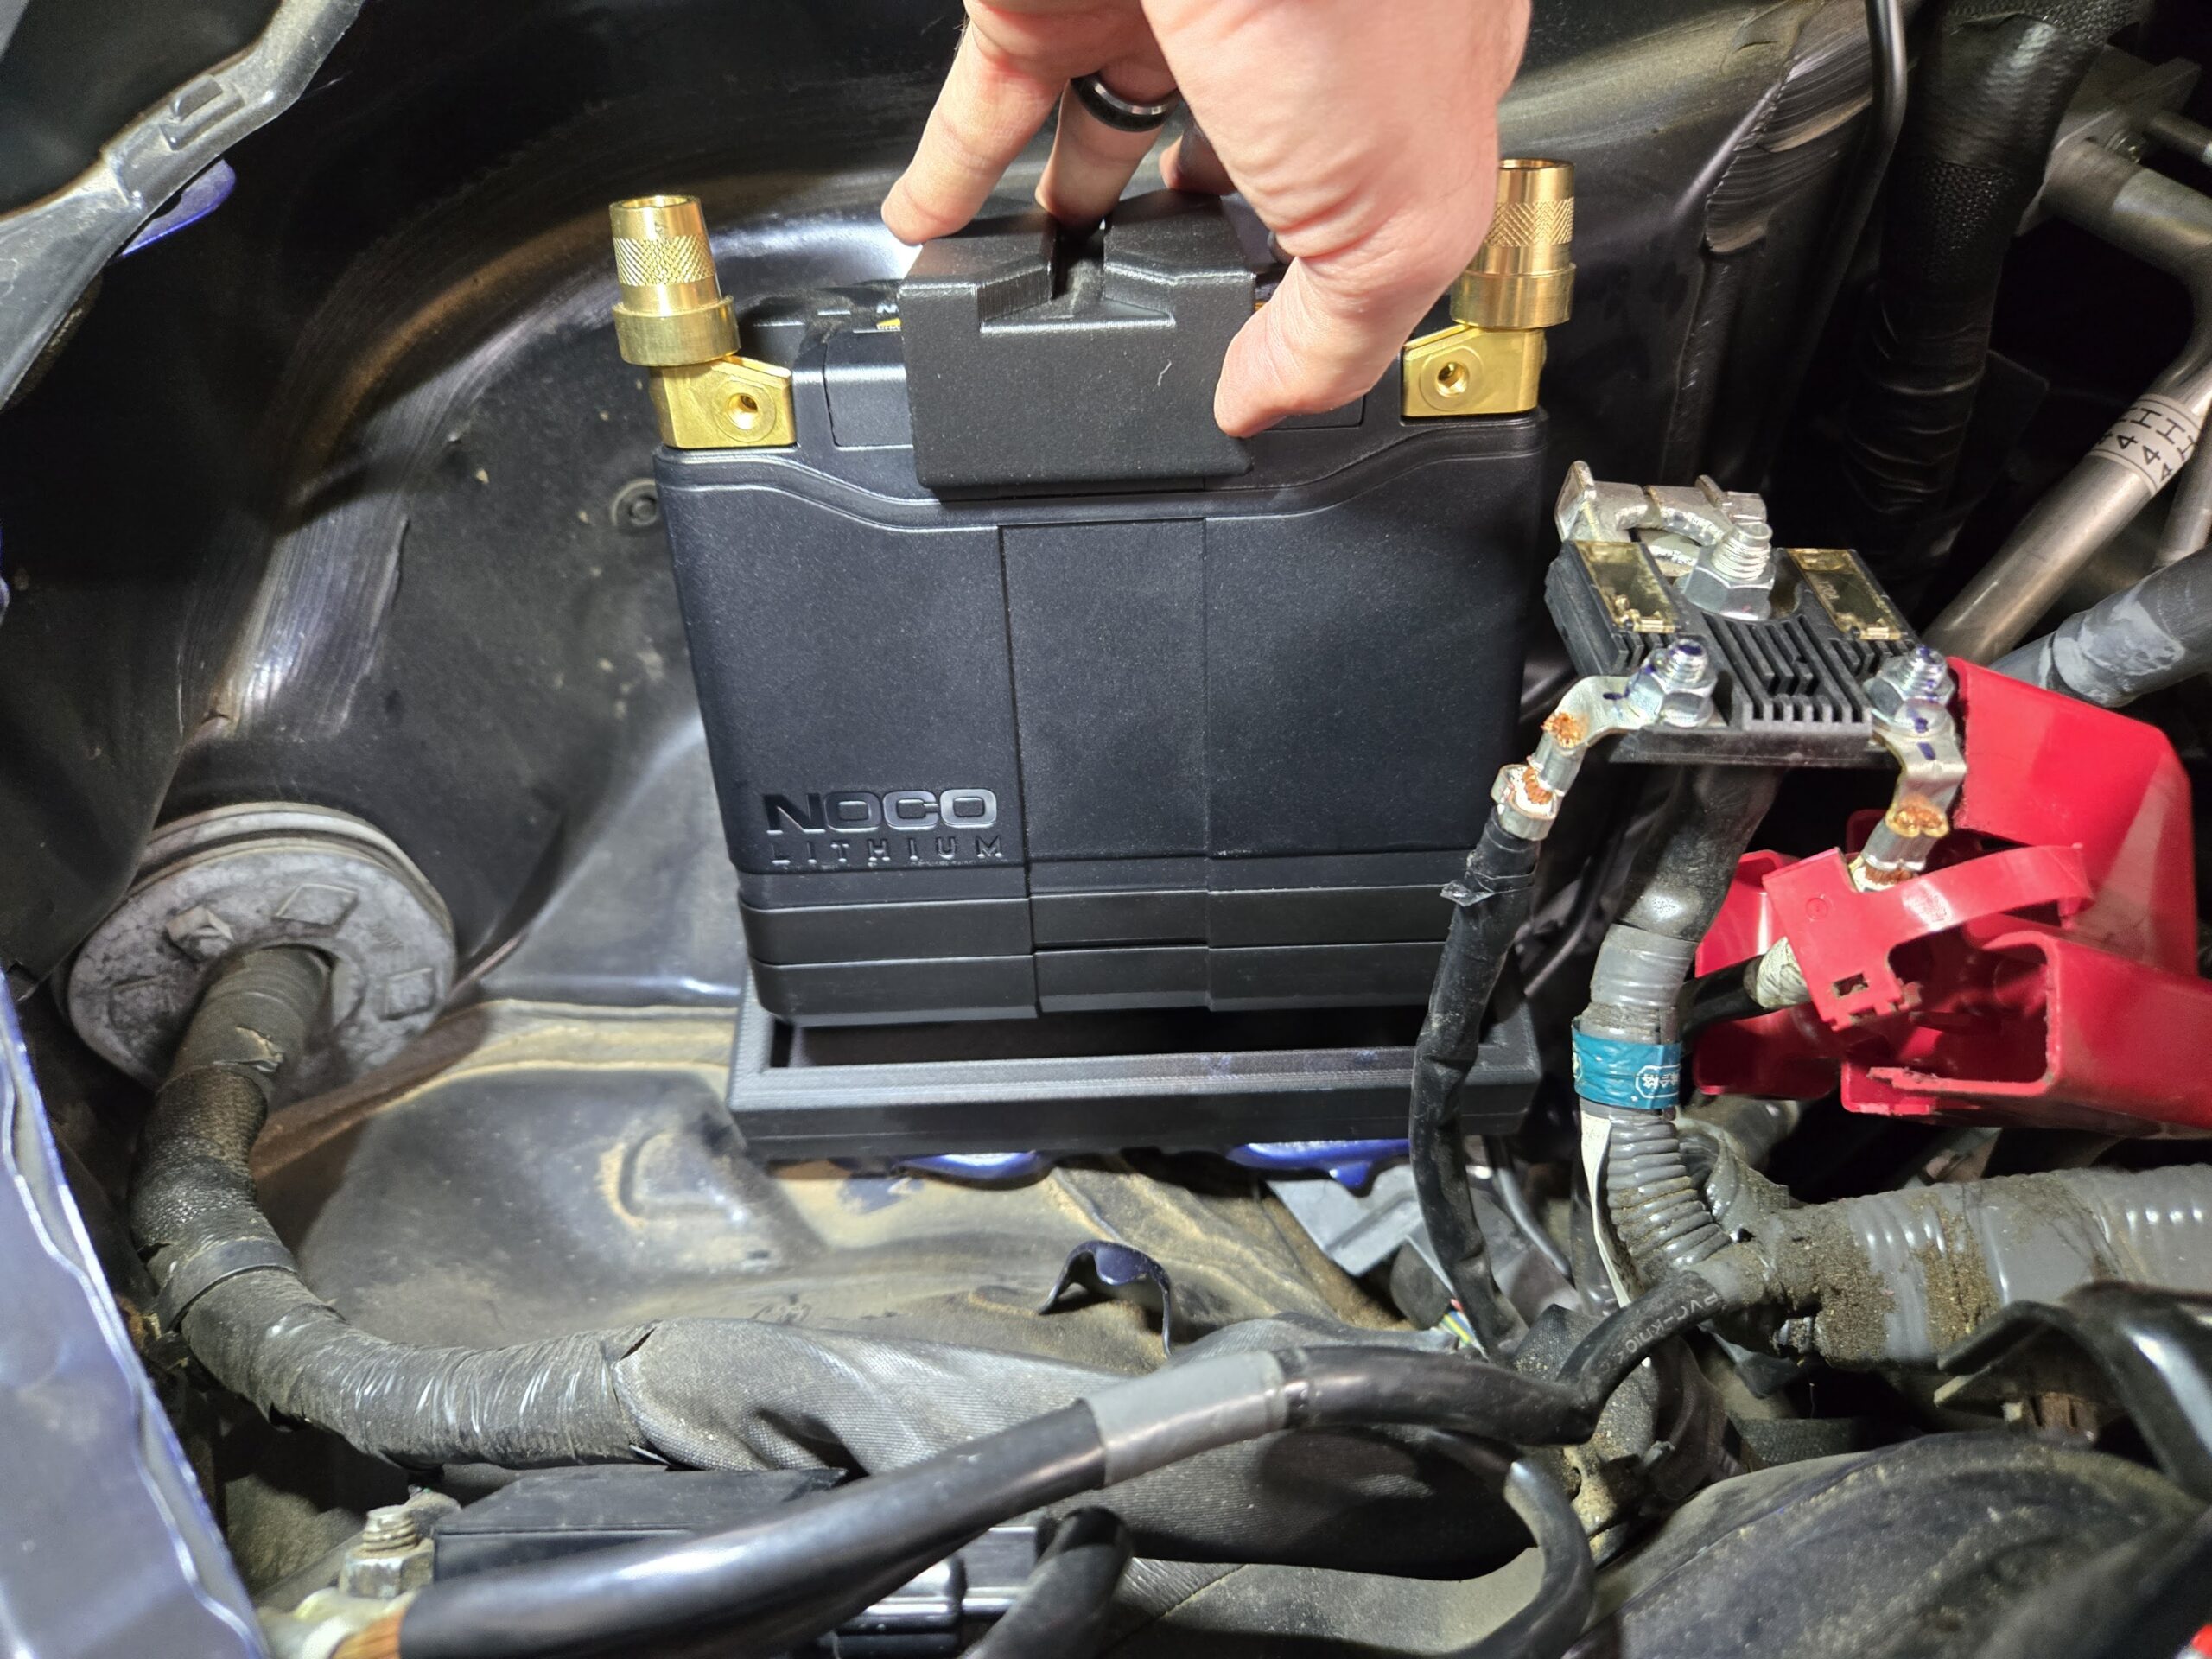
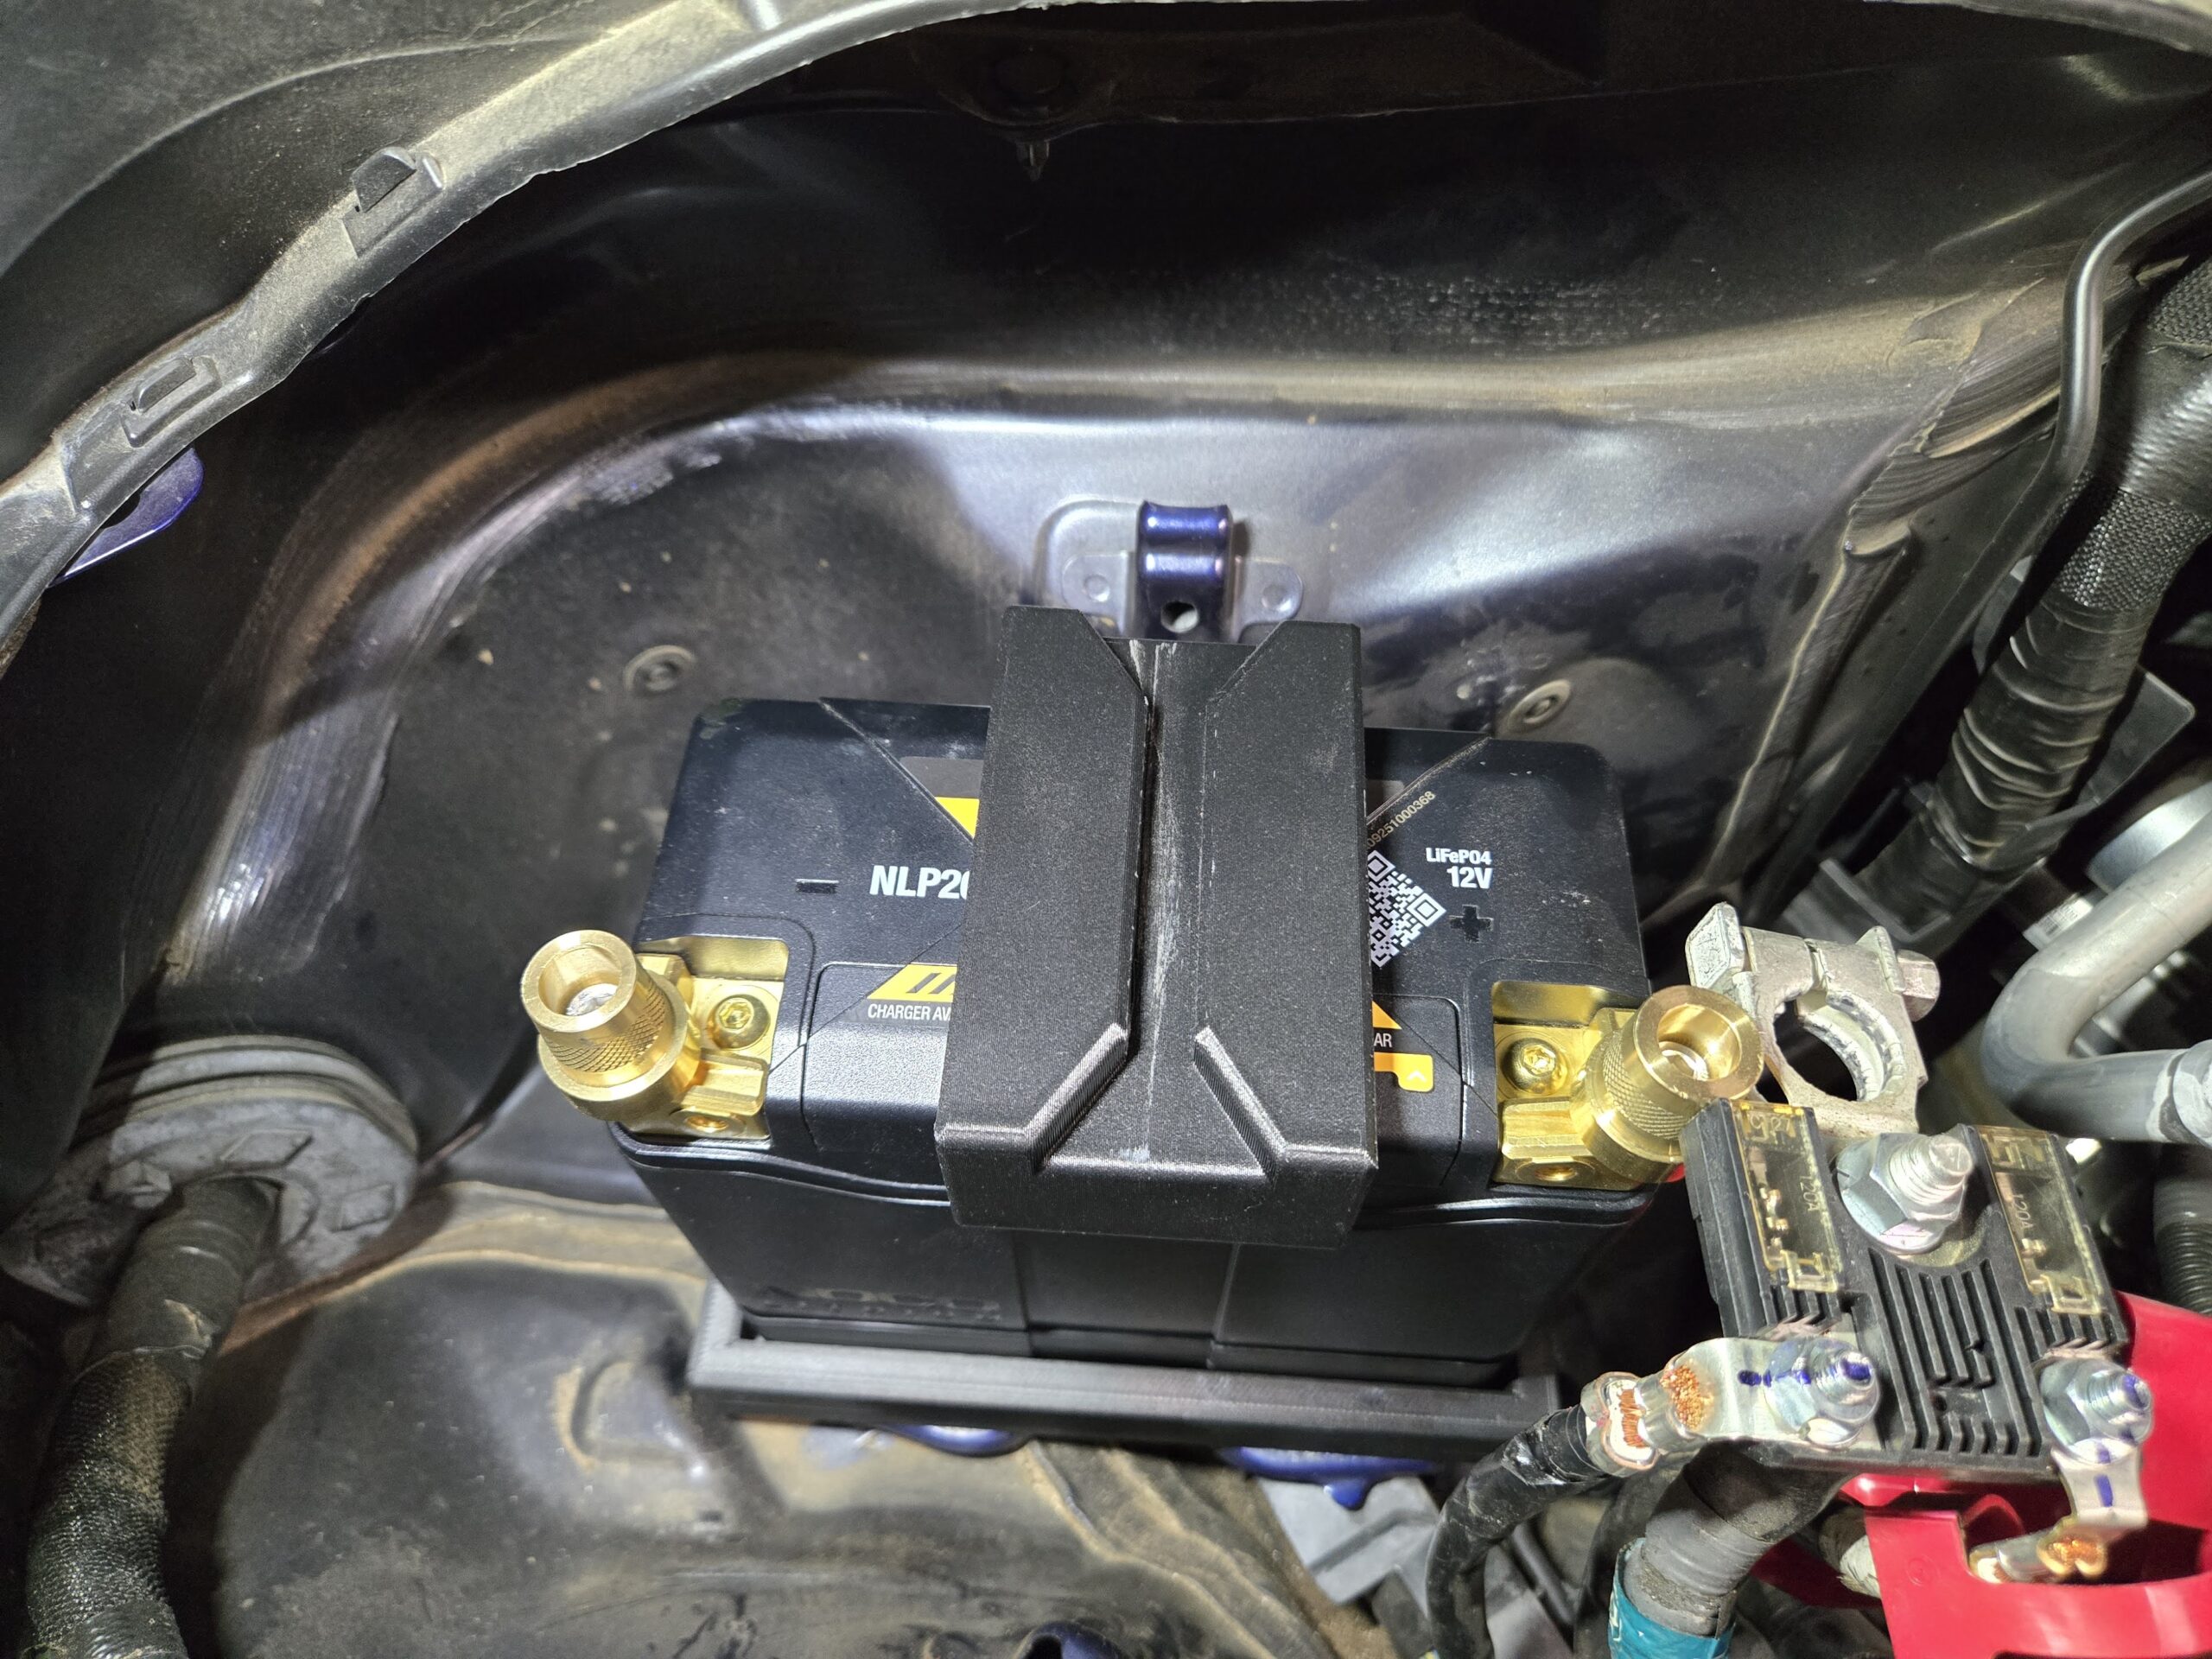
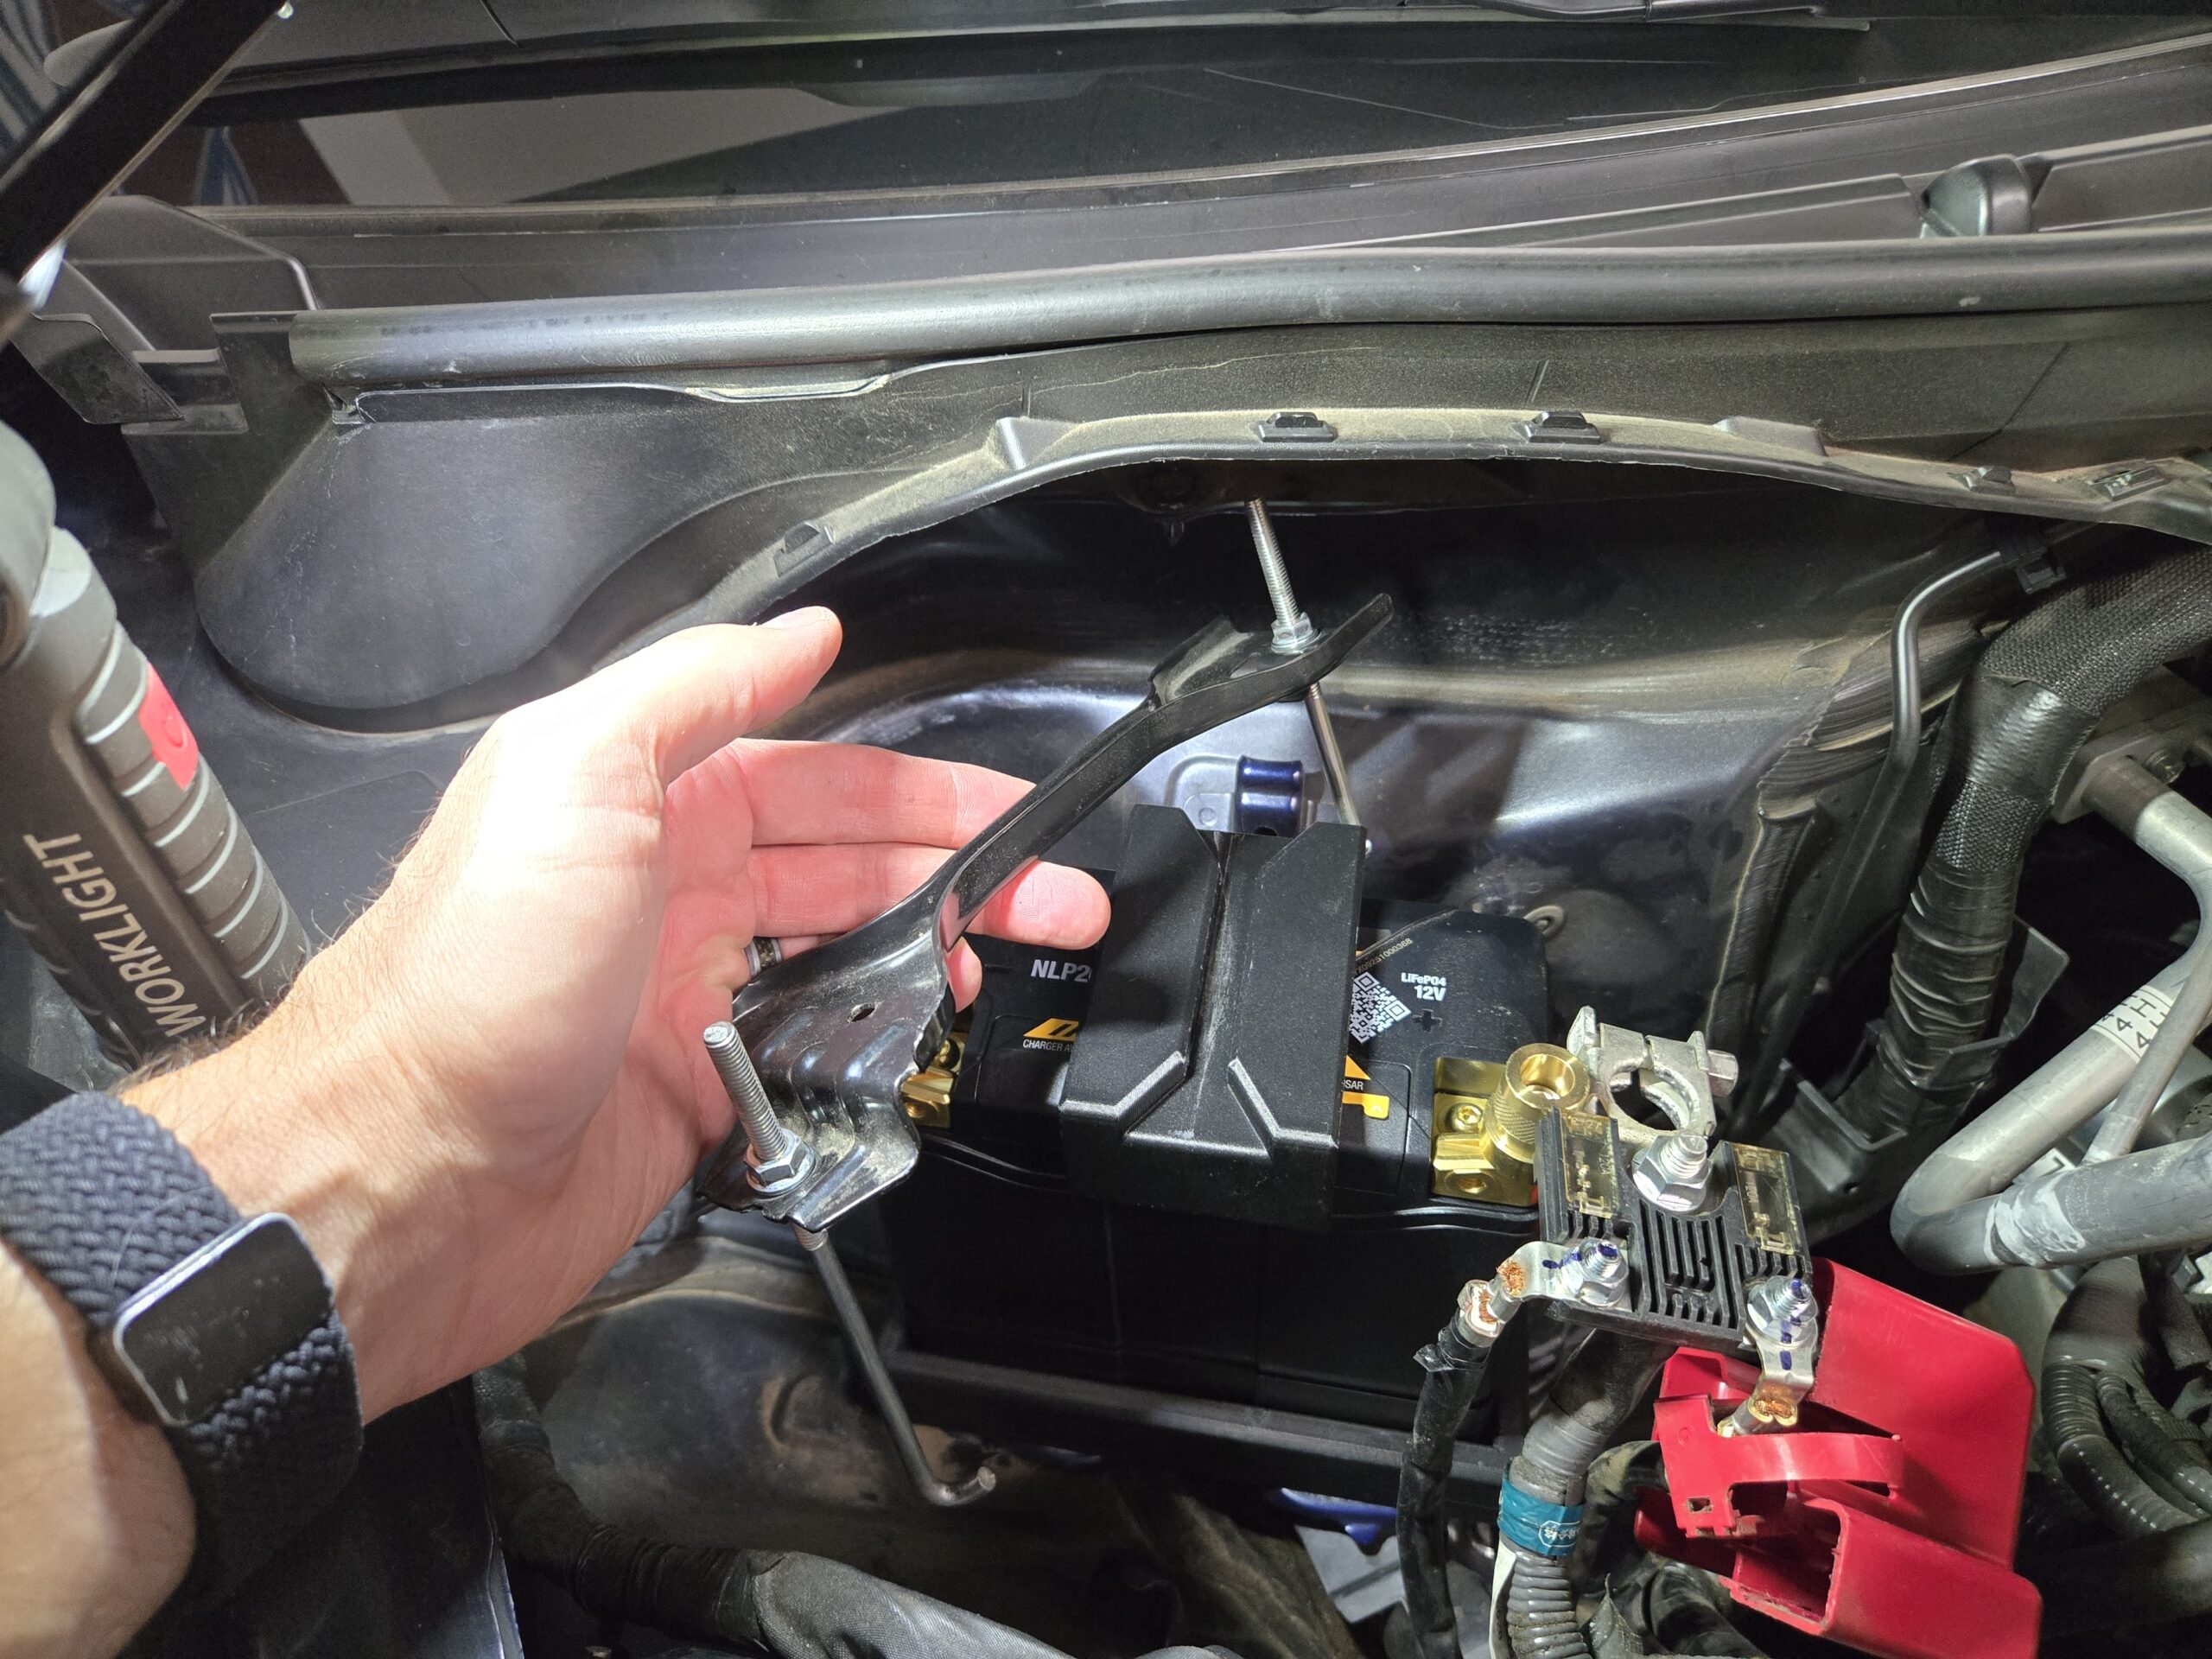
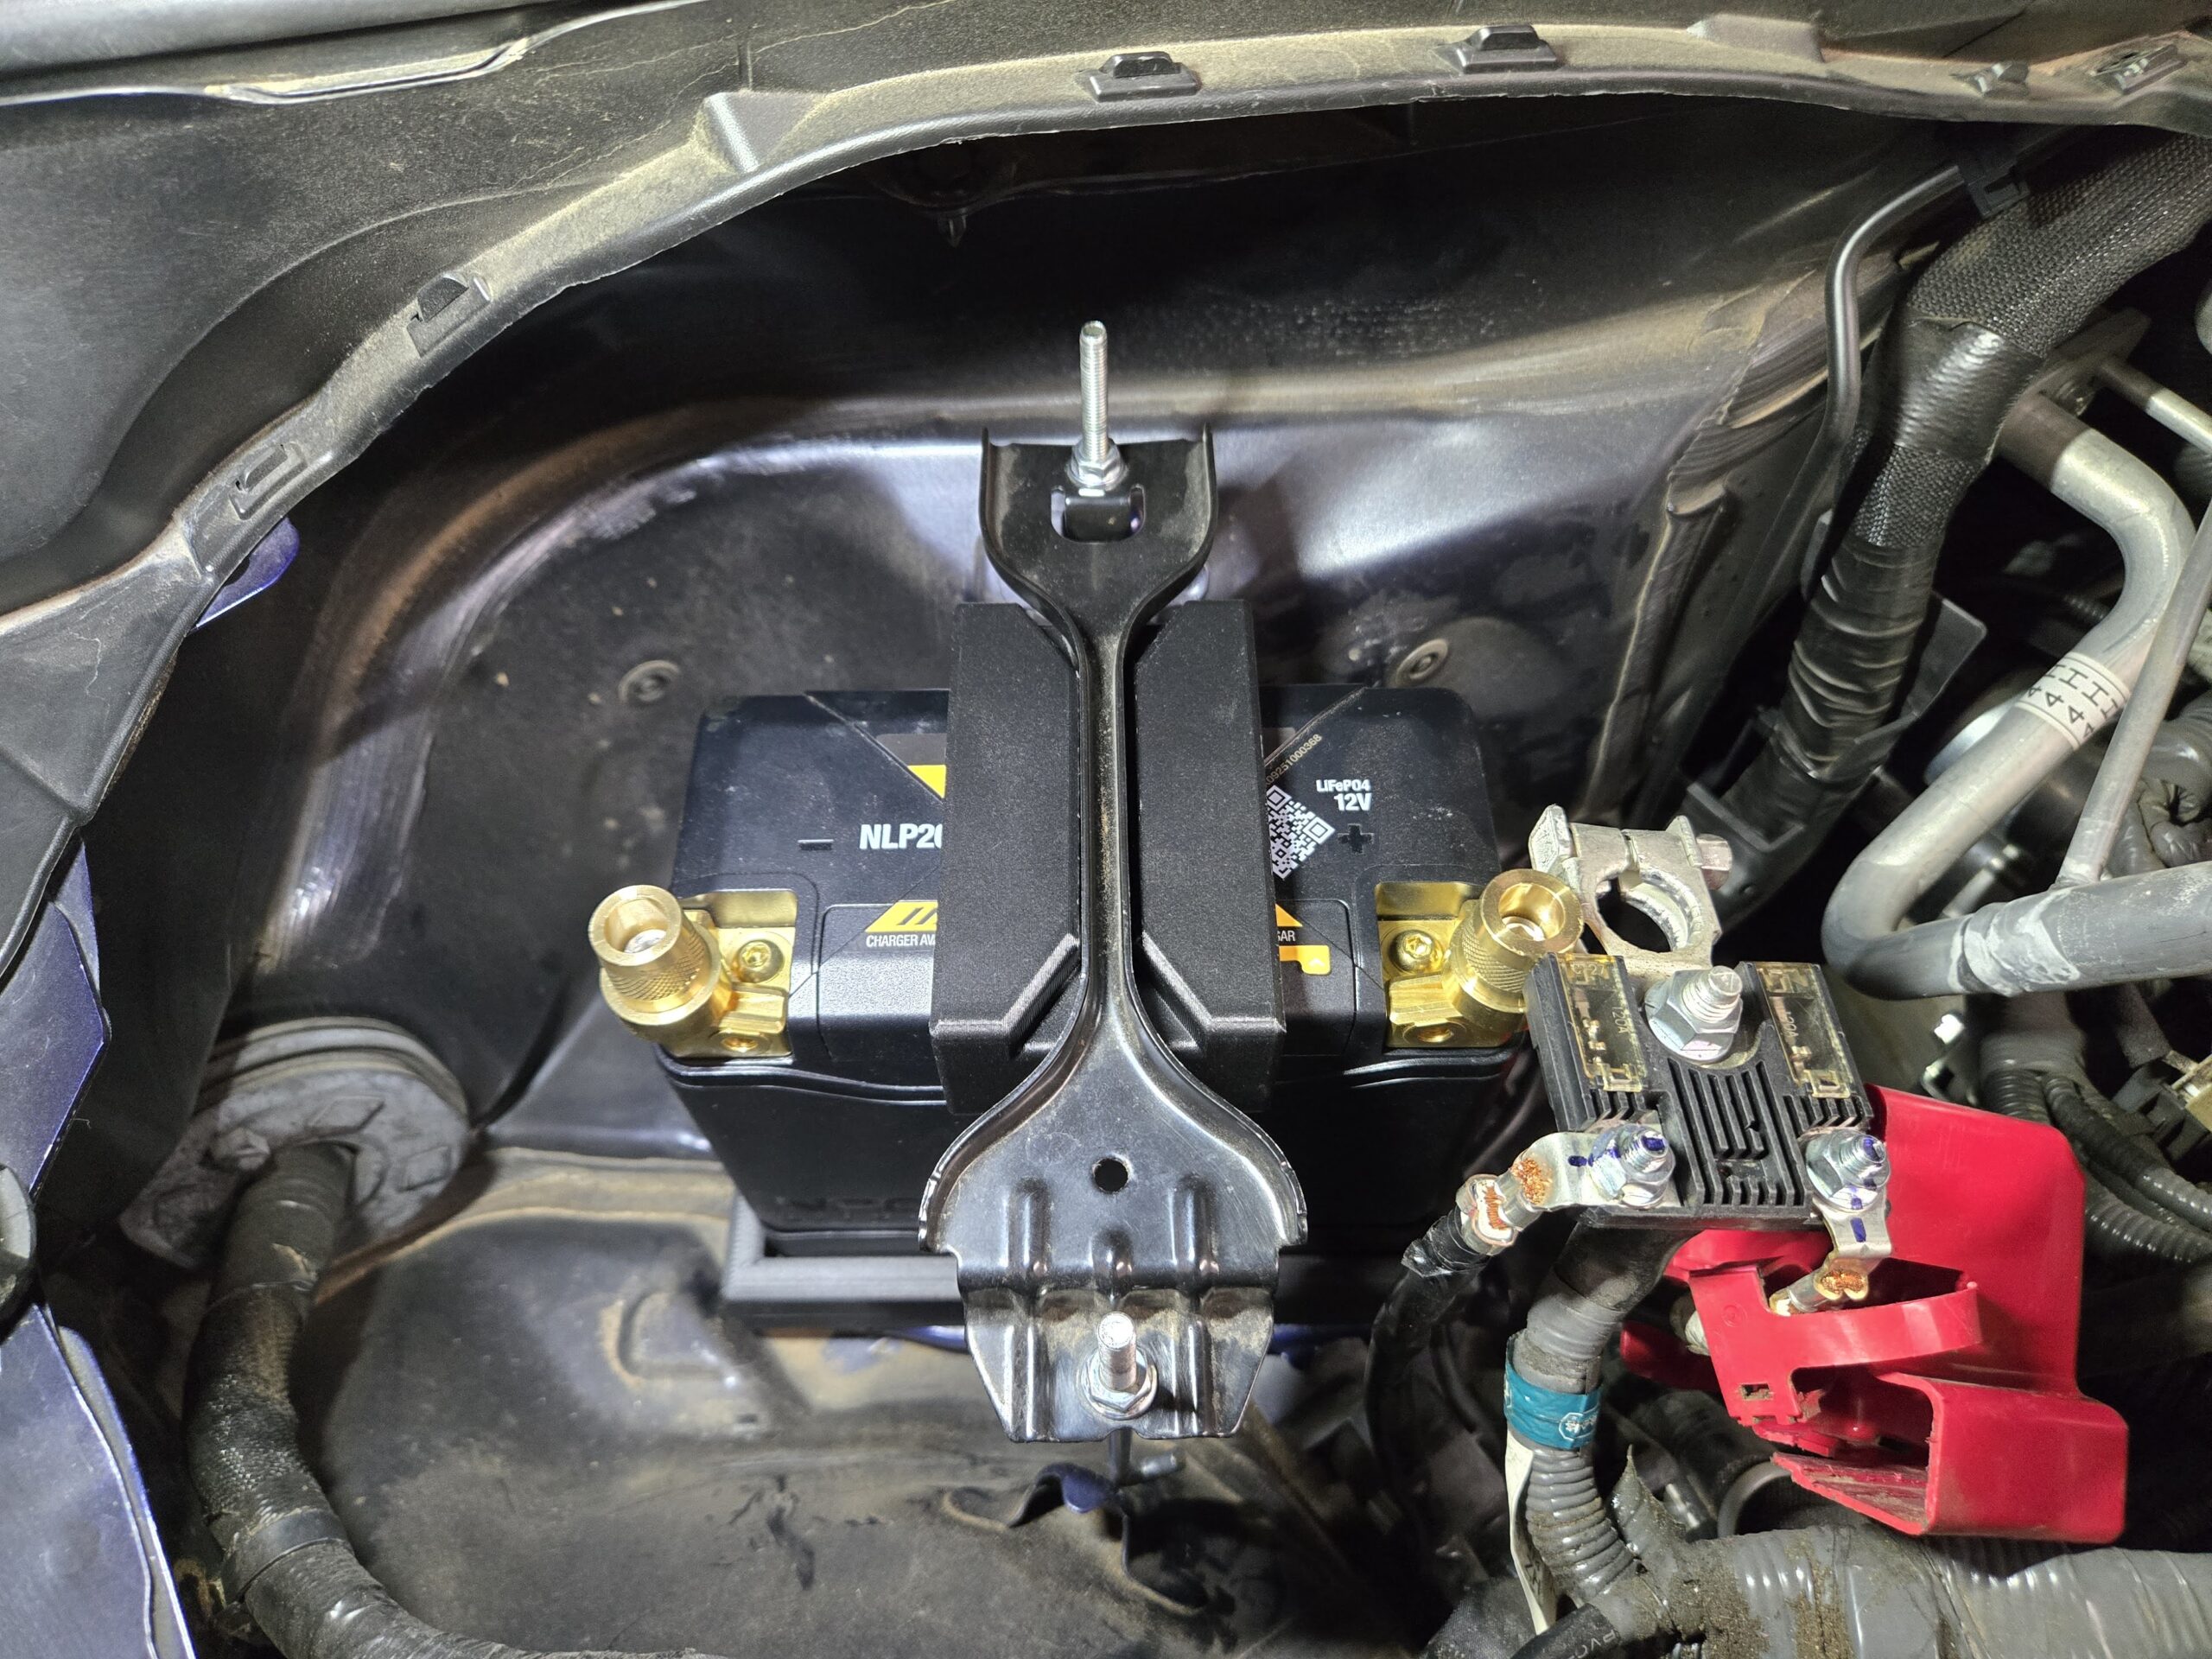
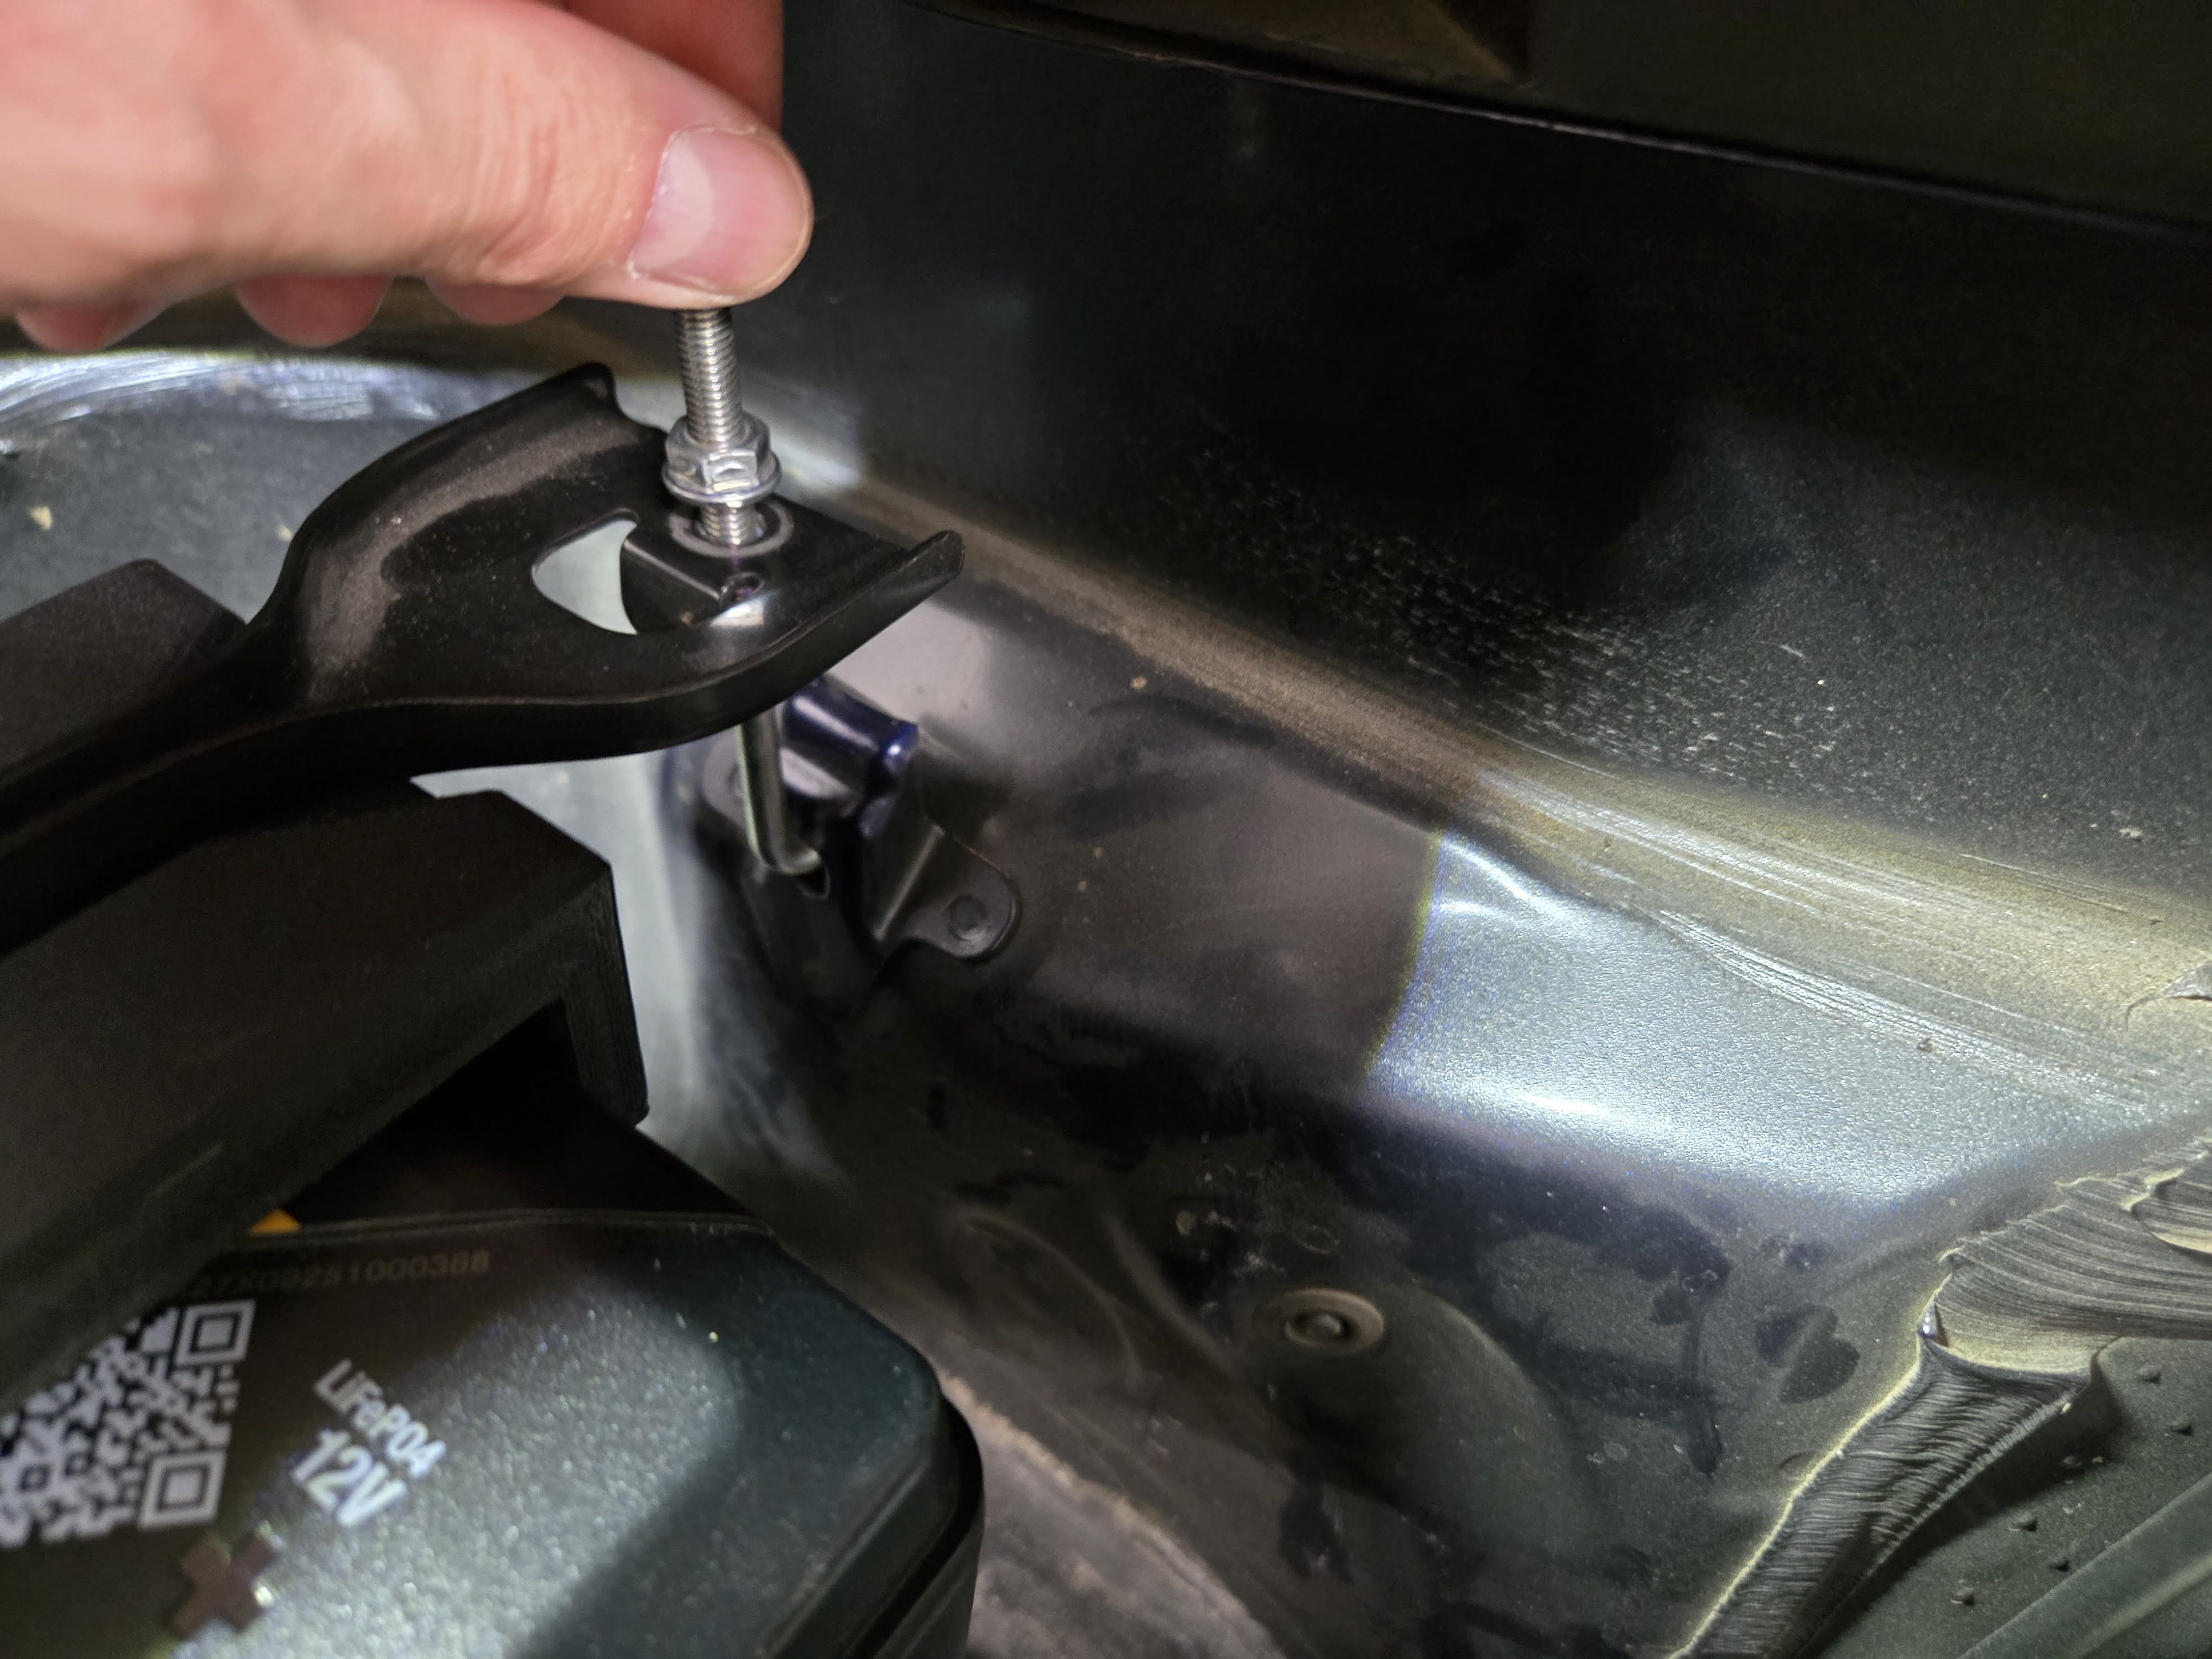
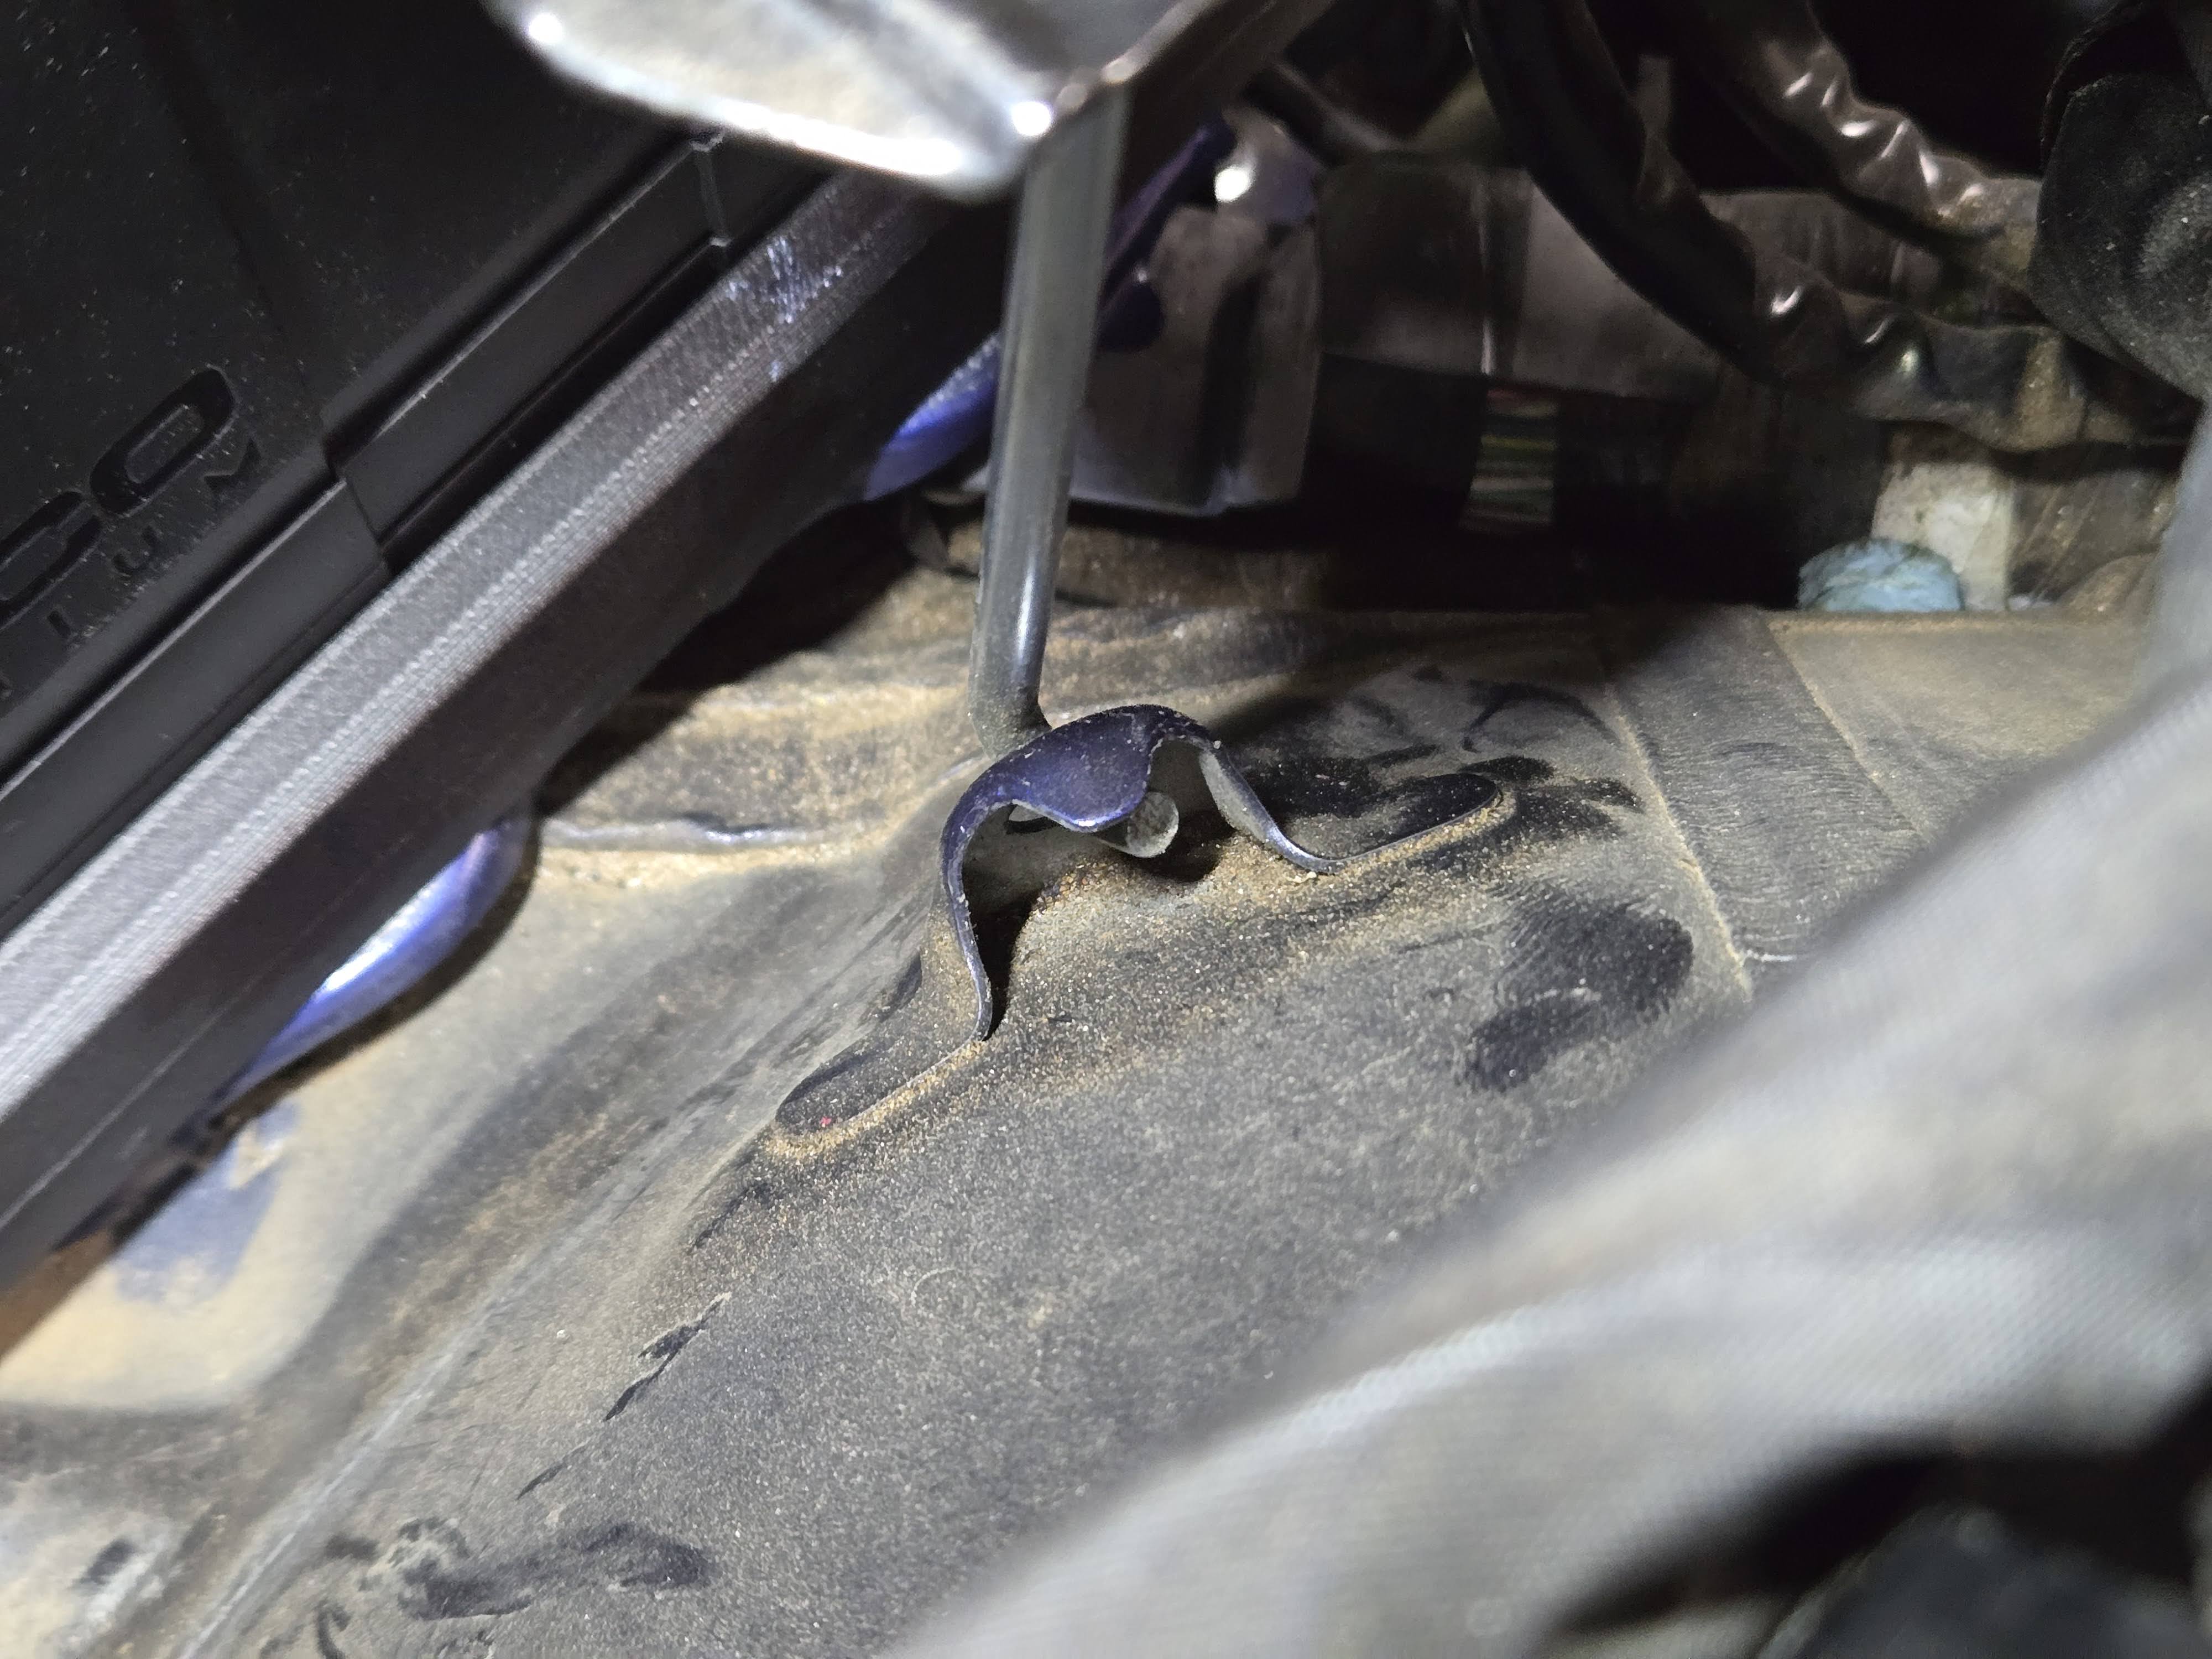
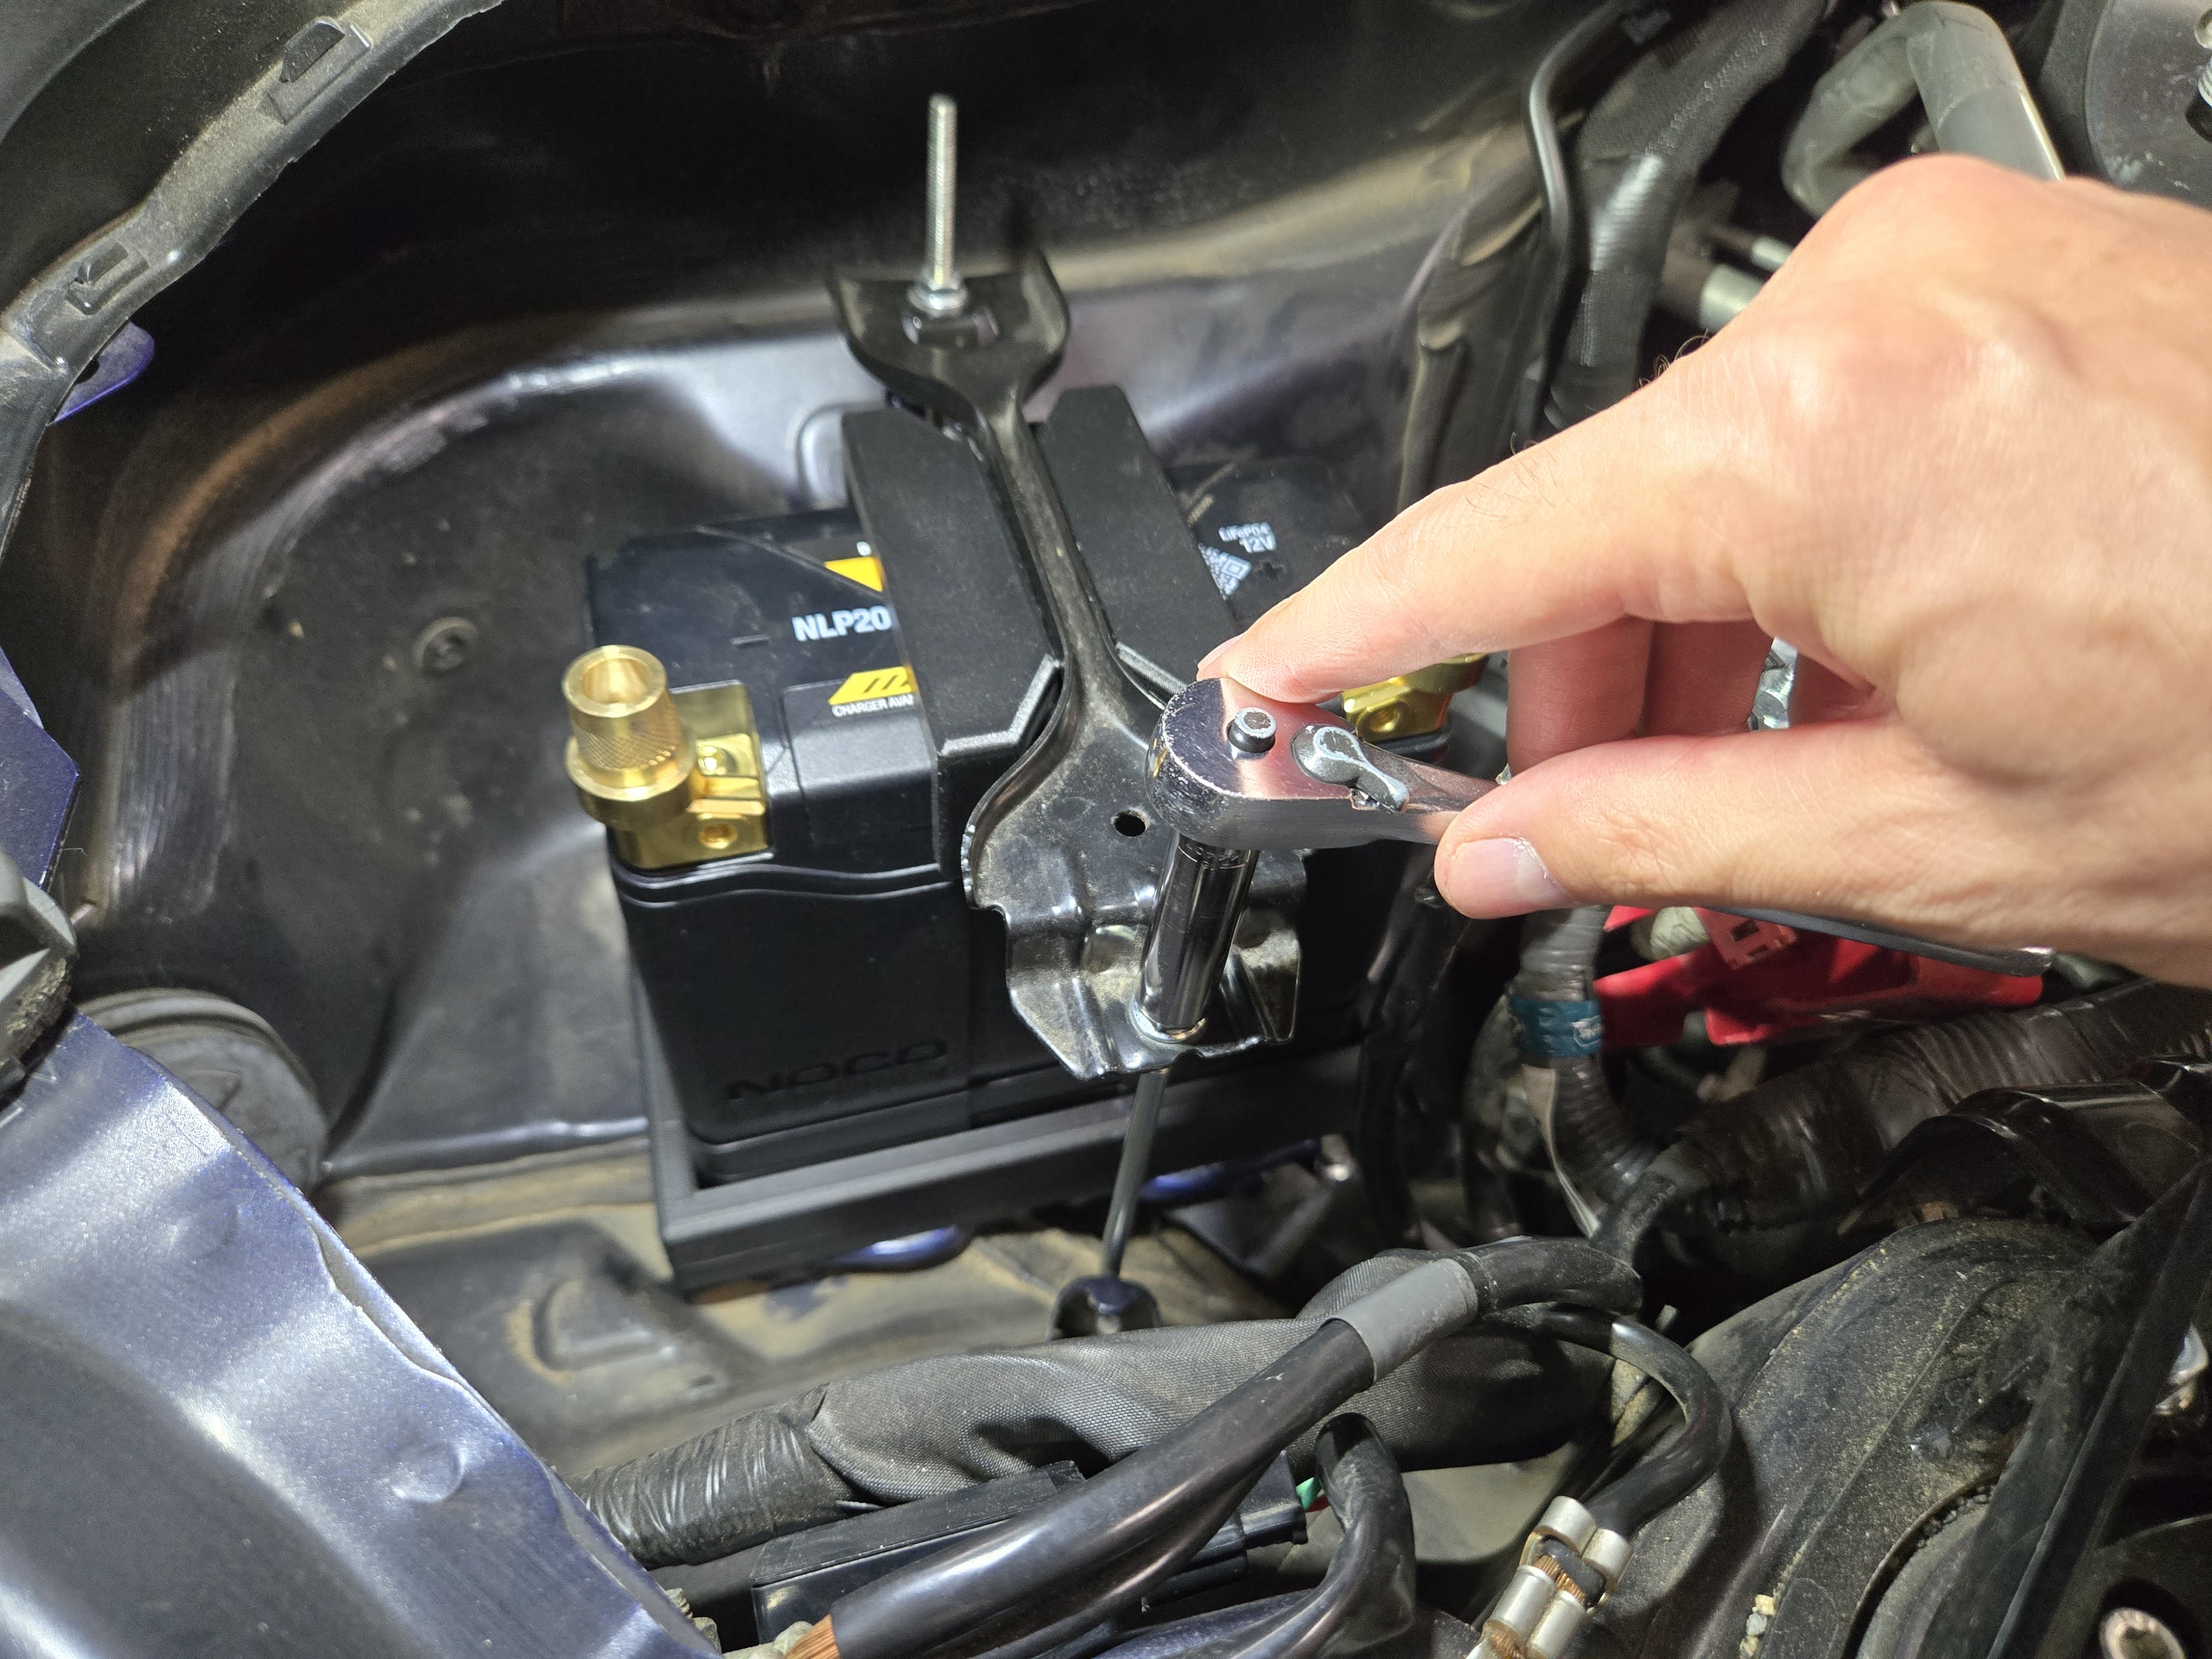
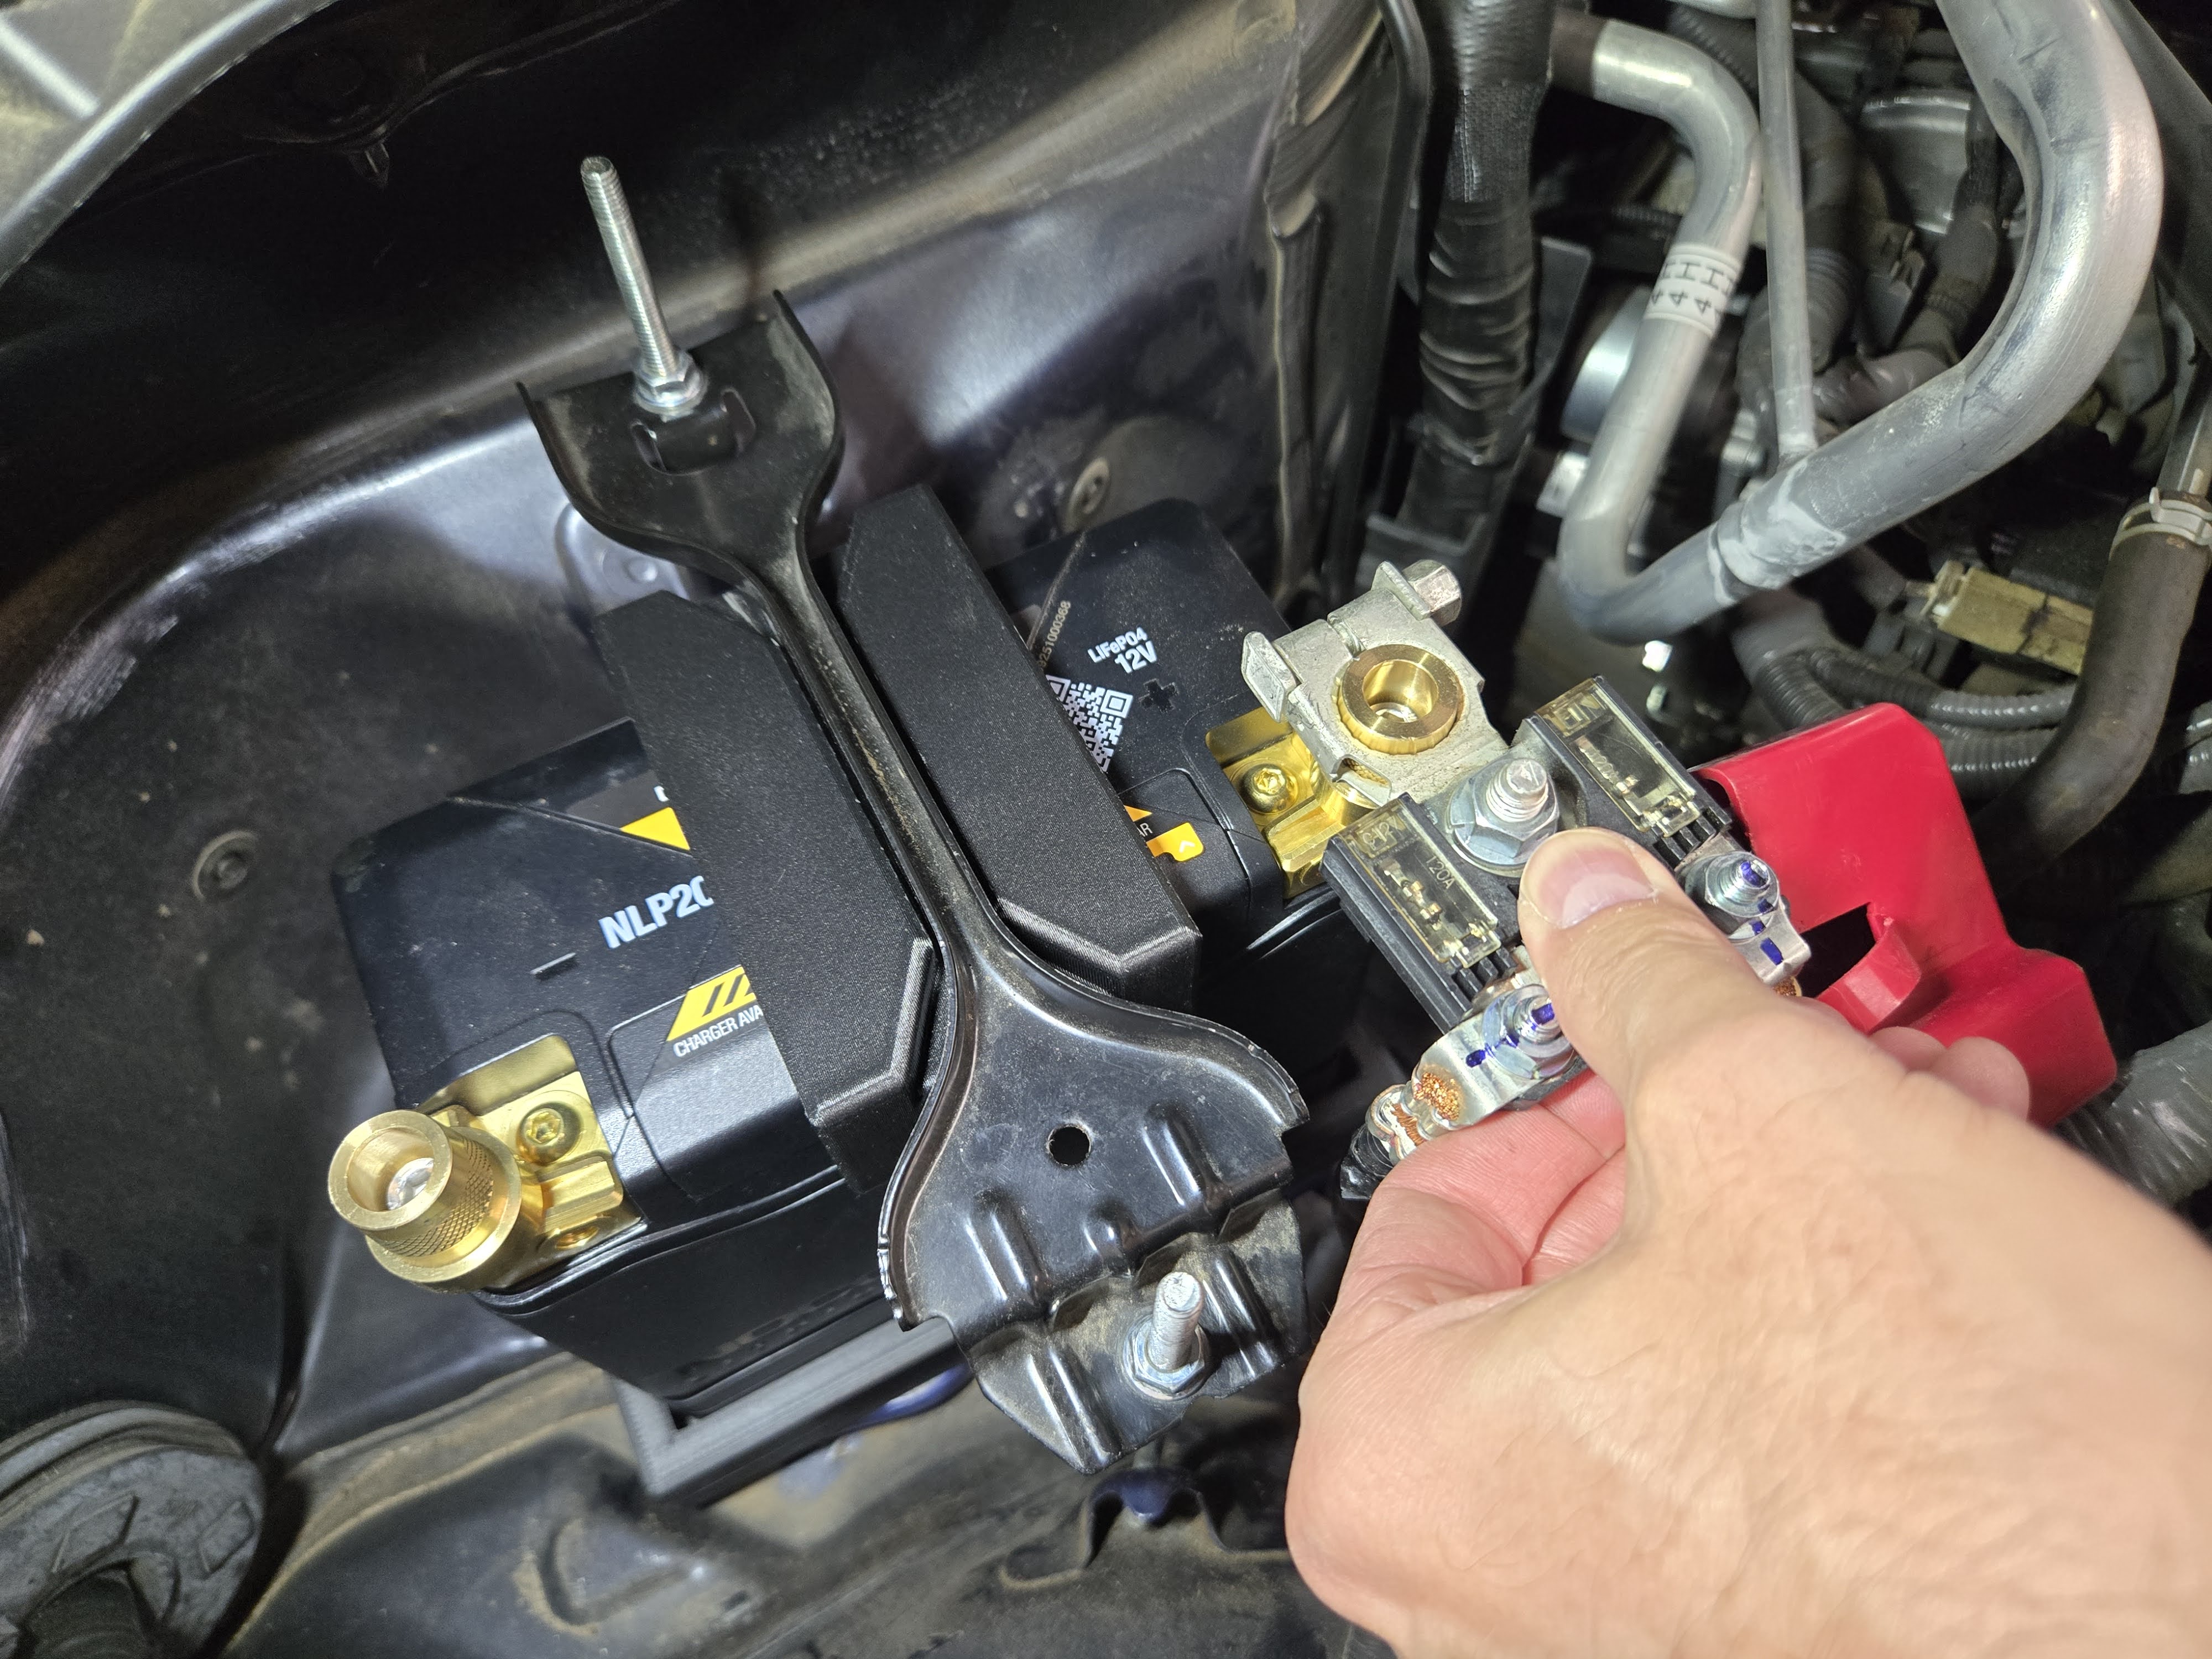
Installation
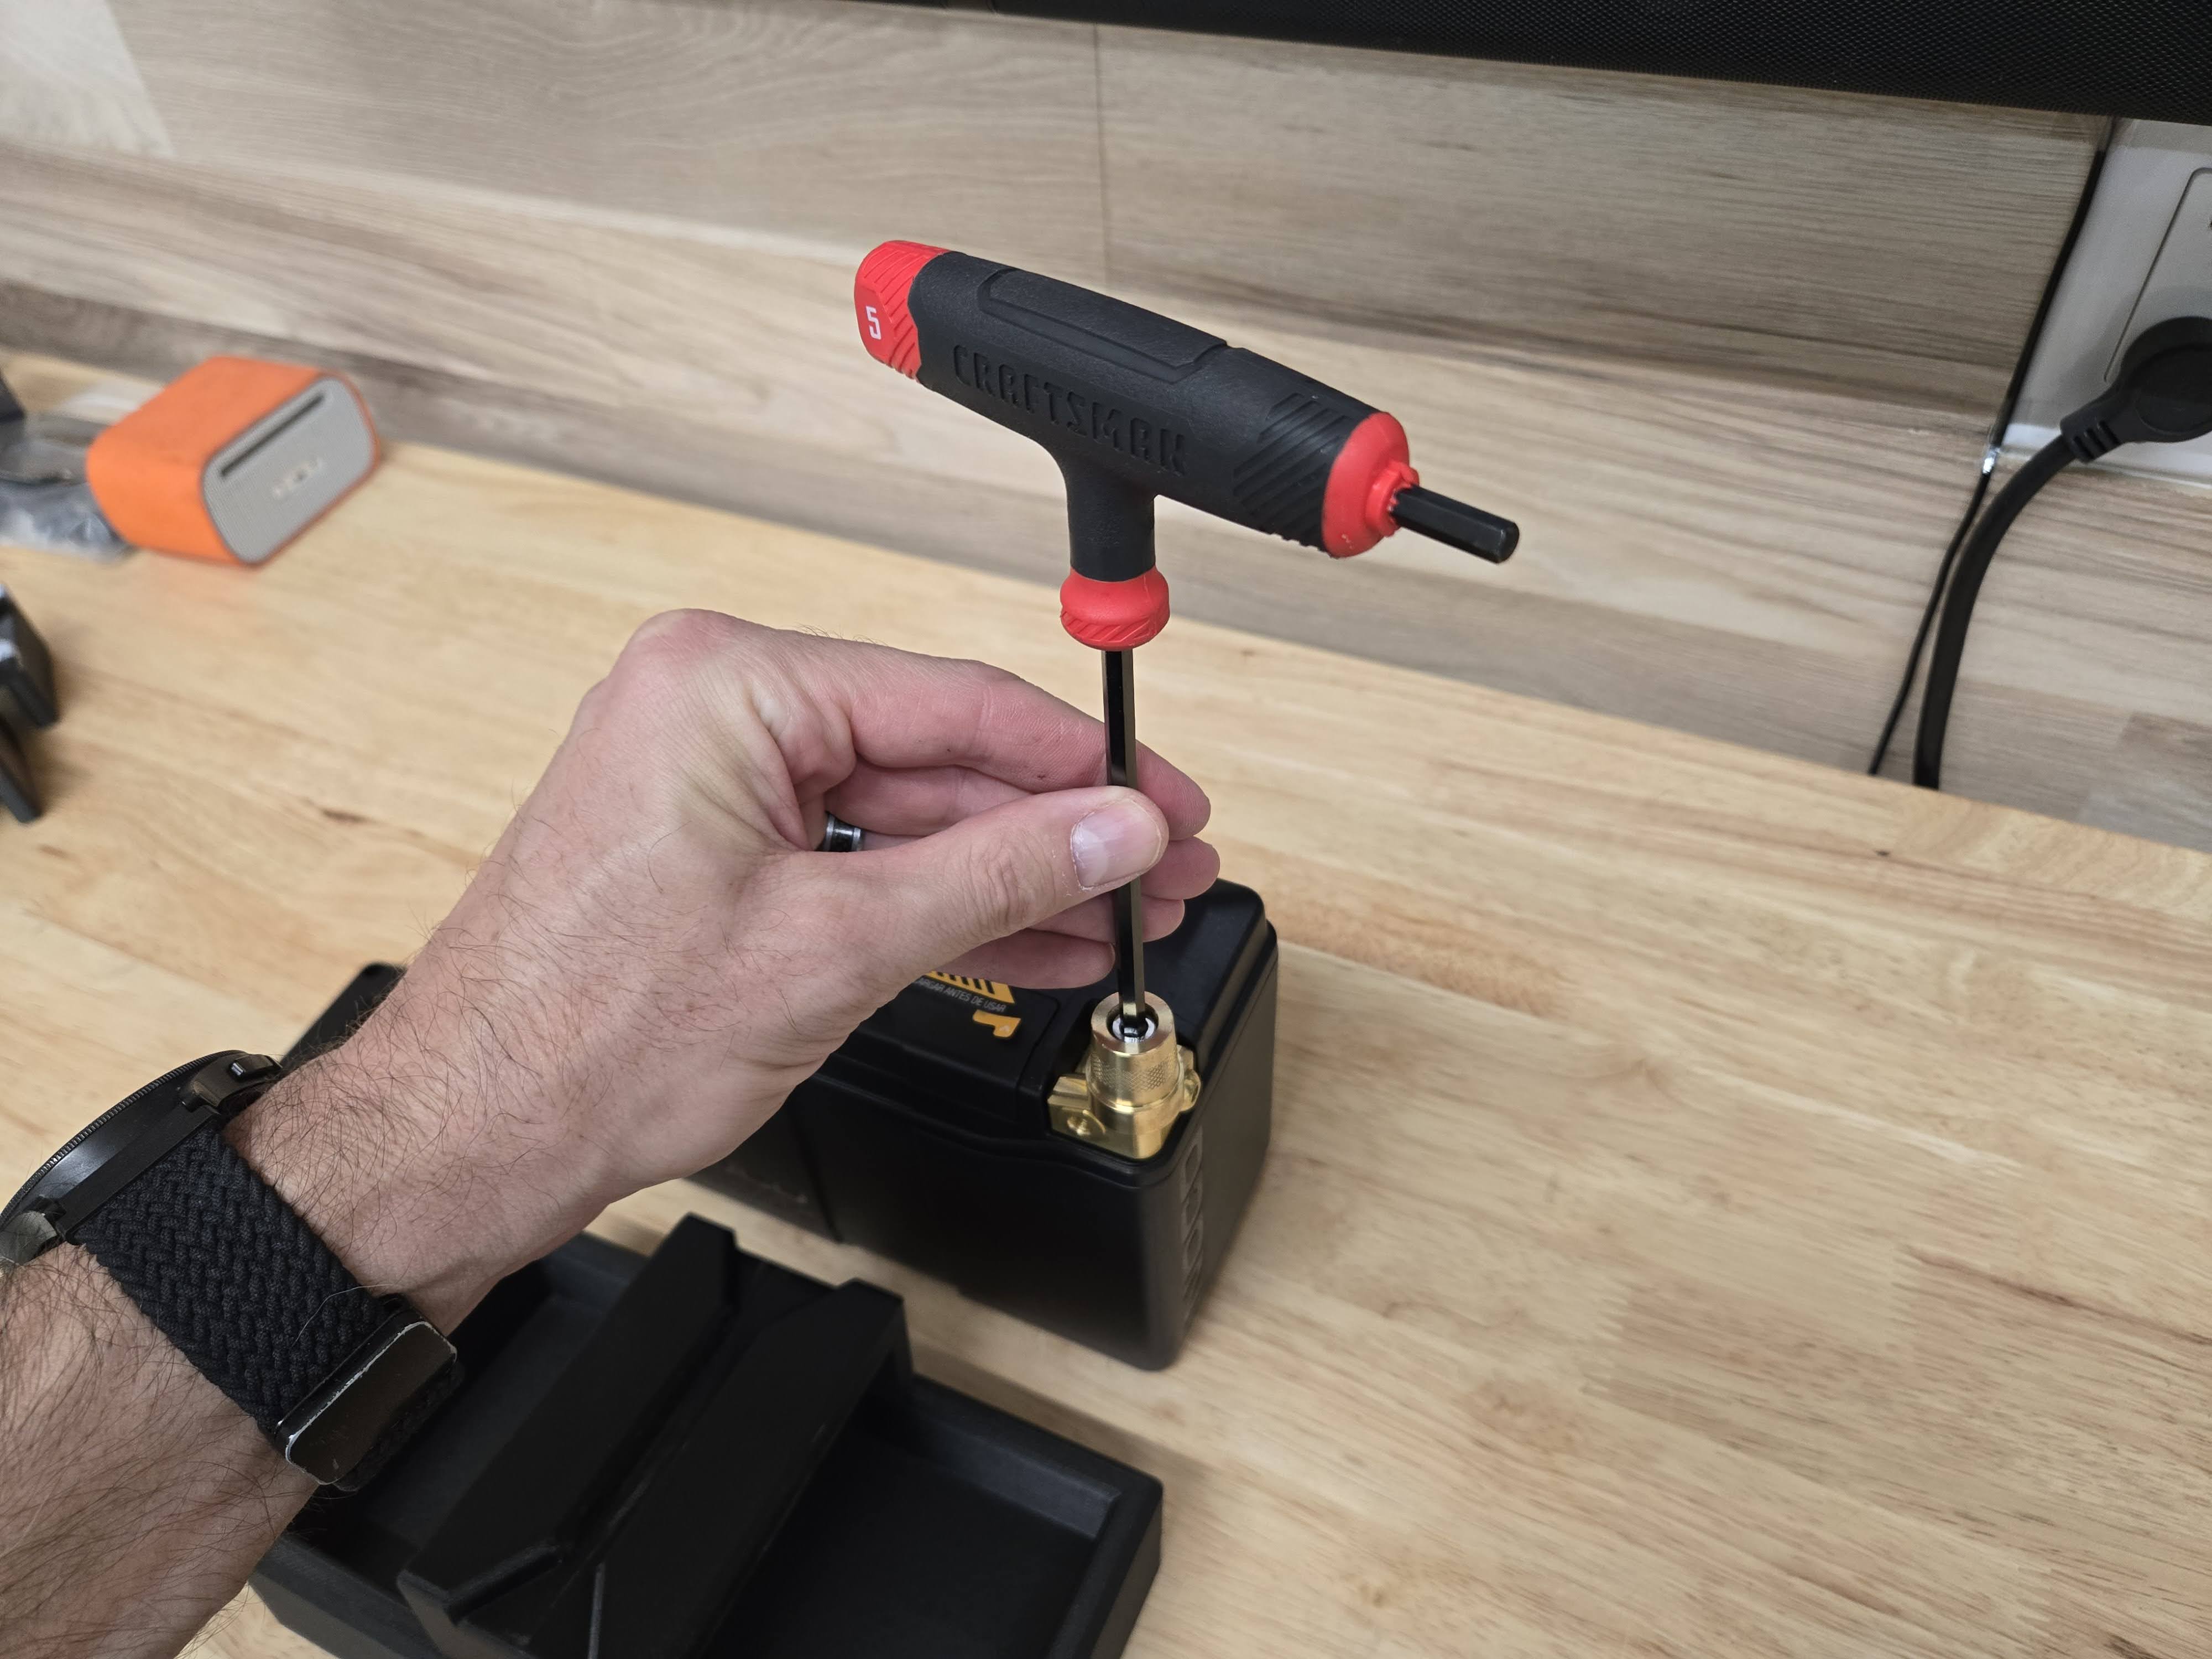
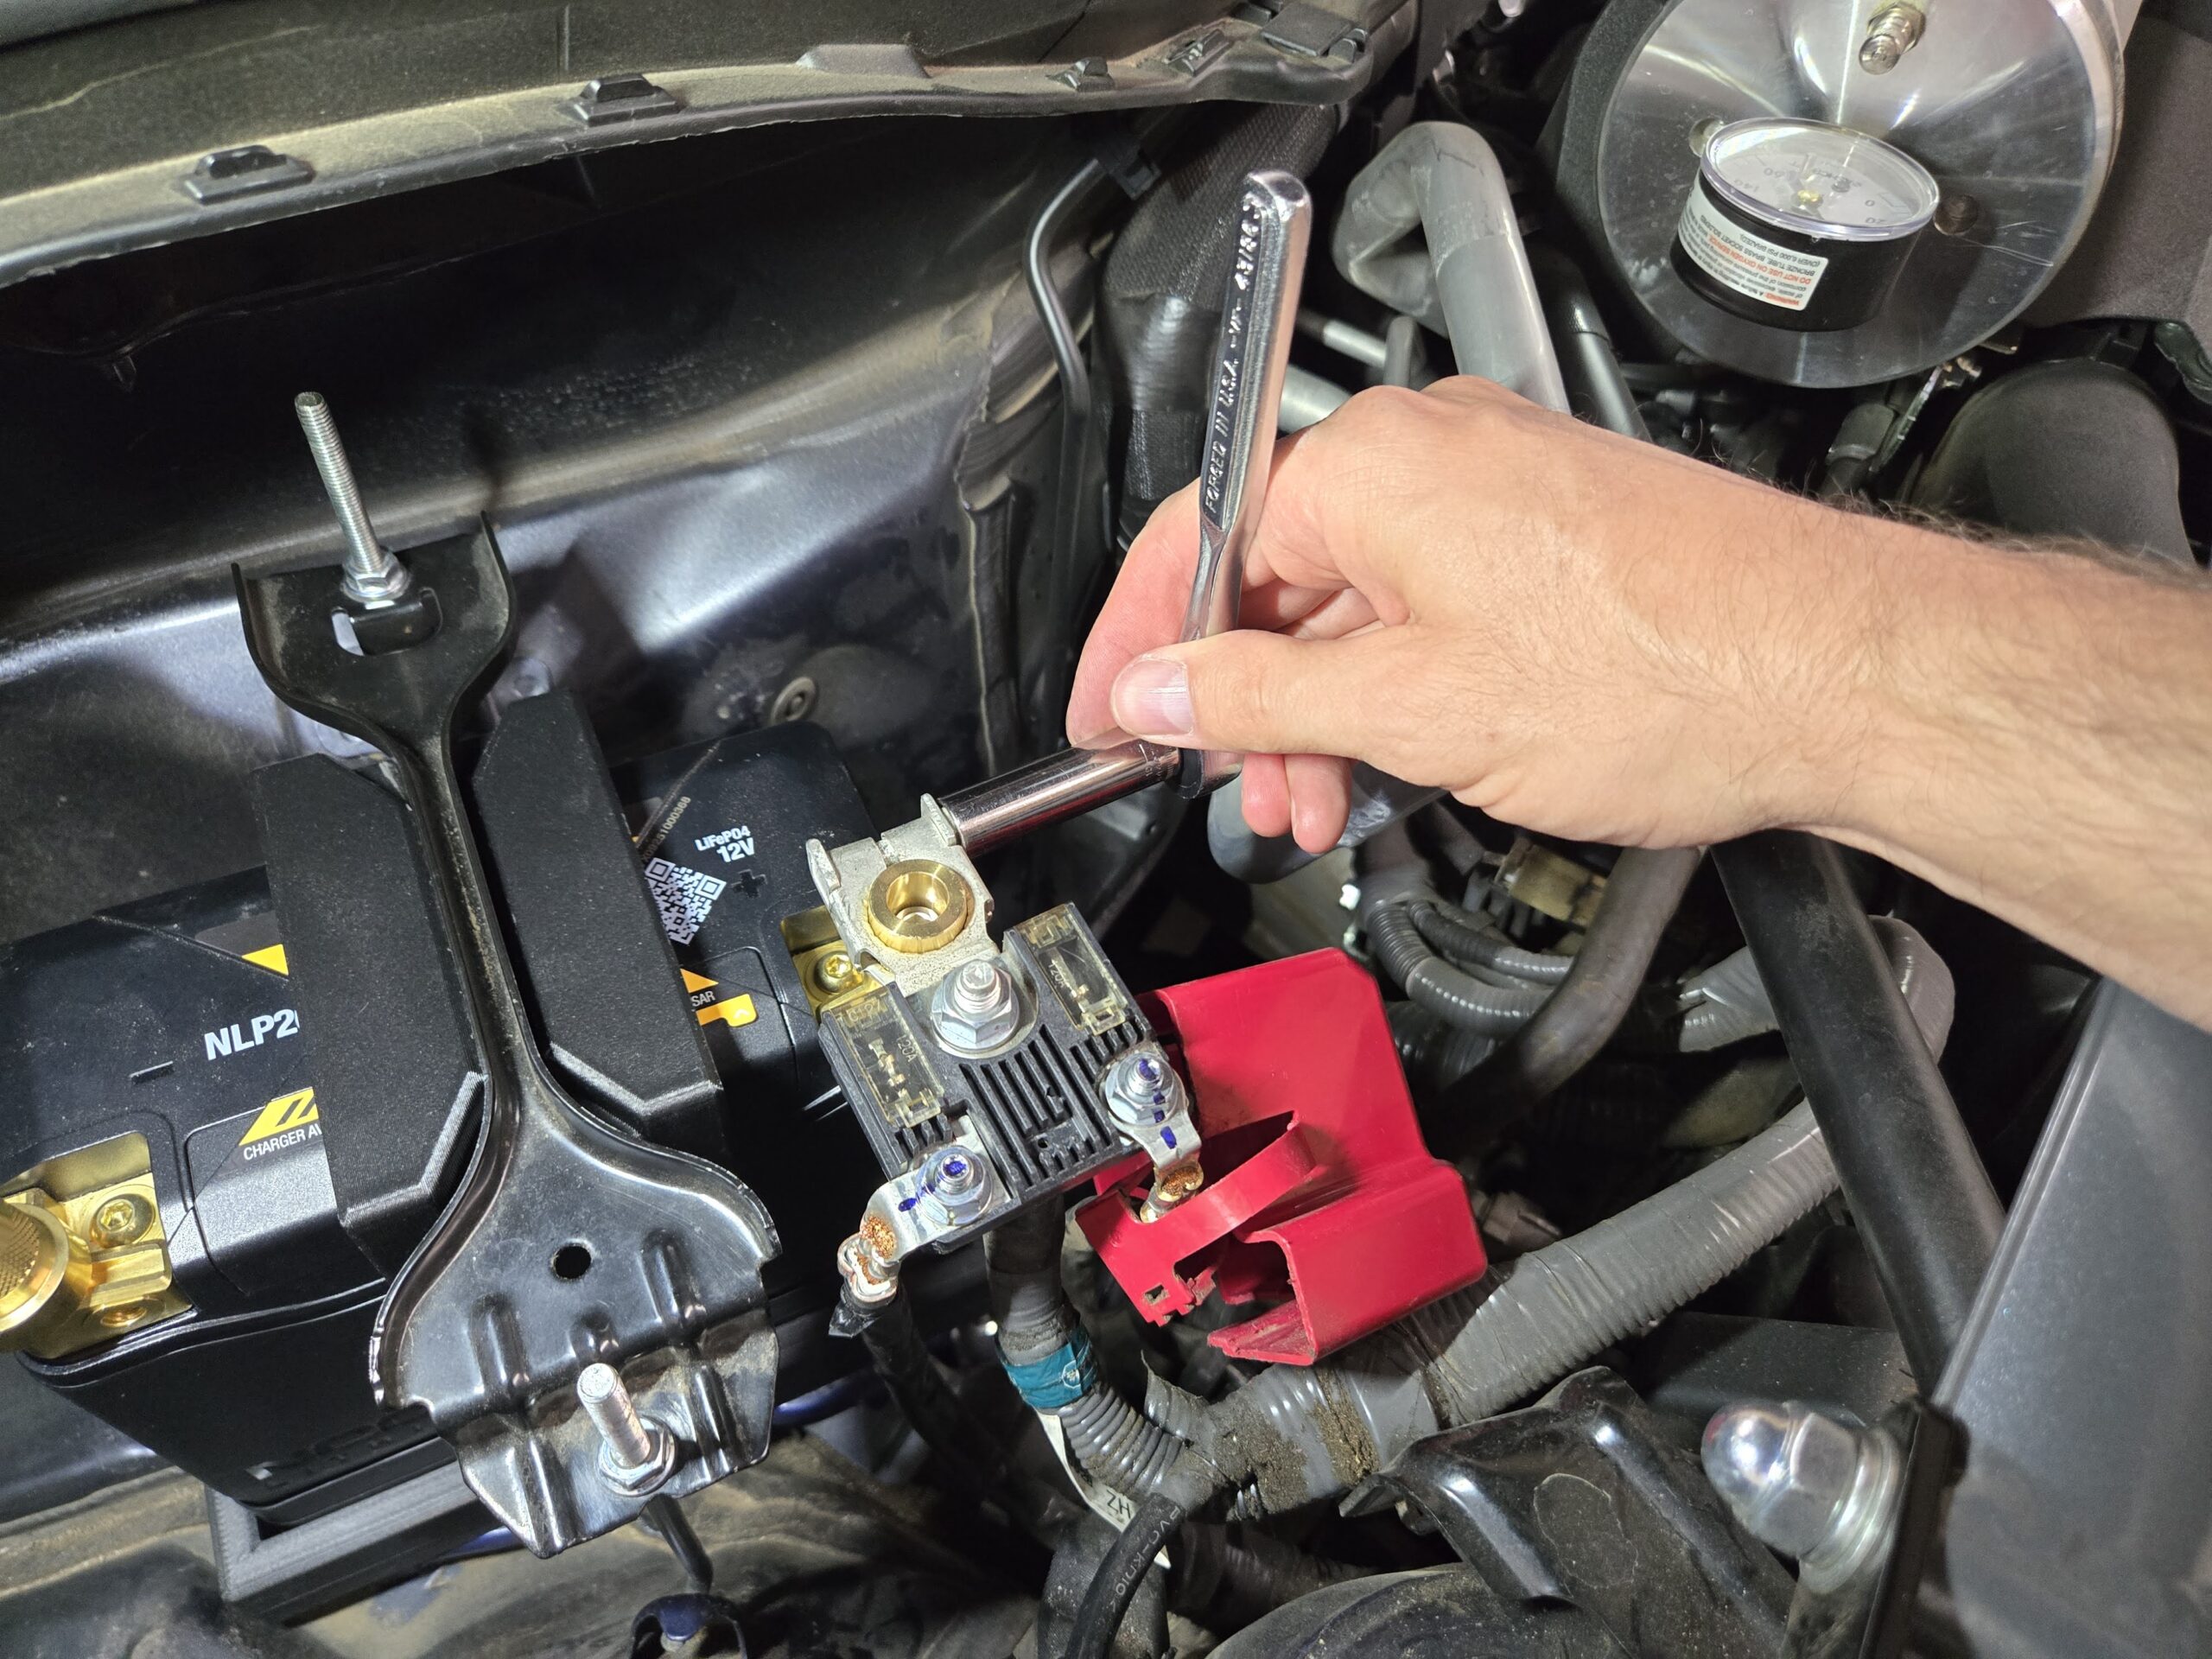
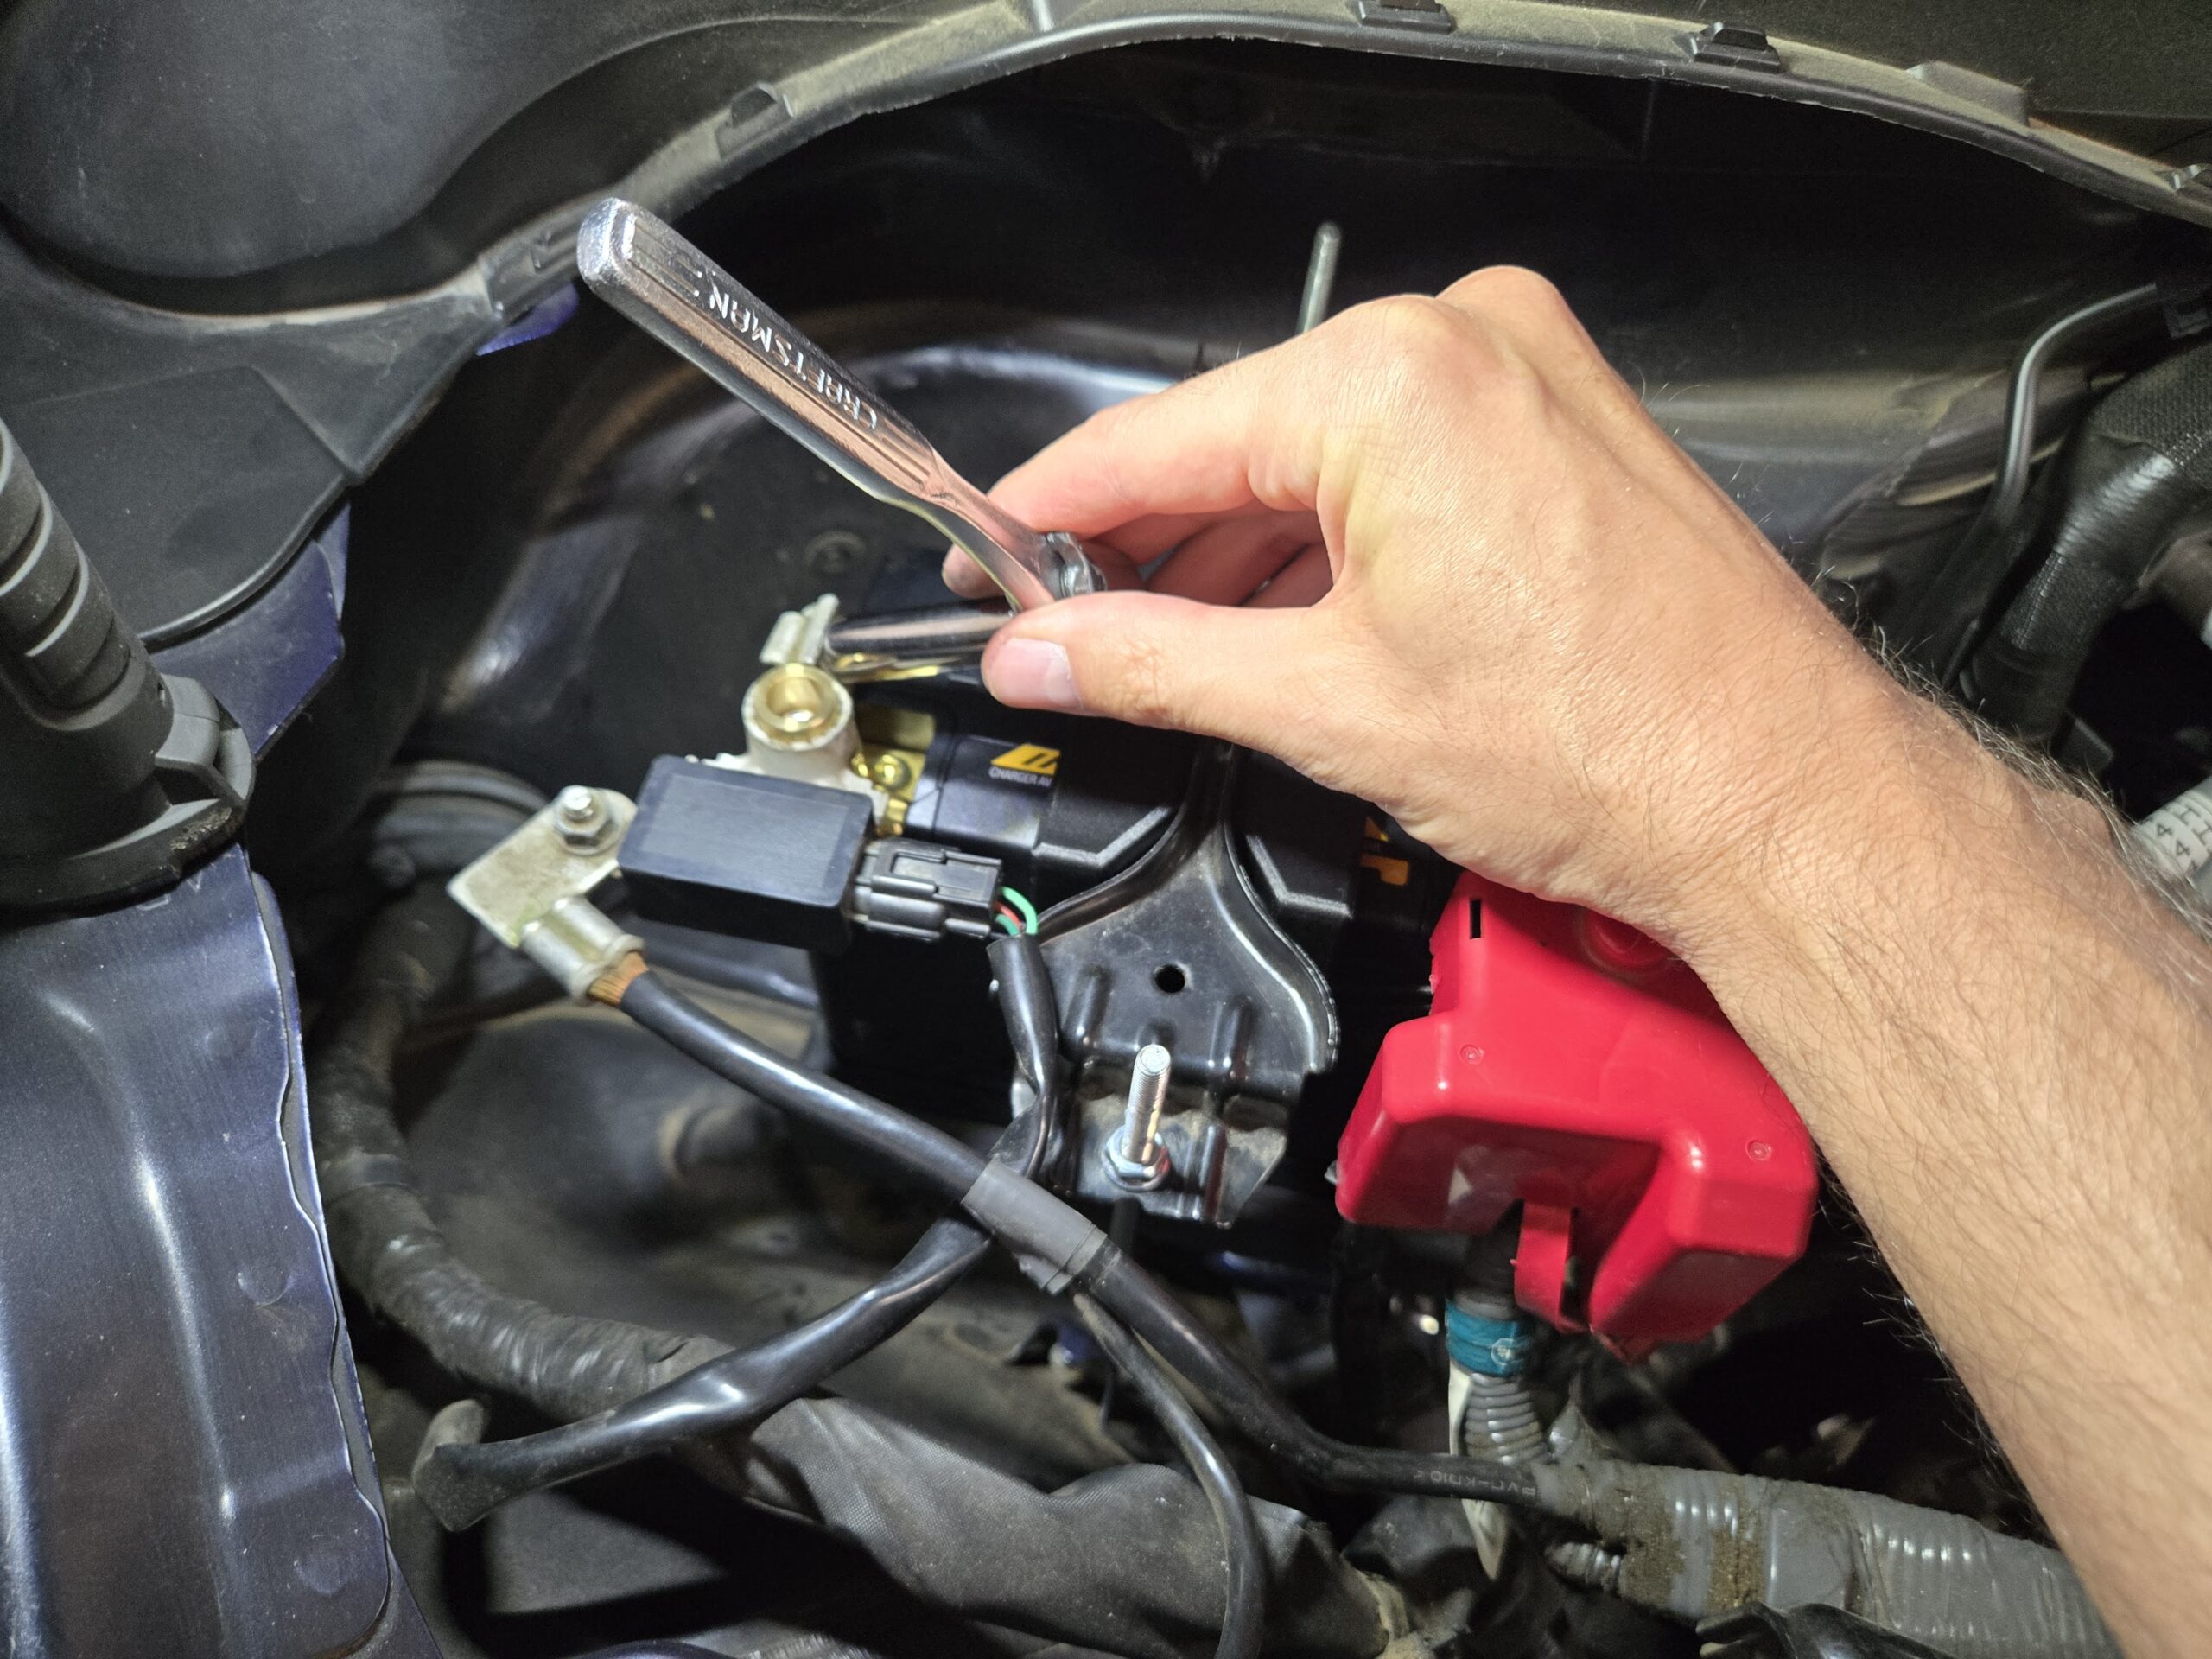
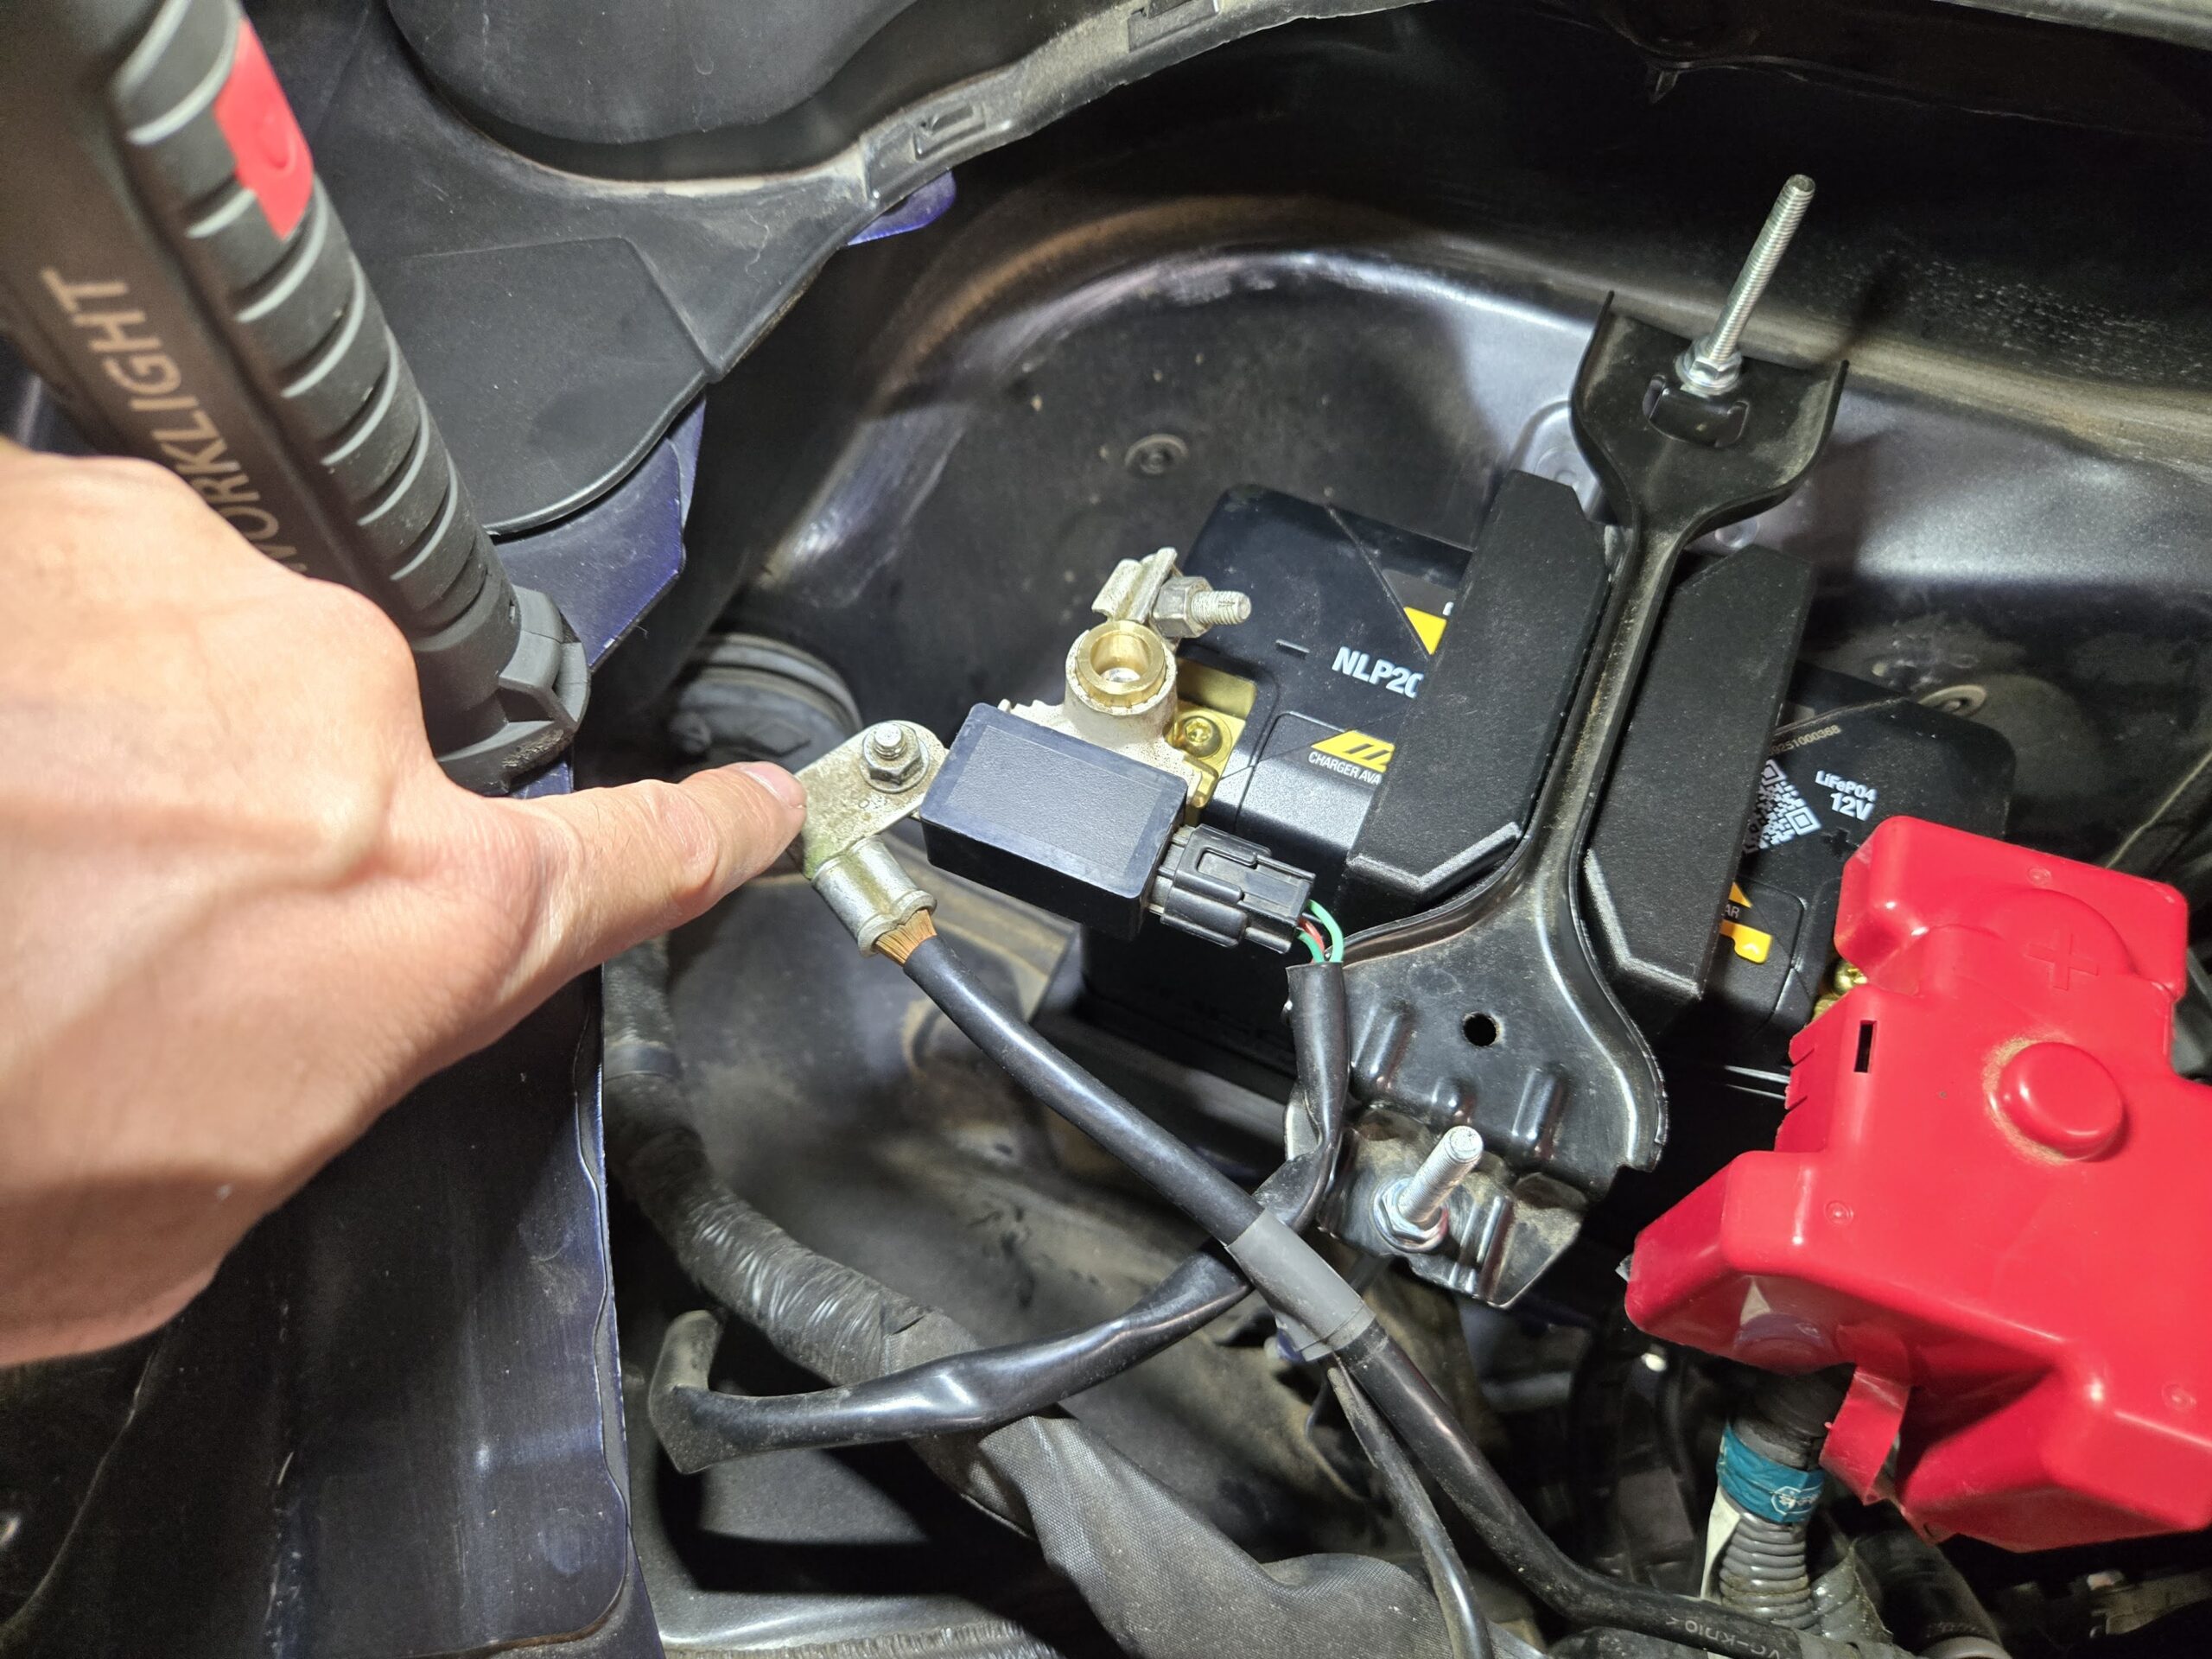
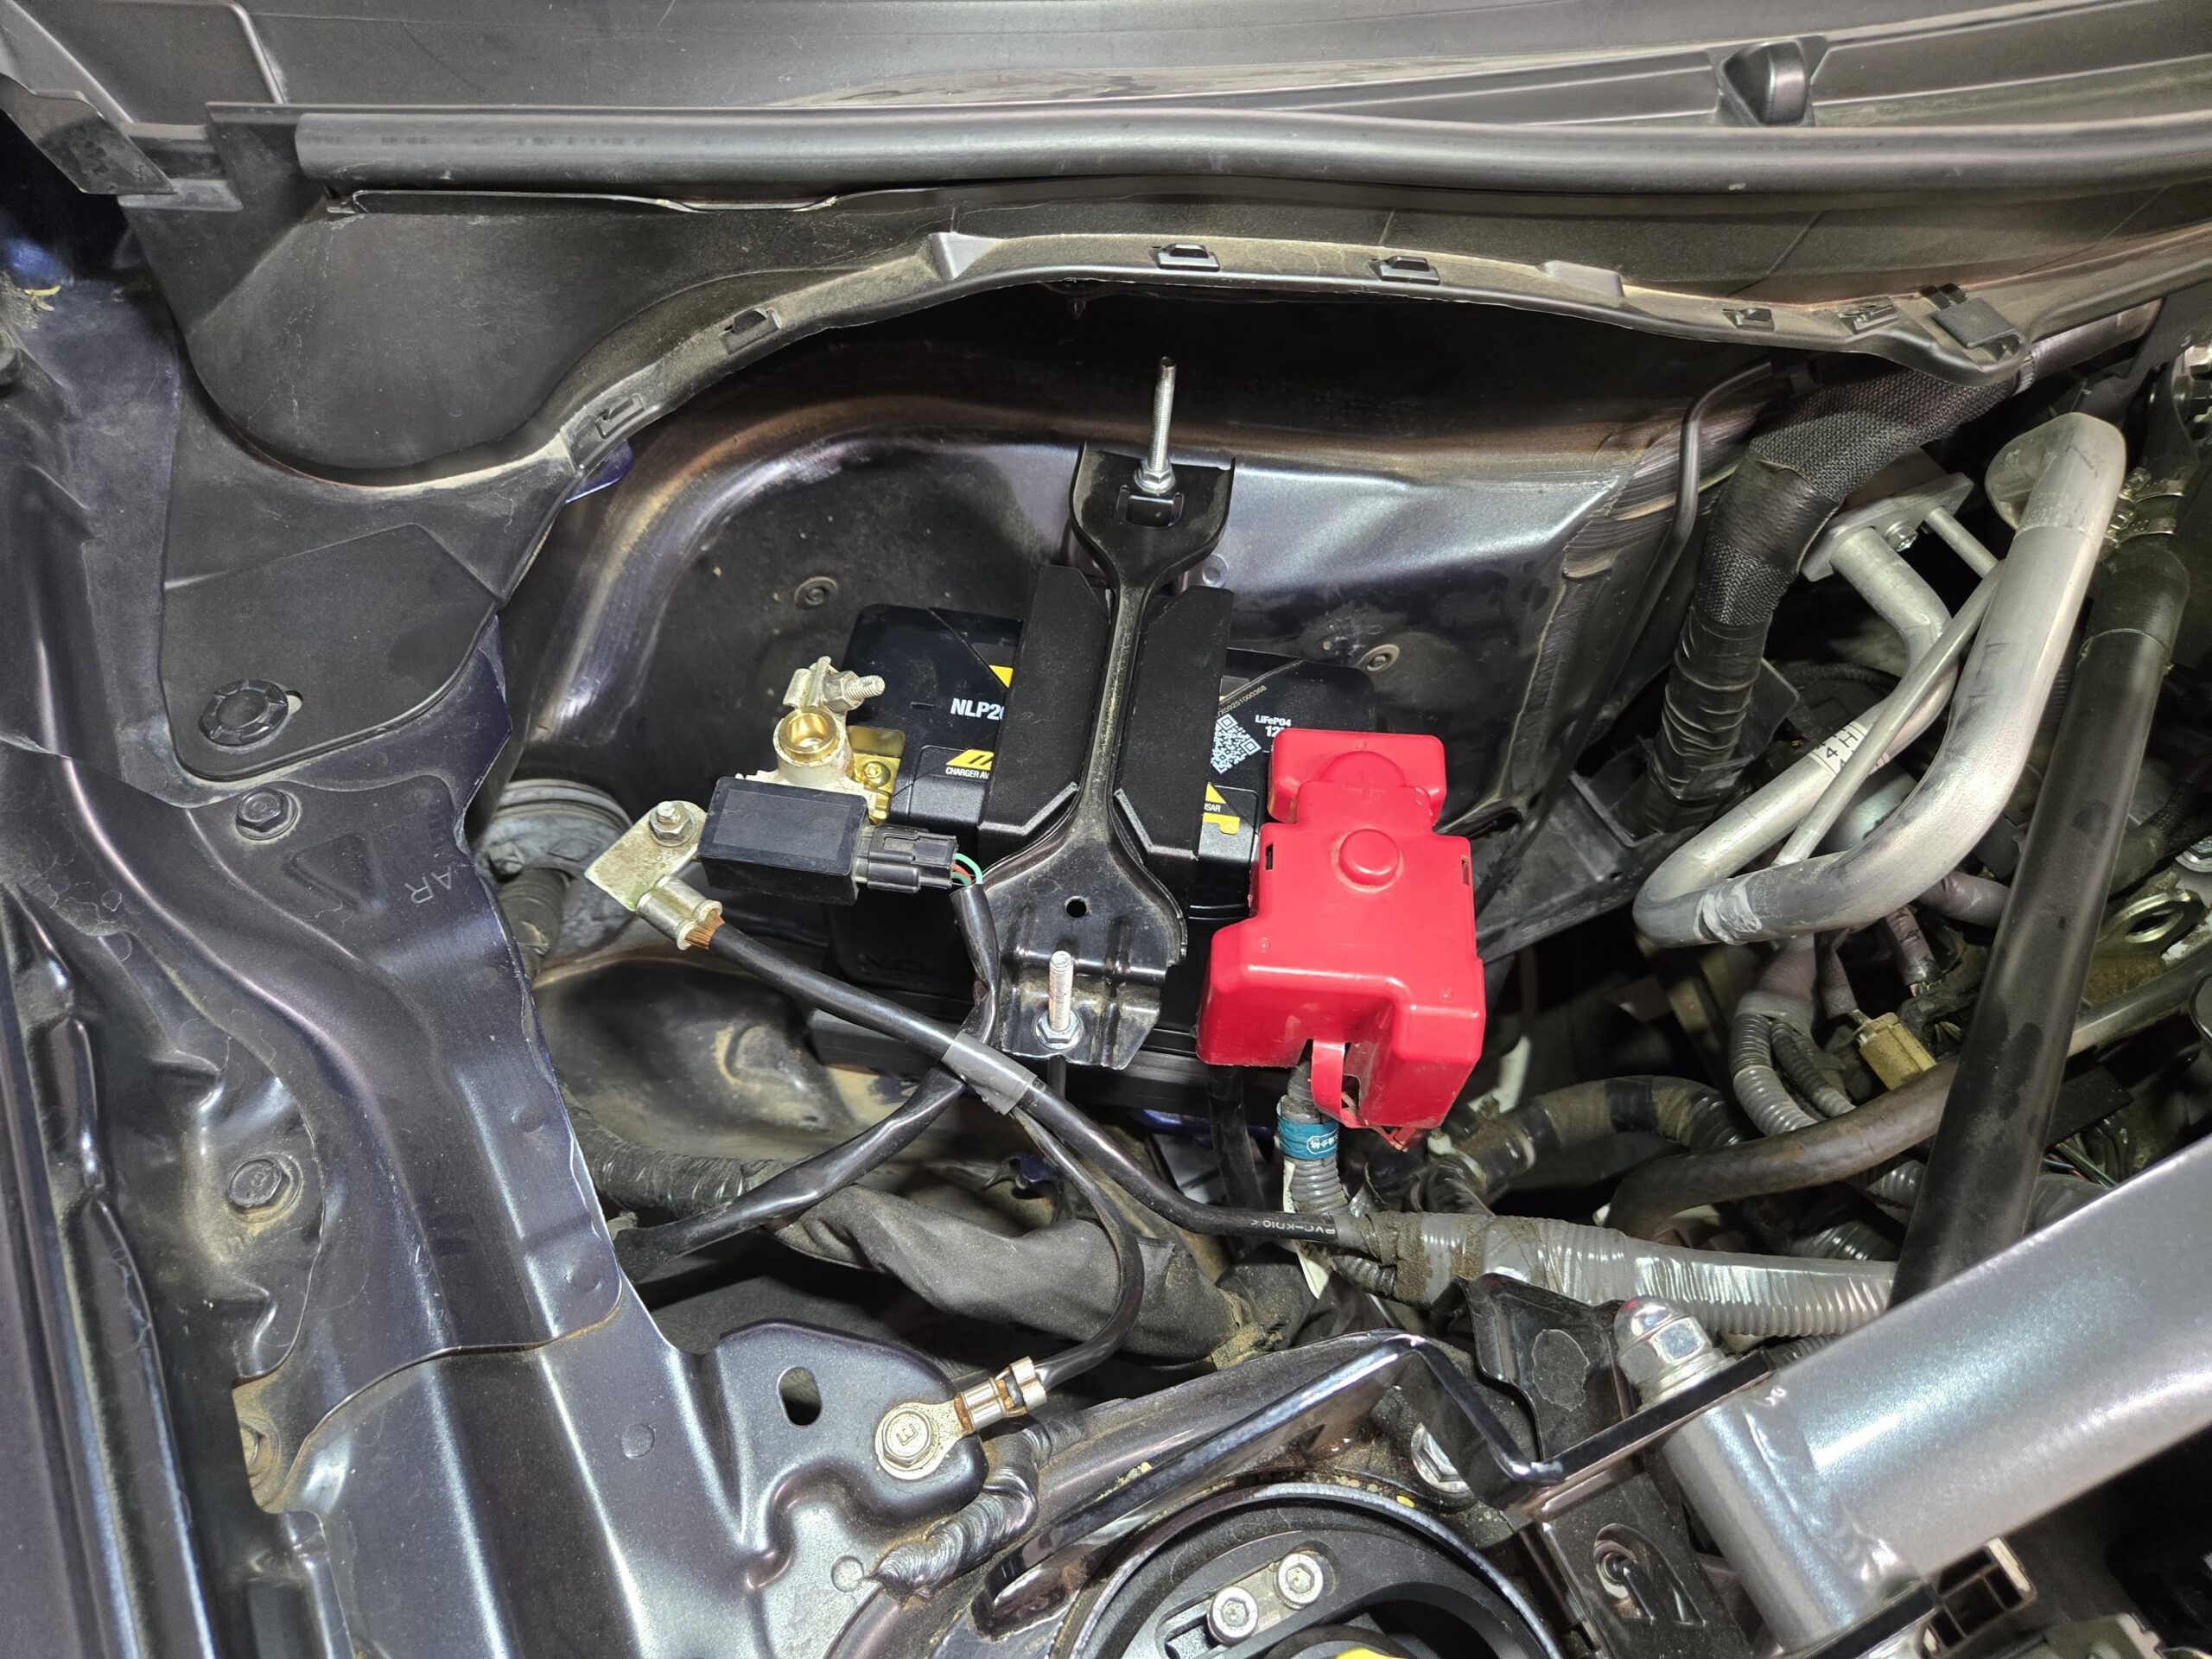
Installation is simple, as you need no extra parts or special tools. All you need is a 10mm socket and ratchet, or wrench.
Follow the picture story below for the entire installation process.